Big and shiny (tea/lunch break stuff)

We don't spend all our time in the car.... honest
User avatar
Stuart
Posts: 18080
Joined: Thu Jul 27, 2006 3:26 pm
Location: Auto-Genie HQ
Contact:

Big and shiny (tea/lunch break stuff)

Post by Stuart »

Part one

Following on from Blacky's thread where he came out of the closet and declared his hidden buffty side, I thought I would share some of the recent cars I've worked on.

From 2005 until 2008 one of my businesses was a Meguiar's dealership, and as such, I have always had a fondness towards their product range. I like the ease of use, the value for money and the sheer variety of products, and back in 05 that was unusual for consumer products to have that level of choice.

I still buy their stuff to this day, and although I don't bother with my own cars (at the moment) I find cleaning therapeutic, and to me, the difference between a clean car and a really clean car is hours of attention to detail :D I love it!!

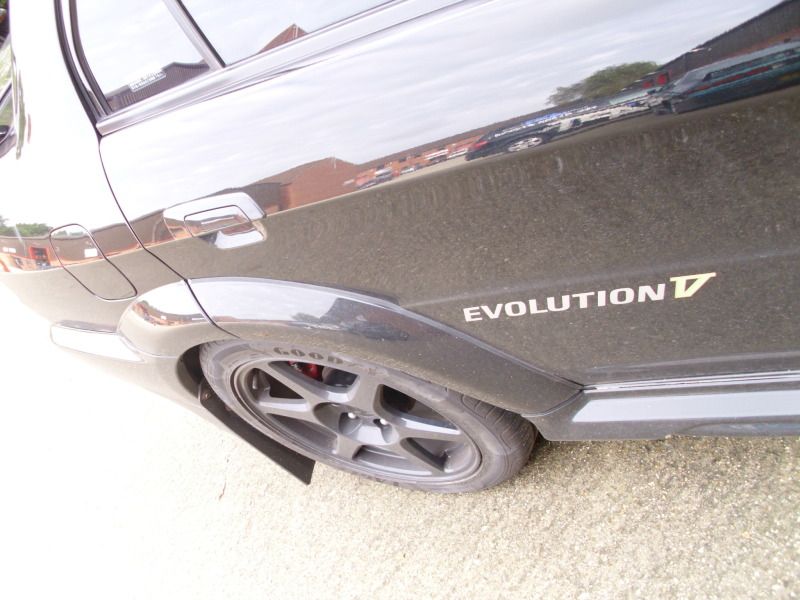
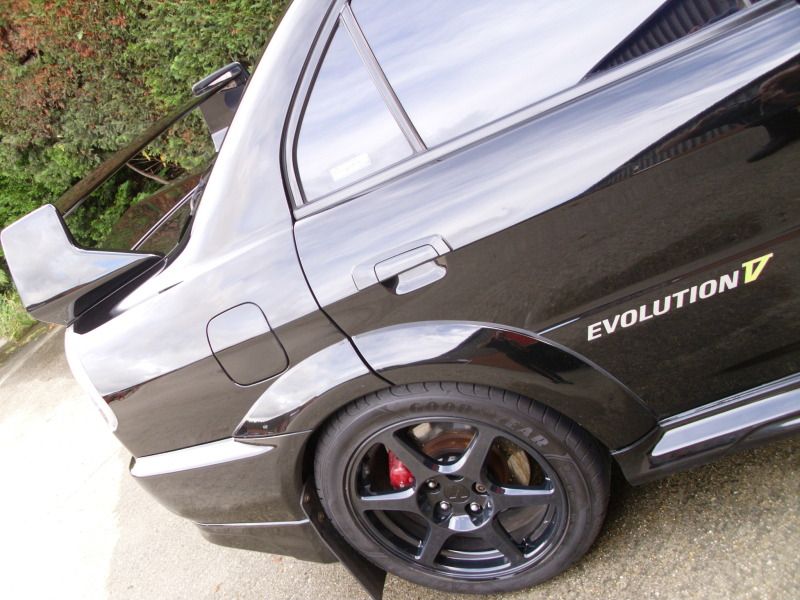
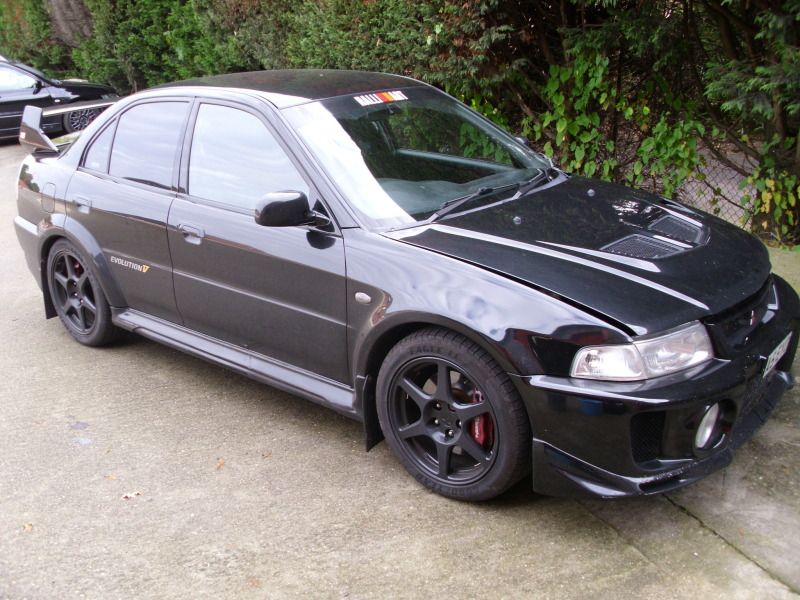
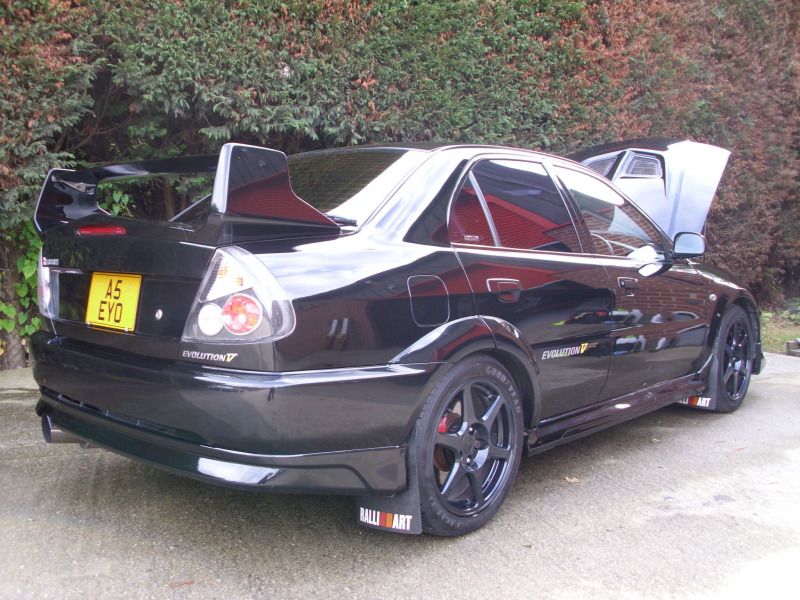
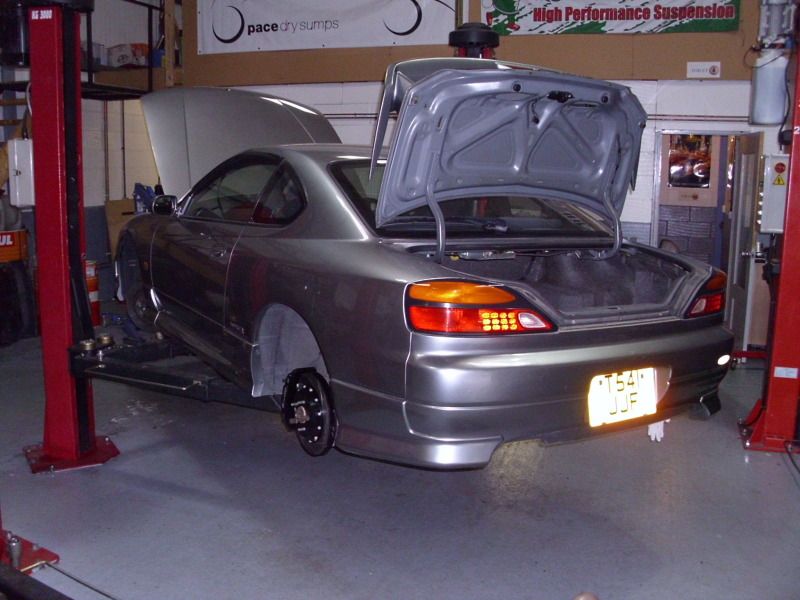
As many of you know, I helped Gary prepare his own APT Evo for the Time Attack weekend, and the results were very pleasing and justified the time and effort involved, leading to coverage on Speedhunters :)

For Gary's Evo I was asked to concentrate on removing some cone induced scuff marks, remove various areas of marking to sponsors stickers that had been picked up after months of hard use on track and generally give it a 'lift' in readiness for Modified Live when the car would feature on the MLR stand. I used a simple two bucket wash using Meguair's trade shampoo, followed by two water magnets to dry it off (no silicon blades!), gold class wax for the bodywork, bug and tar for the stickers damage, paint improvers for the cone scuffs, metal polish for the aluminium and stainless work, and then went over the car again with tech wax for an extra layer of protection. Bear in mind the photos taken by Speedhunters' Paddy McGrath were taken the day after Gary had taken part in a trackday and three days after I had done my work! It's also worth noting that most panels on the car are composite now, so I had to adopt a different approach to the one I would normally use on a car with metal panels. An interesting challenge :)
Image
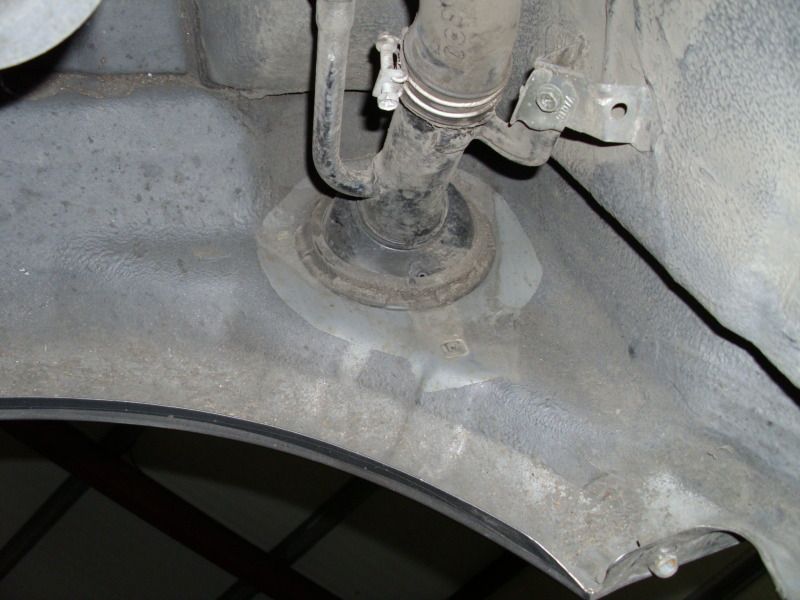
I was especially pleased that detailing the fuel cell, suspension arms, subframe and diff housing paid off!
Image

Following on from this, I was asked to valet APT car......this time the BMW 330D. I had joked that after the black Evo race car, I needed a break and then I was presented with this
Image
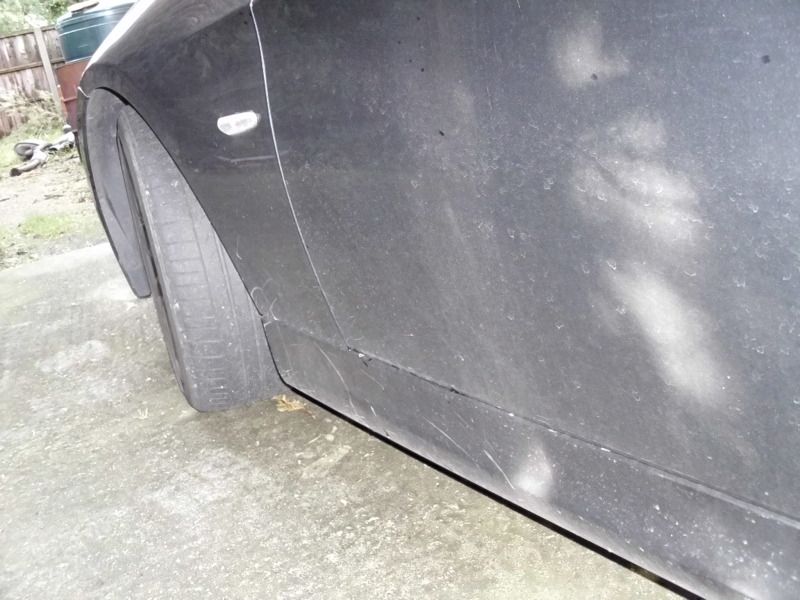
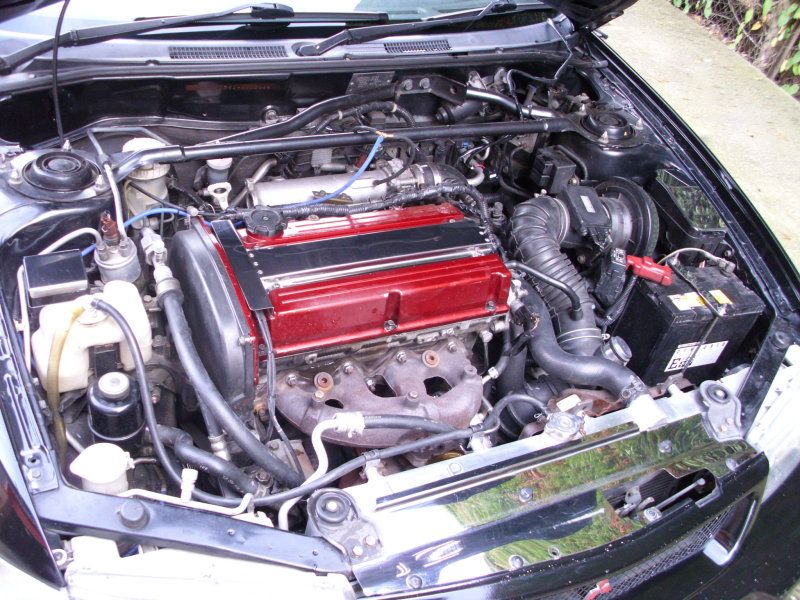
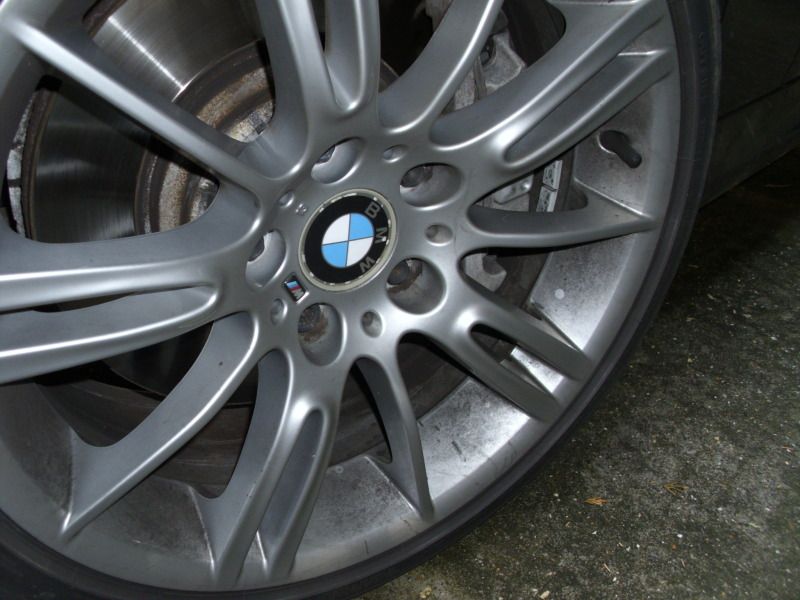
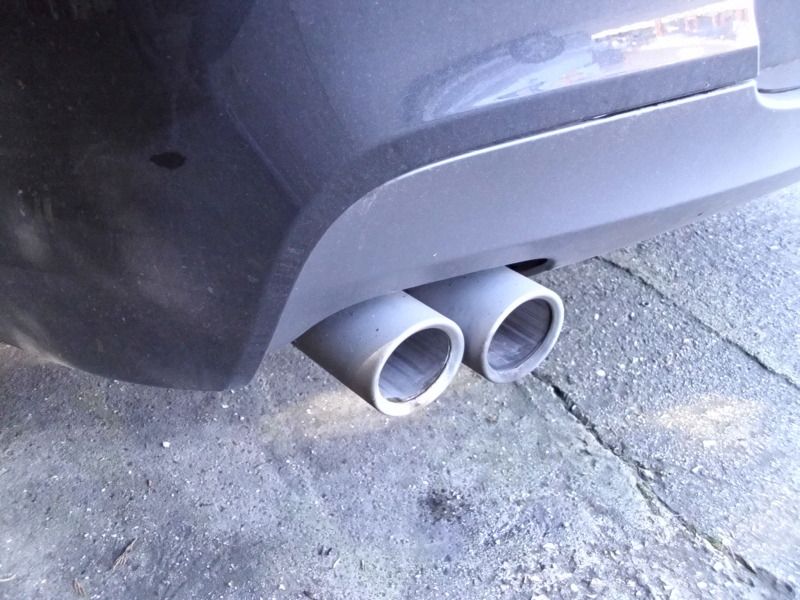
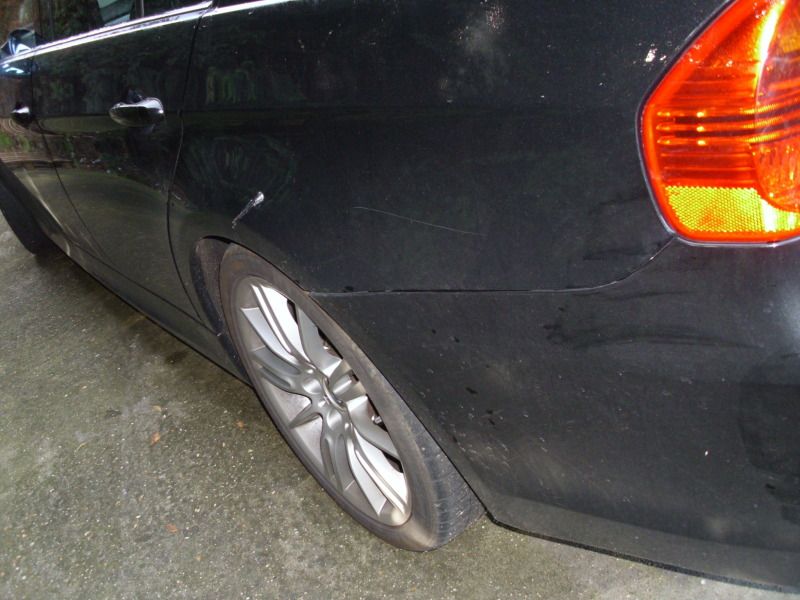
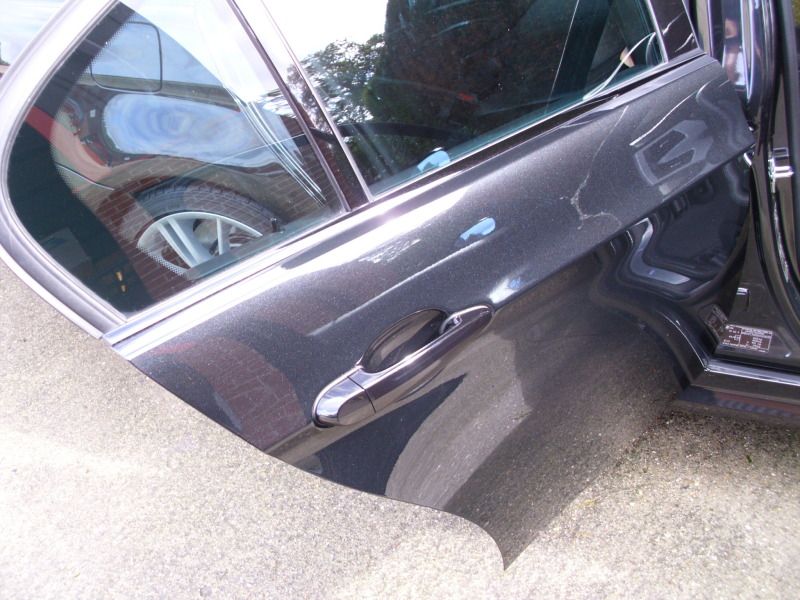
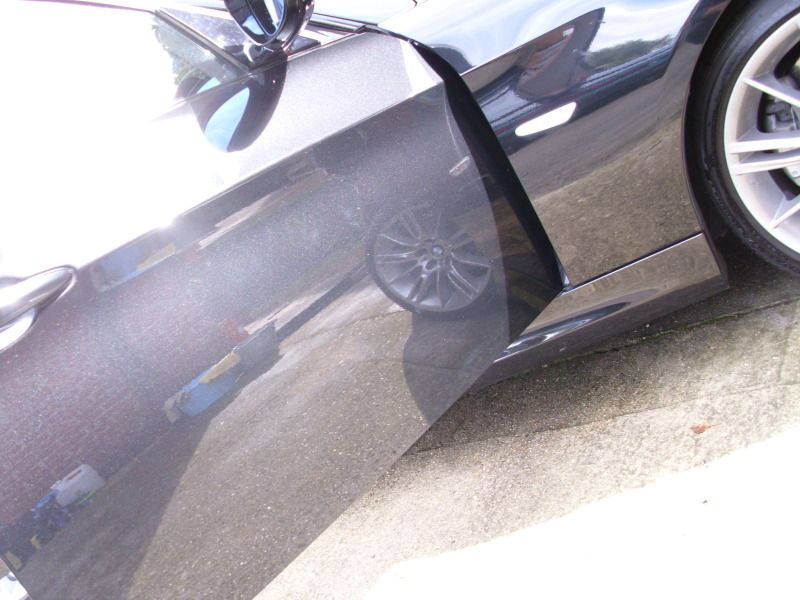
Ingrained dirt and road 'grime' are typical at this time of year, and this car was no different. Please excuse the photos, but I've tried to capture the before and after stuff. The request for this car was a top to bottom valet including engine bay, boot, carpets, leather seats and door card treatment, sort the alloys and exhaust too. Gulp :)
Image
Image
Image
What the photos don't show clearly, is just how metallic the paint really is. The sapphire colouring was much more evident after a few hours of work, and in the sunshine it looked an absolute treat.
Image
Image
Image
Image
Image
Image
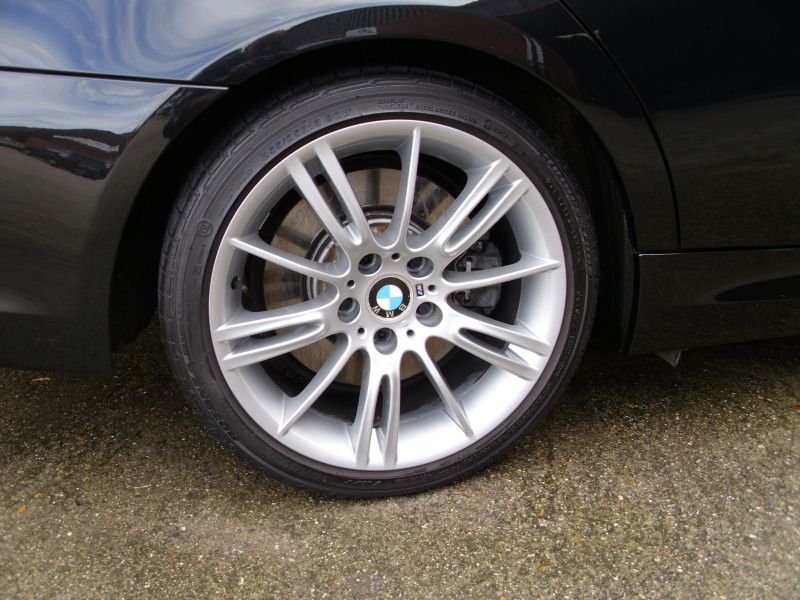
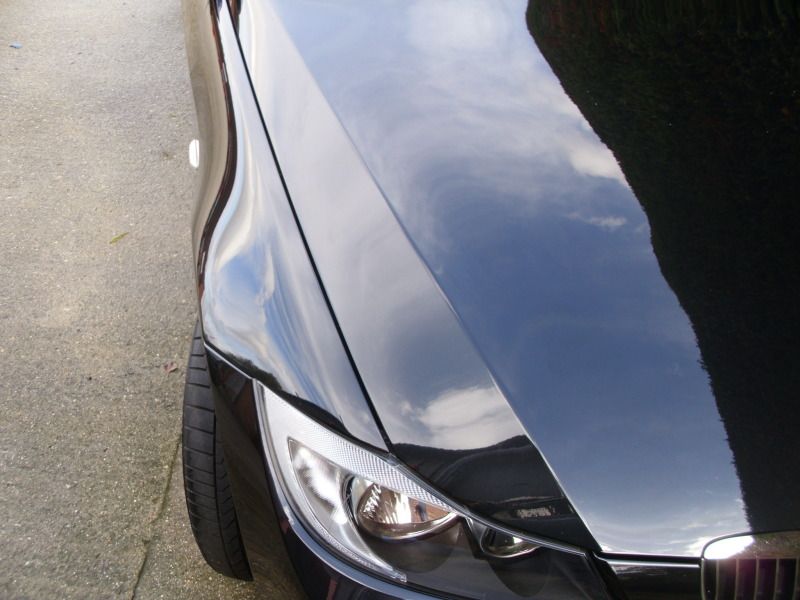
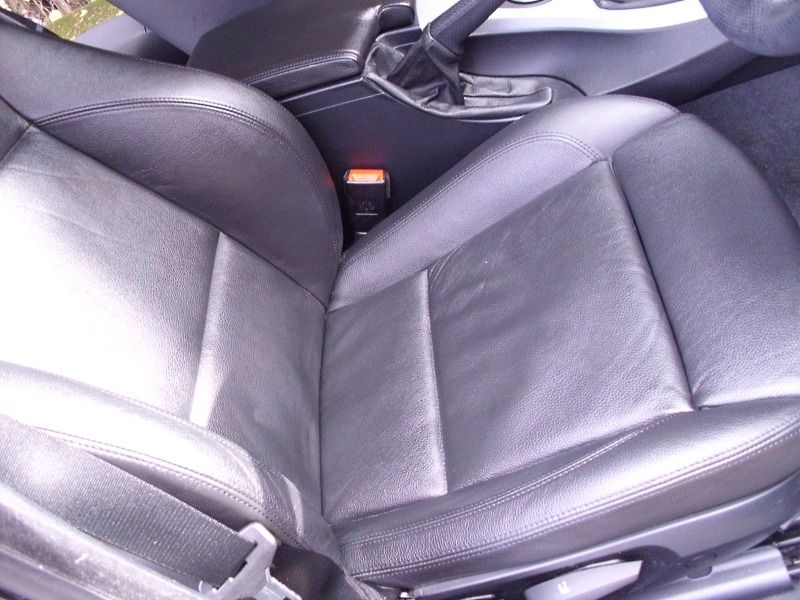
Once again I used a two bucket approach, Meguiar's products throughout and thoroughly treated the leather interior as this hadn't been done before. The results were pleasing, and the owner was chuffed, so that's good enough for me :) It didn't look too bad two weeks later on, so the work and time was well spent.
http://www.auto-genie.co.uk
07733 527430
stuart@auto-genie.co.uk
Valeting, detailing and undersealing

User avatar
Stuart
Posts: 18080
Joined: Thu Jul 27, 2006 3:26 pm
Location: Auto-Genie HQ
Contact:

Post by Stuart »

Part two
Next up was something different. The guys at APT had a beautiful near mint condition S15 in for a comprehensive overhaul. The owner had requested that the car be protected against the harsh elements, as he intends on keeping this car forever! With his previous S14 succumbing to the salt, terrible weather and general road abuse, he wanted to ensure that this S15 gets the belts and braces approach to rust prevention. With that in mind, Gary asked me to help with the careful strip down and evaluation process, before starting on the task of cavity and floorpan undersealing the whole thing.
Image
With the car up in the air, the work began. I've learned from the GTR's, the M3 and even the MX5 that rust can and will start in the most obscure of places and manufacturers often create water traps through joining of sheet metal, or behind arch liners as an example.
Image
The entire strip down was documented for the client, to provide him with peace of mind and important support/history to show the protective work should he ever decide to sell the car on. Any small area of corrosion were rubbed down and treated with Hammerite products before careful reassembly. This process was applied for the front and rear light recesses, all four arches, removing the covers for the fuel filler and overflow
Image 
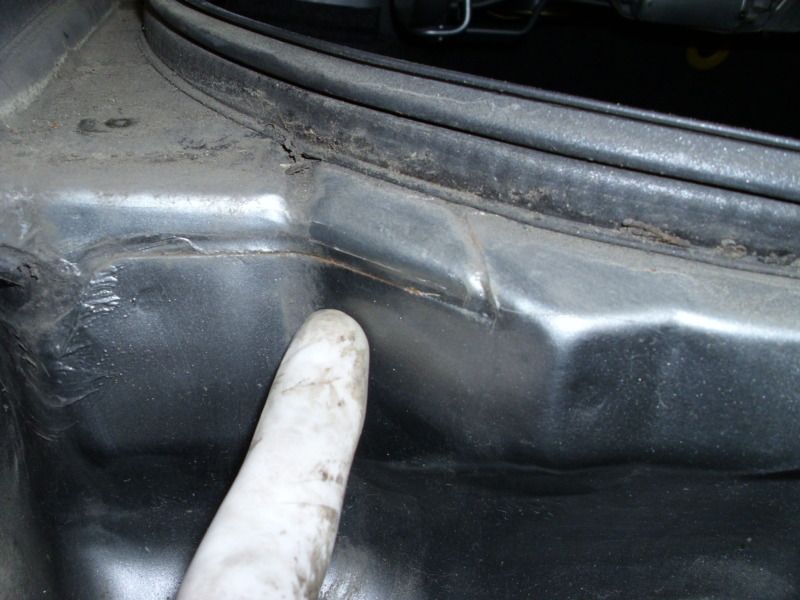
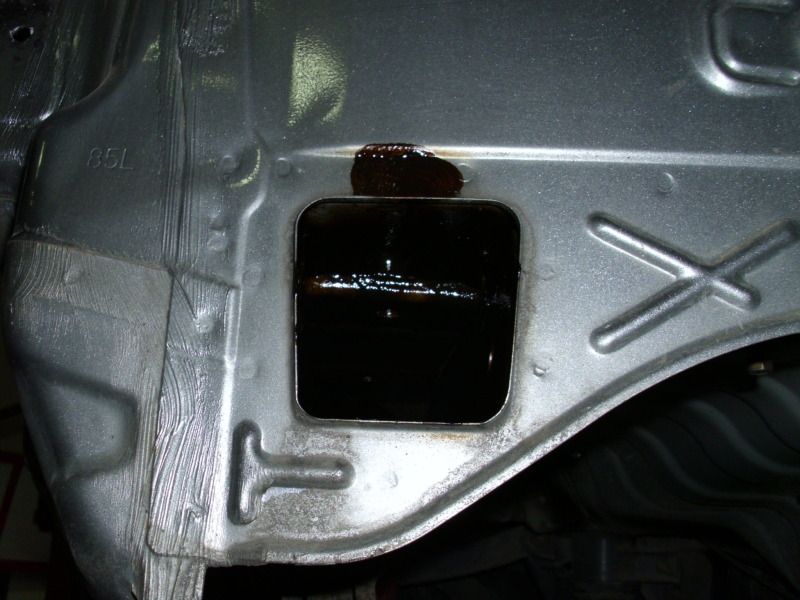
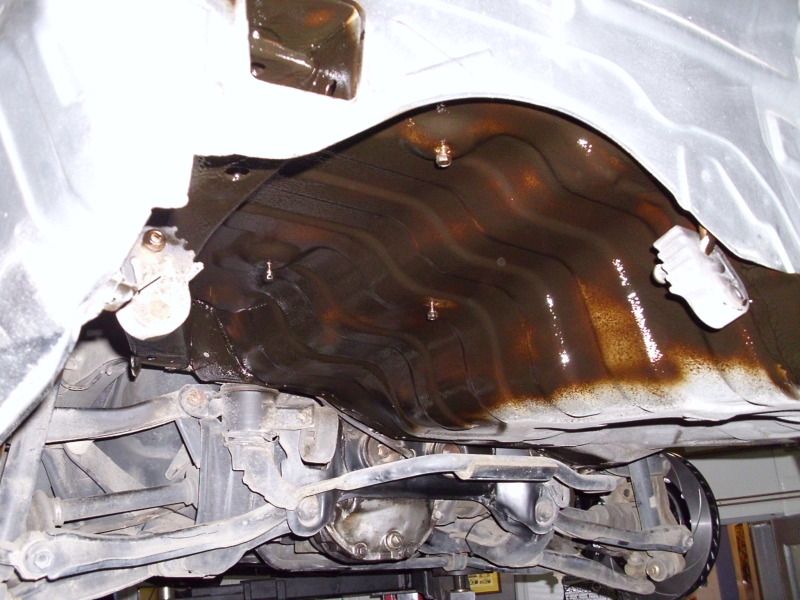
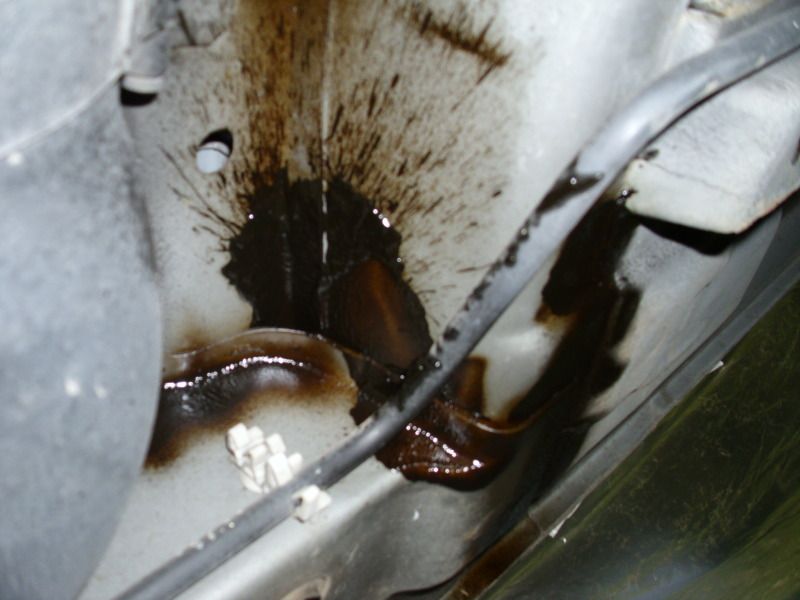
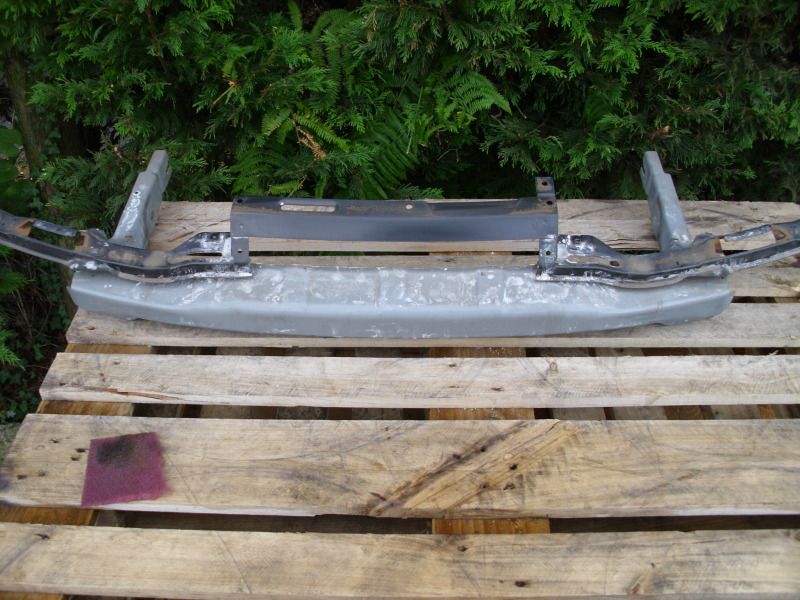
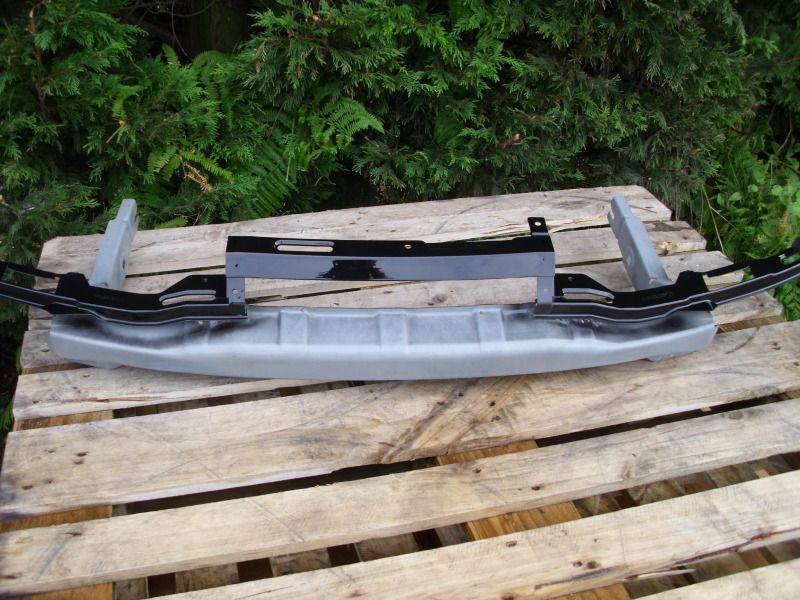
(massive rust trap for the future kids.......you heard it here first :thumbs:)
With all of the plastic 'shields' removed, a stiff but flexible brush was used to remove the dry dirt and leaves, and when the surface was properly clean and dry, I could start to apply the protective layers.
With the shell in such great condition, it made sense to maintain this standard, so Gary asked me to concentrate on recesses, cavities and areas that are known weakspots on cars like this so extra time was spent on chassis legs and rails, the sills, wheel arches and the wing returns. Dan was able to juggle his normal techie jobs with giving me a hand for the jobs that require more than two hands :D
With the bumpers off, the chassis rails were the first and most obvious area of attack
Image
The photos don't show the finished job, but should give you an idea of the work involved.
Image
I mentioned water traps a few times, and this next photo was a great example of what I mean
Image
This is where the chassis rail meets the front of the rear wheel arch and shows how the waxoyl has blown out of the two joining pieces of metal...if waxoyl can blow out, water would have caused rust in this join and eaten its way out from the inside!
Image
I had been advised to run this application in thin and even coats, and better to apply two or three times building up the layers, rather than just chuck it on. This advise was really good, as it meant that the job was neater (better for me, the client and APT :D ) the materials went further (cheaper for the client) and the overall finish was much nicer.
With the undersealing complete, focus shifted to reassembly. Some of the components from the previous S14 were being used again on the new shell. Anything that needed renewing was changed, but where the client's money could be saved it was, and where items could be renovated they were.
Before and after of the Tein top mounts
Image
Before and after of the front bumper support
Image
Image
Polished S15 lights that suffered from the typical plastic 'fade'
Image

With the car reassembled, wheels refurbed, new tyres fitted, engine and gearbox fitted, suspension swapped, ECU mapped, and alignment done it was ready for the very proud and lucky owner to collect
Image
Image
http://www.auto-genie.co.uk
07733 527430
stuart@auto-genie.co.uk
Valeting, detailing and undersealing

IWANT1
Posts: 2832
Joined: Fri Jul 28, 2006 9:26 pm
Location: cambridgeish

Post by IWANT1 »

"two water magnets to dry it off (no silicon blades!)" tell mne more fella??????
Image
" Uh Betty you should of seen this car in Ely today!! it had stickers and stripes
all over it, and when it started up, the noise!!!, I could feel my teeth rattling!!!"

User avatar
Stuart
Posts: 18080
Joined: Thu Jul 27, 2006 3:26 pm
Location: Auto-Genie HQ
Contact:

Post by Stuart »

Part three

As I was finishing my part of the work on the S15, Evildave (not sure if he's really evil) rocked up in his Evo 5. I think Dave would be honest enough to say he focuses on the mechanical bits rather than the aesthetic areas of car ownership :) One thing led to another, and I was booked to do a 'quick' valet on his car whilst it was @ APT's for more power and response tuning.

I did a quick inspection with Dave and agreed on what could and should be done. Dave's front bumper is fibreglass rather than PU so it meant that it was peppered with chips, and they'd require some TLC from his friendly bodyshop man at a later date. With that in mind, it was agreed to do a two bucket wash and shampoo, a decent wax, some underbonnet stuff, door shuts, arch stuff, wheels and exhaust, glass polish (external) and leave it at that. Meguair's was the weapon of choice for this lot and top to bottom it took about 3.5 hours.
Before
Image
After
Image
Before
Image
After
Image
Engine bay shot
Image

After the metallics of the Evo and BMW, it was interesting how much different a 'flat' black was to valet. It certainly made a big difference to how the waxes came off afterwards (weather conditions were similar and drying times were the same). It also taught me that flat black Evo 5's with black wheels are officially the toughest looking road cars out there :thumbs:
Image

So that's that. I would like to stress that I do not consider myself to be a detailer, as I have no interest in complicated paint corrections at this stage although minor suff damage like the APT cone scars are fine. I would also like to add that although Gary was kind enough to allow me to use his property, and allow me access to his own and customers cars, he and I are not formerly linked in business. He and I are looking at ways of providing the services to his customers but that is all at this stage (and if anything develops, we'll let you know). The return to self-employment has been enjoyable and I will naturally see how it all develops.

Obviously, if loads of you guys want your car valeted, undersealed or generally 'blinged', please form an orderly queue :thumbs:
http://www.auto-genie.co.uk
07733 527430
stuart@auto-genie.co.uk
Valeting, detailing and undersealing

User avatar
Stuart
Posts: 18080
Joined: Thu Jul 27, 2006 3:26 pm
Location: Auto-Genie HQ
Contact:

Post by Stuart »

IWANT1 wrote:"two water magnets to dry it off (no silicon blades!)" tell mne more fella??????
Water magnets are the trade name for the Meguair's drying towels. I always use at least two to ensure that any remaining water is taken away from the paint surface with the lowest possible impact to the painted surfaces. Silicon blades are a nightmare and cause so many scrapes and scratches, I won't use them on paint.
http://www.auto-genie.co.uk
07733 527430
stuart@auto-genie.co.uk
Valeting, detailing and undersealing

User avatar
Daniel
Posts: 4260
Joined: Sun Oct 14, 2007 6:43 pm
Location: somewhere

Post by Daniel »

Jesus christ, now that's one clean looking S15 :D

User avatar
Ben
Posts: 11608
Joined: Thu Jul 27, 2006 8:16 pm
Location: East Anglia

Post by Ben »

Very good chap :) - yep Water Magnets are the way to go :)
Dum spiro, spero
____________________________________

User avatar
pablo
Posts: 4896
Joined: Thu Nov 09, 2006 10:37 pm

Post by pablo »

Nice work Stu:thumbs: and here i am thinking of asking a mate to do the Pug:(
Tntracing
http://www.facebook.com/Tntracing.uk

2015 - MSA Classic & Retro UK Time Attack Champions

User avatar
Stuart
Posts: 18080
Joined: Thu Jul 27, 2006 3:26 pm
Location: Auto-Genie HQ
Contact:

Post by Stuart »

:D
The travelling distance may take the joy out of this mate! I don't doubt your mate could do the same kind of job (assuming he has access to a compressor, ramps and a love for doing a job properly) so you may as well save yourself
http://www.auto-genie.co.uk
07733 527430
stuart@auto-genie.co.uk
Valeting, detailing and undersealing

User avatar
Jon
Posts: 773
Joined: Wed Oct 29, 2008 8:38 pm
Location: Ipswich

Post by Jon »

I really don't get the "detailing" thing tbh, although the results look fantastic :) I'd rather eat my own legs rather than spend hours cleaning a car.
On the other hand and since you mentioned Waxoyl, I'm tasked with the pleasure of undersealing my bro's new Capri and tbh could do with some advice on exactly what I need and how to do it.
Any pointers would be appreciated :nod:

Post Reply