The Saxo

Show us yours....
Tigerfill
Posts: 45
Joined: Thu Dec 24, 2009 9:25 pm

The Saxo

Post by Tigerfill »

Hi guys,
I know it's been a little while since I posted but I thought i would give you a update do a build thread on my new saxo!!

First of all my impreza has gone :-( , with chris (blacksmith) and i both having imprezas with the intention to race/rally both, it was proving to be very expensive so we decided to combine our efforts and money!! and head down the route of making 1 car good and doing it properly, rather than having 2 half done versions..

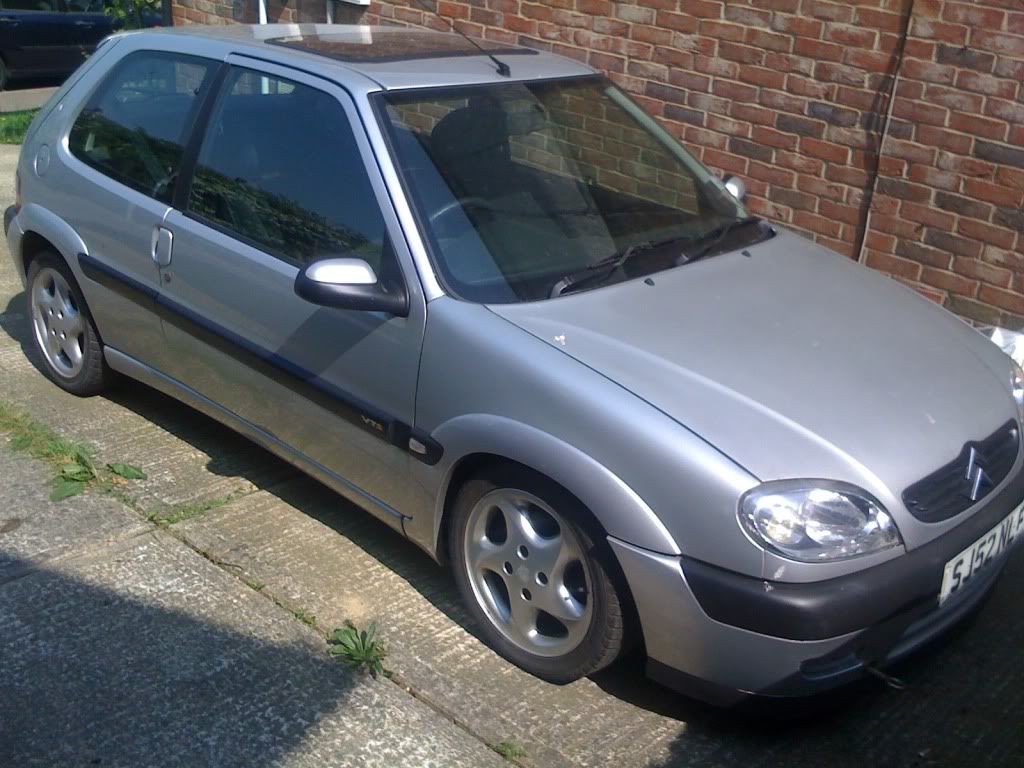
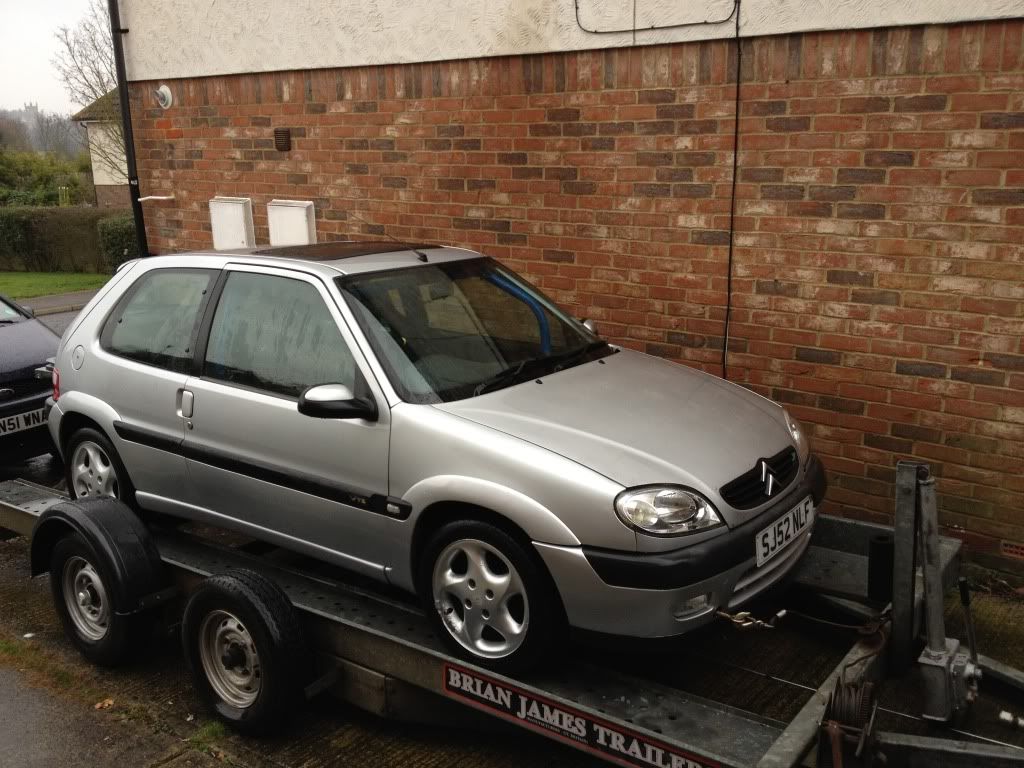
so my cars been gone a little while now and we found although the impreza is coming along nicely it is still however expensive to build and maintain , with that in mind and the desire to play more I decided we need a cheap track toy which we could also do the 12 car rallies with.. and here it is
Image

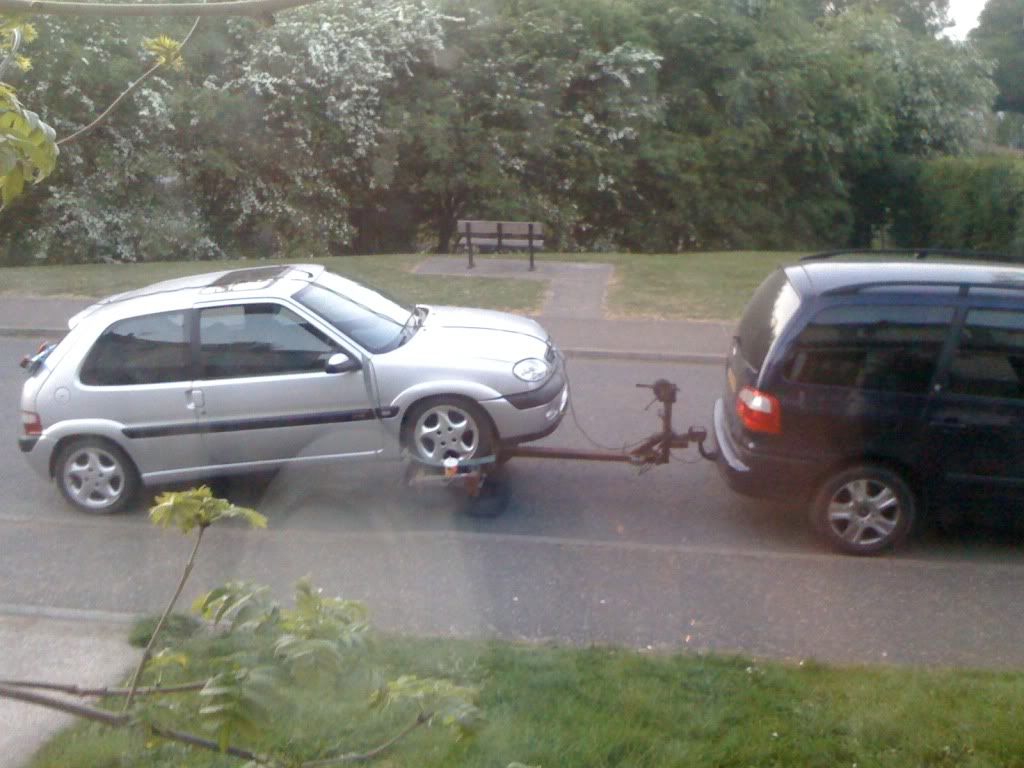
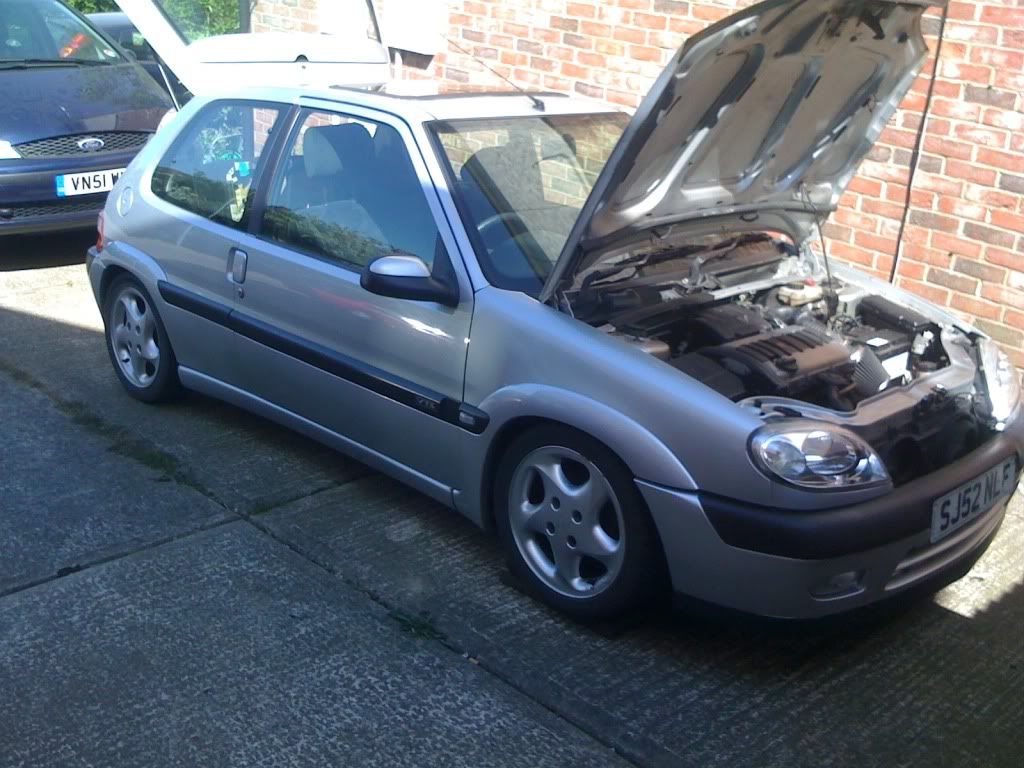
A Saxo 1.6 16v VTS ebay bargain

its got very little history but seams to have a few nice additions

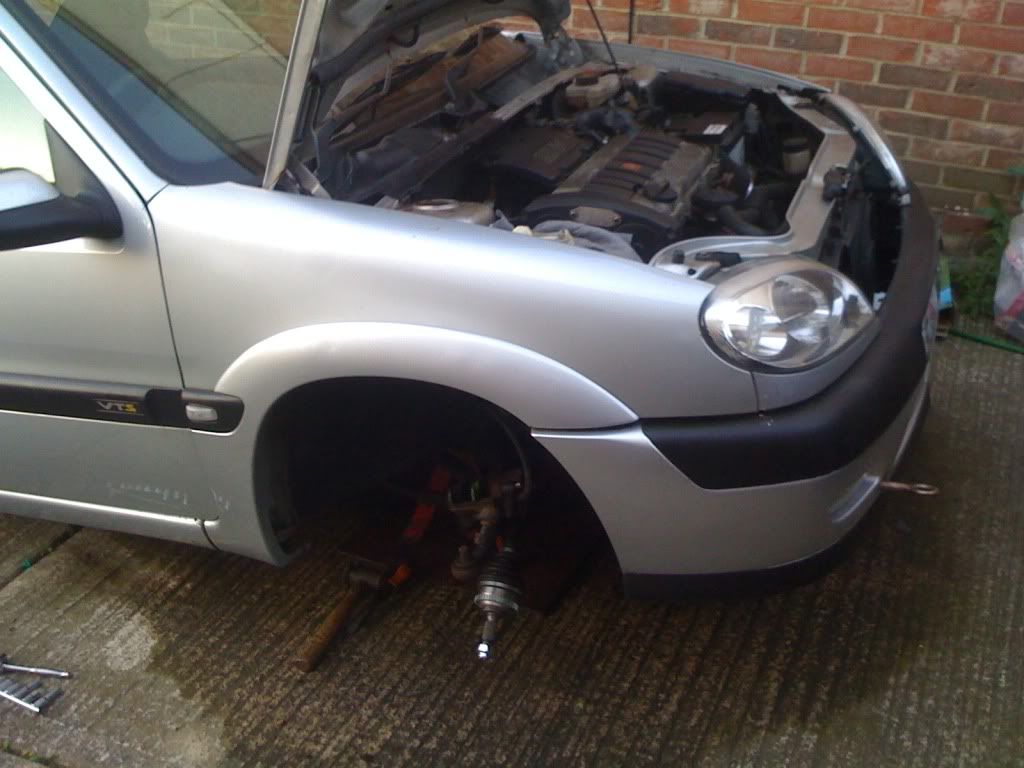
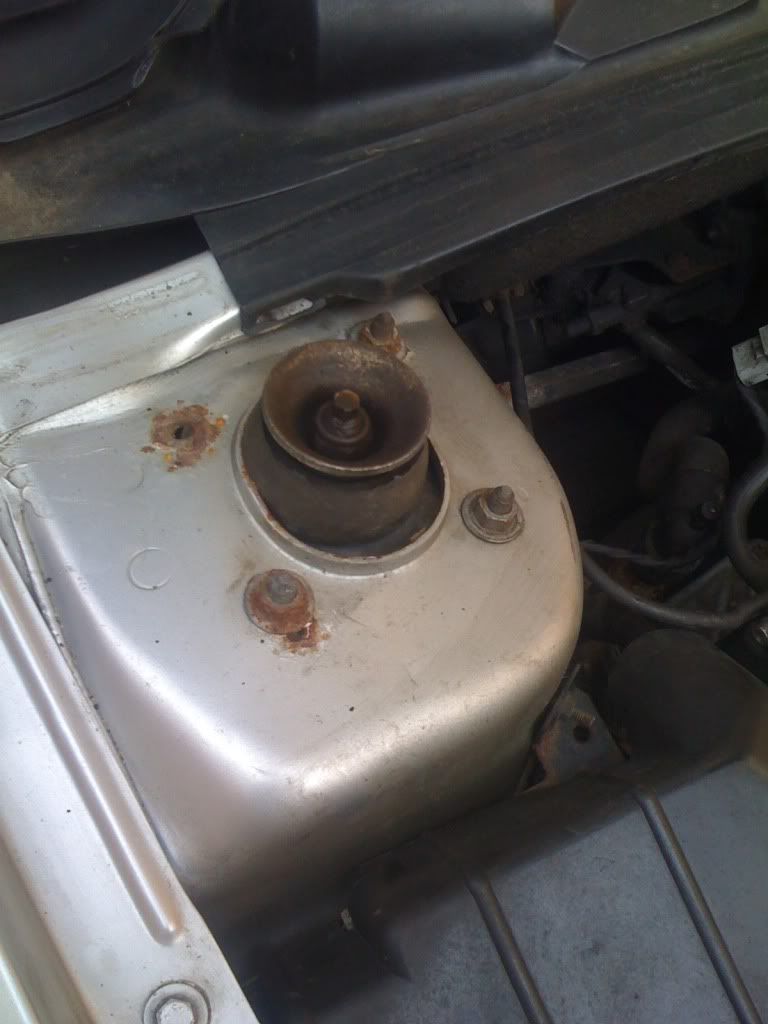
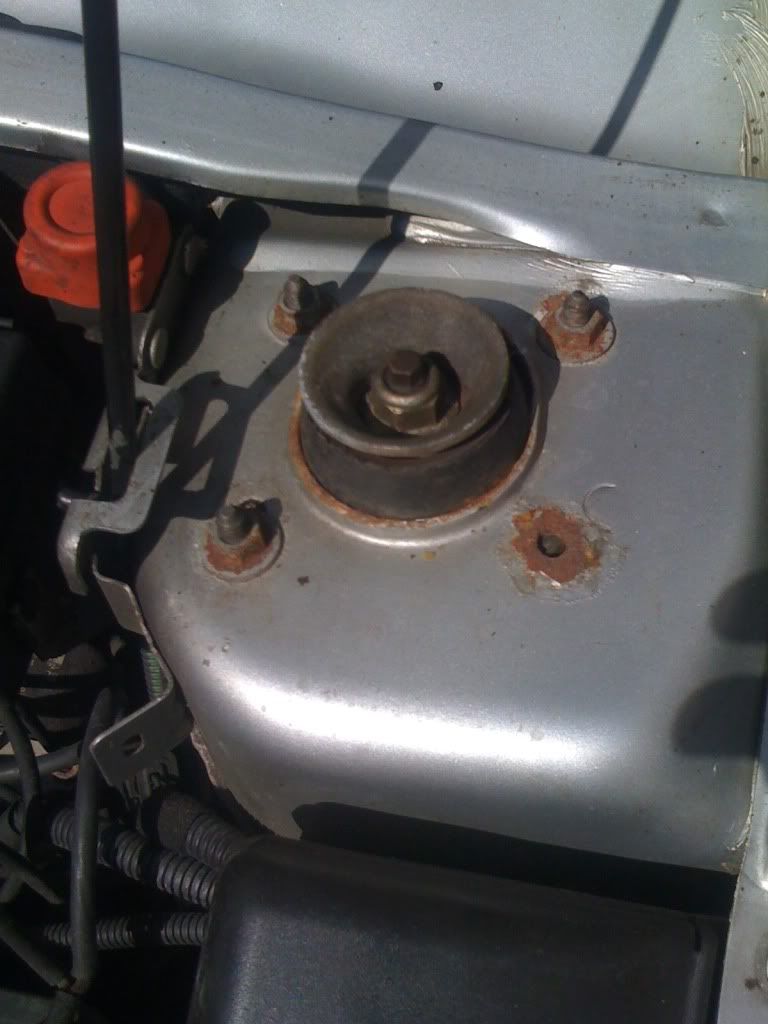
the first job was to go over the car thoroughly and find what was wrong with it.

The rear brakes are shagged and the hand brake has no use what so ever,

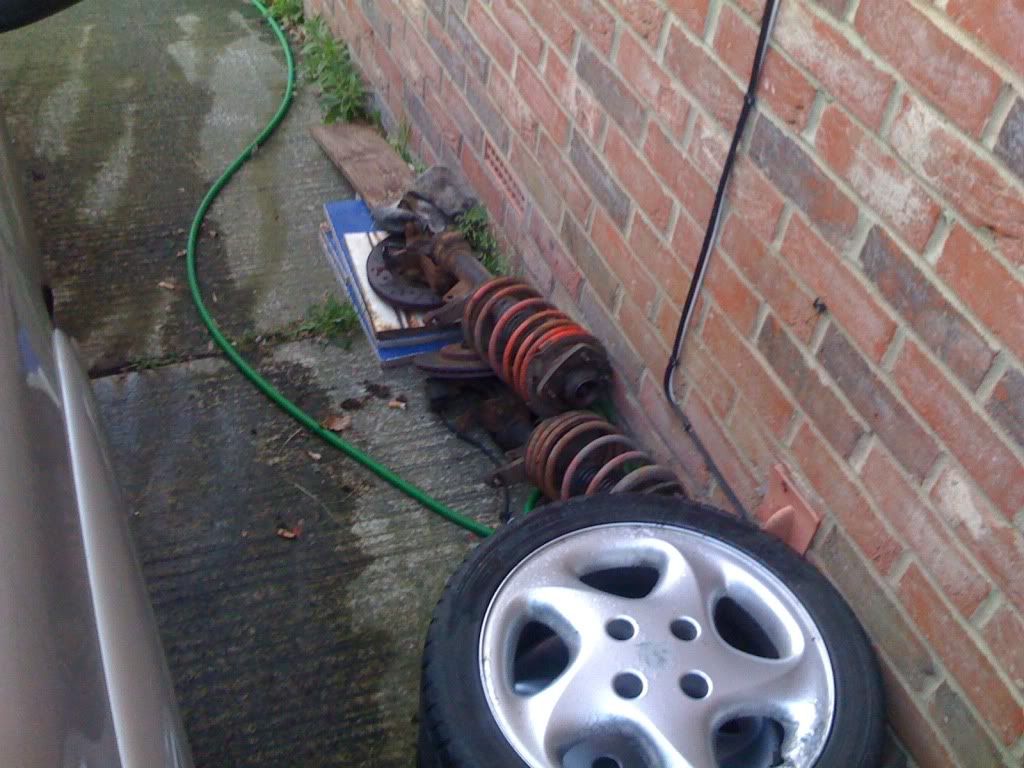
c.v gaiter was split n/s/f outer and o/s/f inner under further investigating both drive shafts are fooked

O/S steering arm bent

Bottom arm pinch bolts had normal M8 bolt's in???

K&N air filter almost rubbed though on thermostat housing

timing belt over due and a little play in the water pump

head light lenses flapping around

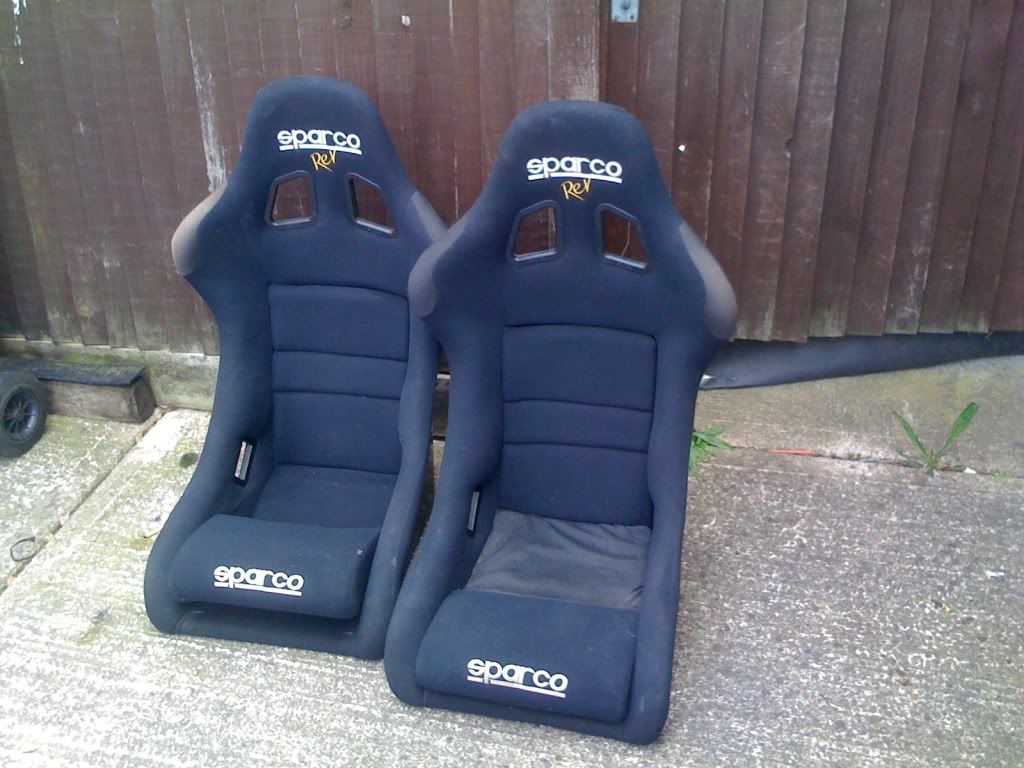
It has been lowered at the front with spax adjustable shocks all-round although a little old! the rear beam has been rebuit (new bearings) but it's at the standard hight.
also something quite funny the top mounts have been fitted incorrectly,,,lol

Image
n/s forward and o/s back
Image

I will update as I go Phil

User avatar
pablo
Posts: 4896
Joined: Thu Nov 09, 2006 10:37 pm

Post by pablo »

Got to love ebay;). Will it be used for tarmac or gravel rallies.

Tigerfill
Posts: 45
Joined: Thu Dec 24, 2009 9:25 pm

Post by Tigerfill »

Tarmac/concrete ;-) the 12 car rallies is a road rally event *edited above;-)

fitting new parts today, just having a tea break after spending the last 2 1/2 hours doing the fooking tight torsion bars!!!

Phil

User avatar
pablo
Posts: 4896
Joined: Thu Nov 09, 2006 10:37 pm

Post by pablo »

Good luck with the rallying:thumbs: When are you hoping to have the car built by and keep up the updates on the build of the saxo.

User avatar
Stuart
Posts: 18080
Joined: Thu Jul 27, 2006 3:26 pm
Location: Auto-Genie HQ
Contact:

Post by Stuart »

What is going on with those struts?

Good idea for a project mate. I know a few lads that own these and they all rave about them for track cars :)

Tigerfill
Posts: 45
Joined: Thu Dec 24, 2009 9:25 pm

Post by Tigerfill »

pablo wrote:Good luck with the rallying:thumbs: When are you hoping to have the car built by and keep up the updates on the build of the saxo.
Cheers mate I will do my best:D
stuart wrote:What is going on with those struts?

Good idea for a project mate. I know a few lads that own these and they all rave about them for track cars :)
In know.. lol i think the previous owner liked to fiddle with the car himself you would not believe the bodges I have found and believe me he must have had the biggest supply of cable ties ................. In the World.

Here are a few more pics

Image

struts off striped and rebuilt , I spent ten minutes trying to work out how to adjust the dampers - got there in the end lol

steering arm and drive shafts fitted:D

Image

Starting the timing belt, water pump and service items next :cool:

Phil

Tigerfill
Posts: 45
Joined: Thu Dec 24, 2009 9:25 pm

Post by Tigerfill »

Well what a day!! finally finished and had me tea, its quite surprising how much we got done today, on top of, adjust the rear hight, strip and rebuild the front suspension (a spring was upside down), replace rear disc's and pads, replace the steering arm, service, fit the timing belt and water pump!!

We also managed to fix the headlights, the reflective's were flopping around inside the casing, so a little time searching on the net we found this method of opening them so we went for it, we started by taking the clips off and putting them in the oven for 10 mins at 150c to melt the glue holding the glass on, remove from oven and gently pull the glass away form the backing, this was rather awkward as it's very hot...lol we were lucky to find that, all that had happened was the reflective had come off of the adjustment clips, clipped it back on ,put back in the oven, glued back together, put clips on jobs a gooden:hurray:

before the rear hight changed

Image

and after

Image

So now that bit is over, time now, for the striping to begin and ebay here I come:hurray:

User avatar
pablo
Posts: 4896
Joined: Thu Nov 09, 2006 10:37 pm

Post by pablo »

Thats a good days work, never heard about putting things in the oven to melt the glue, but it actually makes good sense:thumbs:

Tigerfill
Posts: 45
Joined: Thu Dec 24, 2009 9:25 pm

Post by Tigerfill »

Ok I know I'm rubbish at updates i come on here all the time and read all about you guys and your projects and im going to try harder to join in.

For those of you interested here are some more pic's not much different:hurray:

Image

Image

Image

Image


as it is now, it was way to low for the road so I fitted a coil-over conversion kit with 8" 350lbs springs, its also has a cda induction kit and a nice decat pipe


Image

Rob S
Posts: 3281
Joined: Wed May 09, 2007 11:37 pm
Location: The Shire of Essex

Post by Rob S »

That's going to be some fun ;) Good work!!

Post Reply