

I suppose I could give him a hand or make the tea :-D :lol:
TNT Racing XR4x4 - Time Attack 2009
Well after spending a week chipping the filler off the bonnet Alan has made a hard decision the bonnet is scrap  . What this means is that Alan is going to have to make a new bonnet :roll: Aswell as finish the new bumper, the relocation and fabrication for the air intake. Refit the drivers seat, build up the engine....etc.
I suppose I could give him a hand or make the tea :-D :lol:
I suppose I could give him a hand or make the tea :-D :lol:

At the moment Alan has got 3 projects on the go these are to make a new bonnet, making the front bumper and re design the air intake system.
This is where he is at
The top of the air box and filter have been removed and will have a lid fabricated on. A hole has been cut in the wheel arch and a pipe fed through, the pipe has been fibreglassed to the air box.
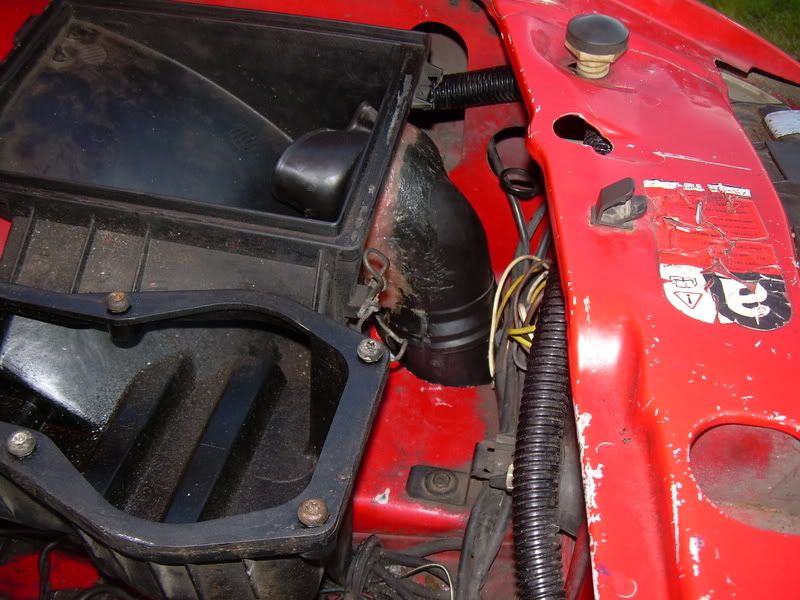
The pipe exits into the space behind the front bumper and this is where the cone filter will sit. This is also the reason for the new bumper to provide a direct air feed to it direct from outside of the car

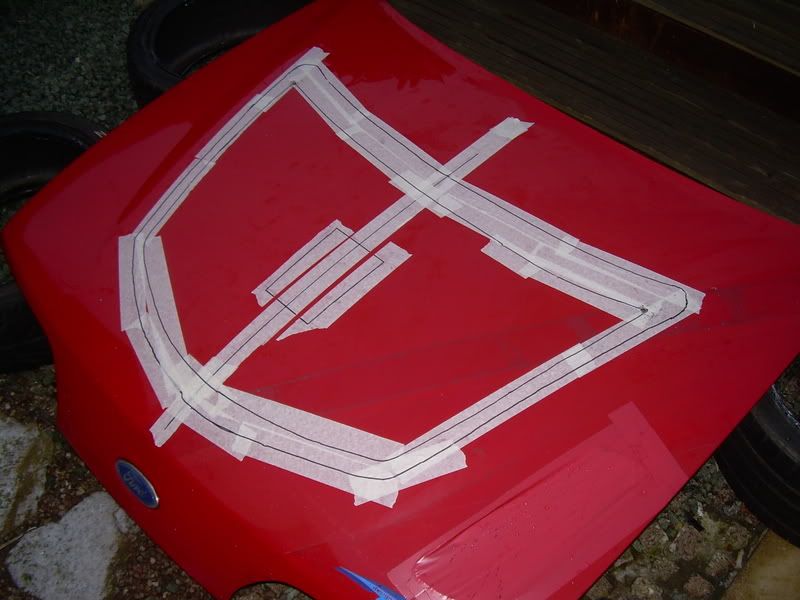
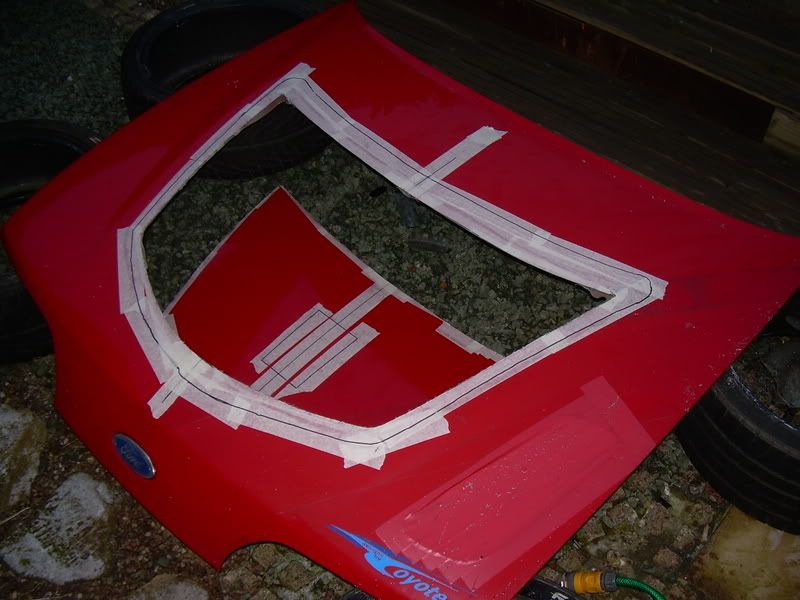
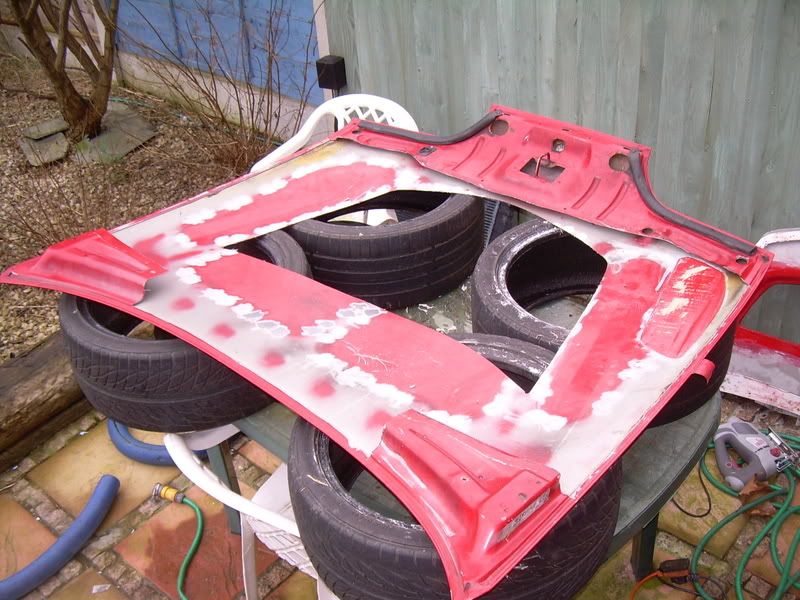
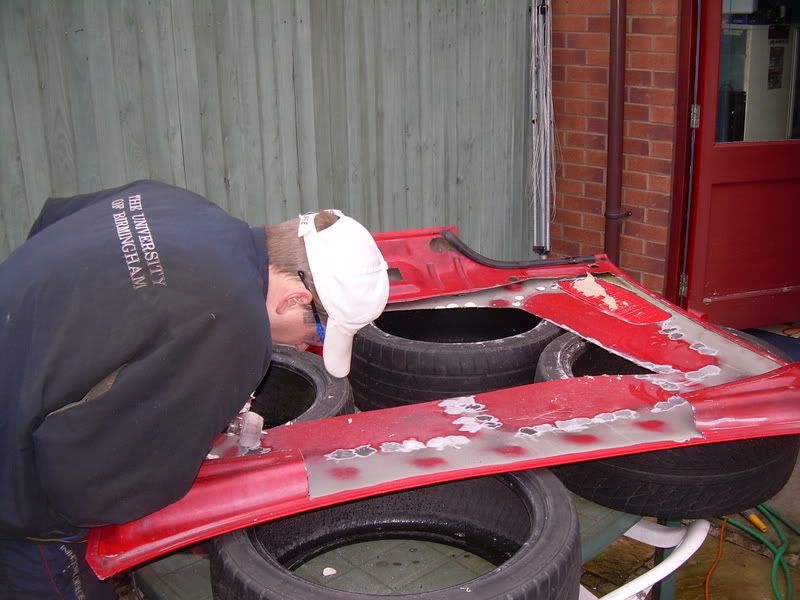
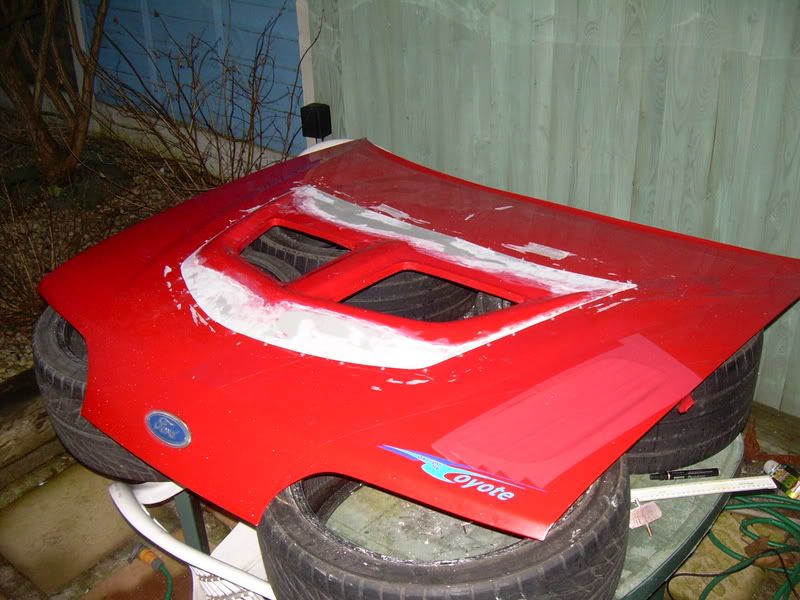
After deciding that the old bonnet was beyond repair Alan cut out the Evo vents and decided to refit it into another bonnet. This bonnet will also be going through the lightening process.
This is where he is at

The top of the air box and filter have been removed and will have a lid fabricated on. A hole has been cut in the wheel arch and a pipe fed through, the pipe has been fibreglassed to the air box.
The pipe exits into the space behind the front bumper and this is where the cone filter will sit. This is also the reason for the new bumper to provide a direct air feed to it direct from outside of the car
After deciding that the old bonnet was beyond repair Alan cut out the Evo vents and decided to refit it into another bonnet. This bonnet will also be going through the lightening process.


First rate guys 
Have you bonded and rivetted the vent on? What was the brand of bonder you used? (Something like Tigerseal?)
I am looking at some kind of venting for Betty and have looked at louvres and the like. A simple solution matches my skills and I like using cutting discs on grinders, as you know.
Any tips would be great.
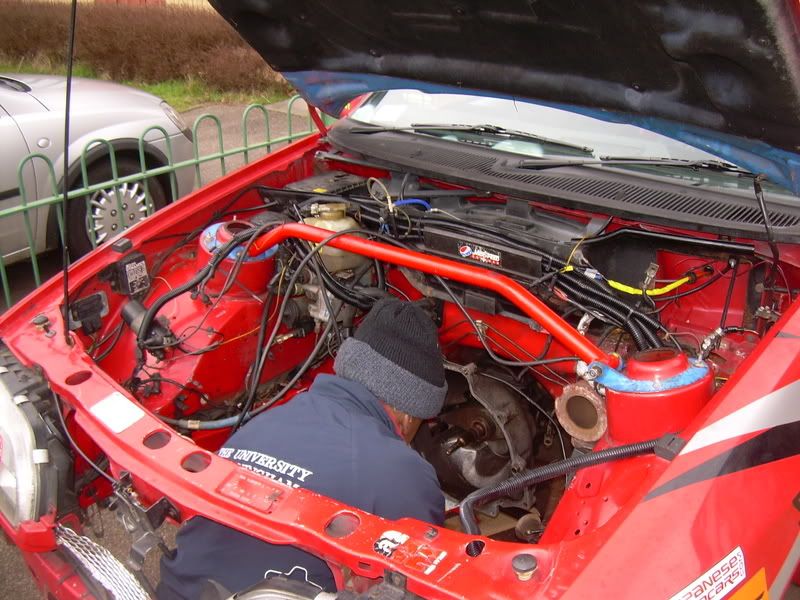
What's going on in that last photo by the way?
Have you bonded and rivetted the vent on? What was the brand of bonder you used? (Something like Tigerseal?)
I am looking at some kind of venting for Betty and have looked at louvres and the like. A simple solution matches my skills and I like using cutting discs on grinders, as you know.
Any tips would be great.
What's going on in that last photo by the way?
http://www.auto-genie.co.uk
07733 527430
stuart@auto-genie.co.uk
Valeting, detailing and undersealing
07733 527430
stuart@auto-genie.co.uk
Valeting, detailing and undersealing

i took the picture of pablo cleaning the engine bay becaust its full of crap and
just to show that he does every now and again do some work :-D
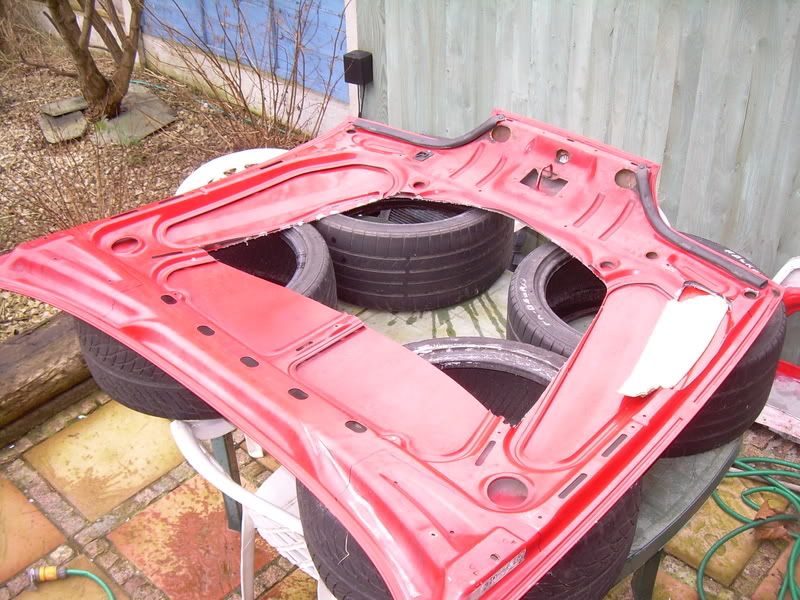
the bonnet has just been rivited on as this is enuf to keep it stiff
the rivits are space out by about 5"
the construction is bonnet,fiberglass vent then another strip of metal to secure together.
as for the lips im just using fiberglass as it can flex slightly and is light but yet strong too
just to show that he does every now and again do some work :-D
the bonnet has just been rivited on as this is enuf to keep it stiff
the rivits are space out by about 5"
the construction is bonnet,fiberglass vent then another strip of metal to secure together.
as for the lips im just using fiberglass as it can flex slightly and is light but yet strong too

V8 supercars the greatest show on wheels