

If you don't want to make a louvre tool, I may know of one that you can hire/borrow.
1966 Volvo Amazon - Crazy hot rod and track car

thanks guys.
And Stu.. this is a perfectly sensible exhaust! I once designed a single seater with a structural exhaust system - suitable materials were a little pricey and hard to get through. :roll:
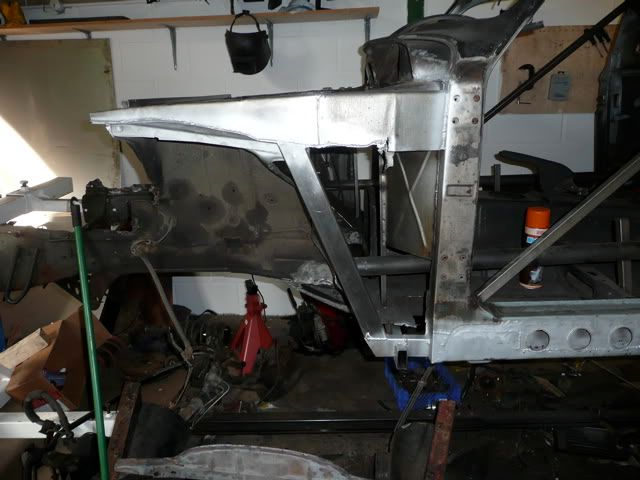
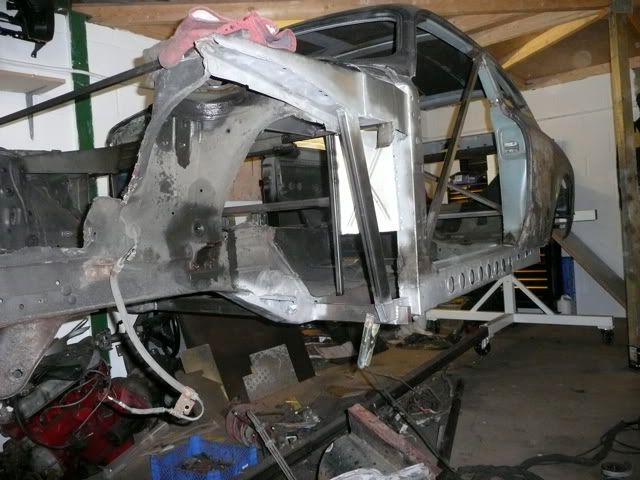
managed to get a few hours in last night...
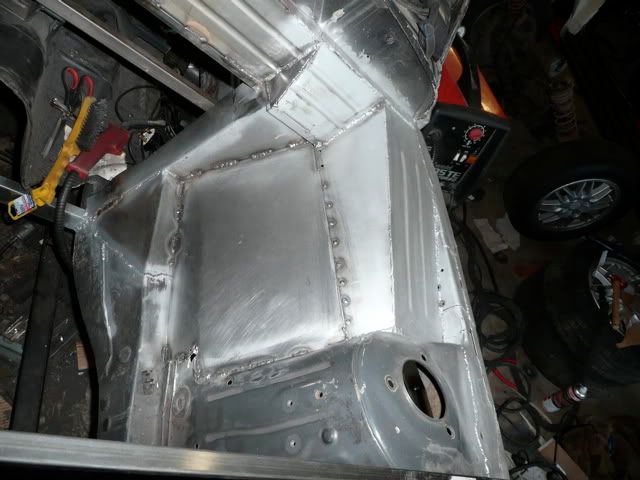
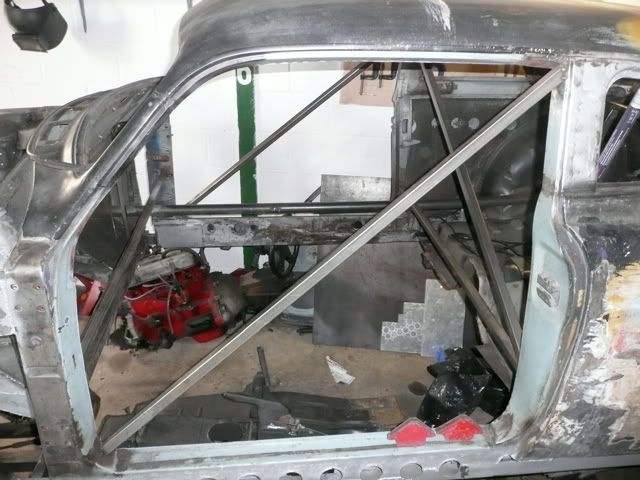
Sundays "pre-A-pillar" structure:
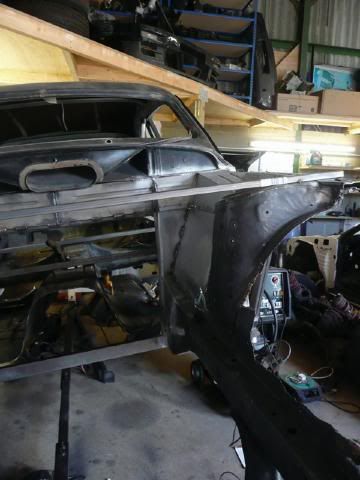
Big holes in old floor:

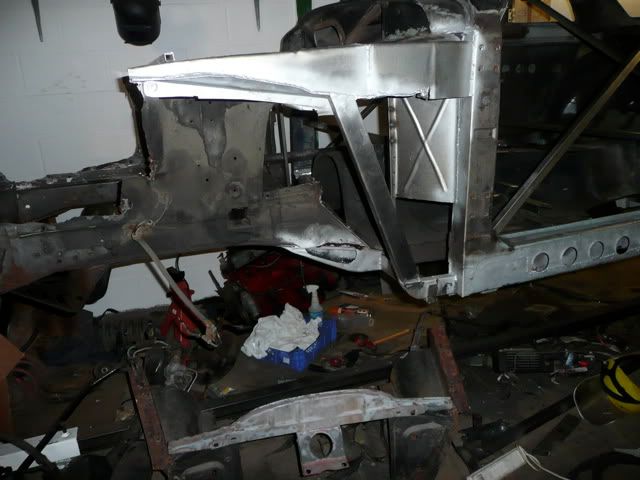
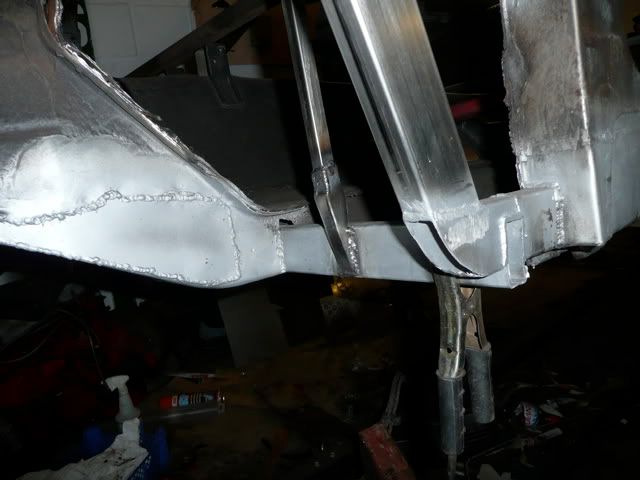
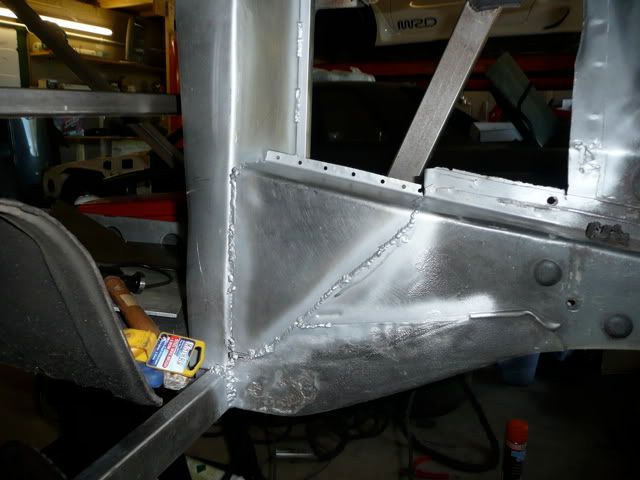
cut some more old metal away last night. Will now remake it stronger, lighter and less rusty, but mainly to give the shape and structure to hide a triple pas exhaust silencer. ( Or should i go straight through for guaranteed flames ? :twisted: )
is it me or does it look vaguely like the bad mobile from above?

And Stu.. this is a perfectly sensible exhaust! I once designed a single seater with a structural exhaust system - suitable materials were a little pricey and hard to get through. :roll:
managed to get a few hours in last night...
Sundays "pre-A-pillar" structure:
Big holes in old floor:
cut some more old metal away last night. Will now remake it stronger, lighter and less rusty, but mainly to give the shape and structure to hide a triple pas exhaust silencer. ( Or should i go straight through for guaranteed flames ? :twisted: )
is it me or does it look vaguely like the bad mobile from above?
Before I start on the car again in the weekend - here is the photo diary progress from the last few weekends work:
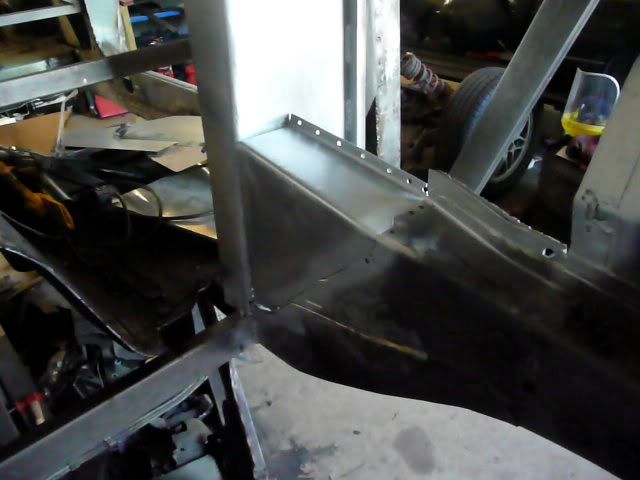
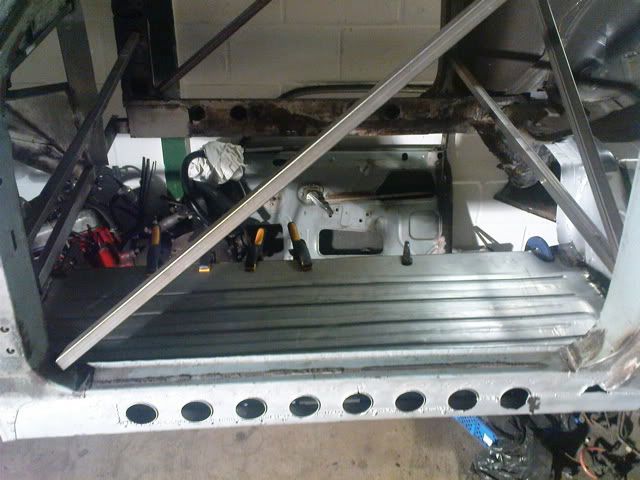
Rusty holes replaced with new metal and a bit of fab on the bulkhead frame:
top part (made ages ago) seam welded:
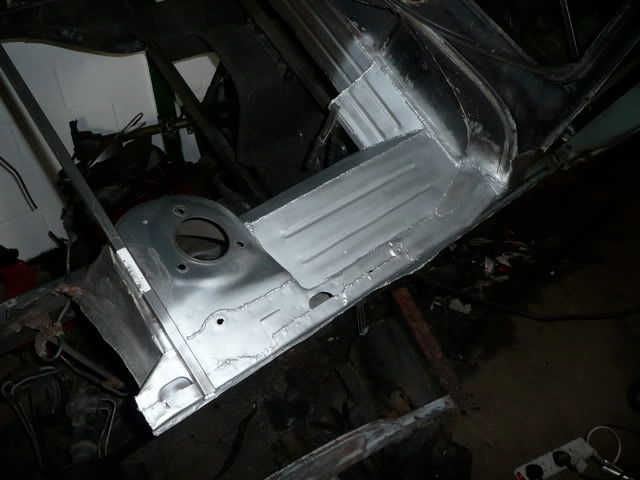
Bulk head LHS made and welded in:
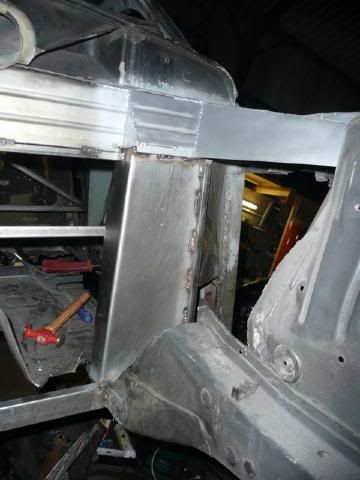
Time to extend the chassis rails back to the bulkhead. To show the standard process used on all the other parts, first of all the surrounding area was cleaned up back to the metal and condition checked. Then a template was made from card:
Then a part is cut out, bent up, shapped, drilled, cleaned, sanded for a key and painted with Weld through zinc primer anywhere there will be an overlap or I wont be able to get paint to once welded in:
Then it is held with klecos, clamps, tack welds or what ever I can find to work, whilst it is welded in place:
Then the process is repeated for the next big lump of steel.
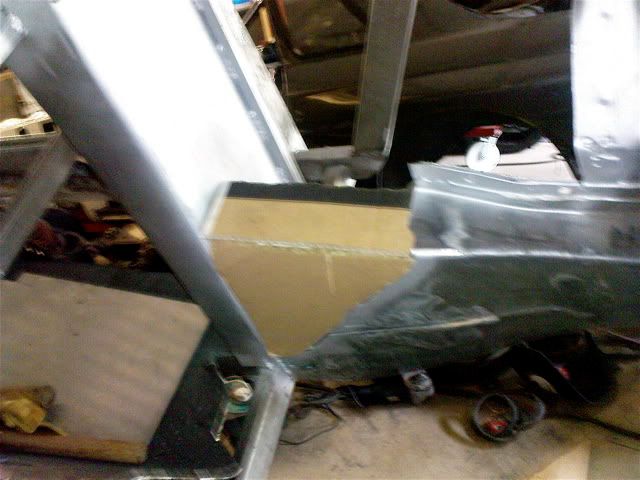
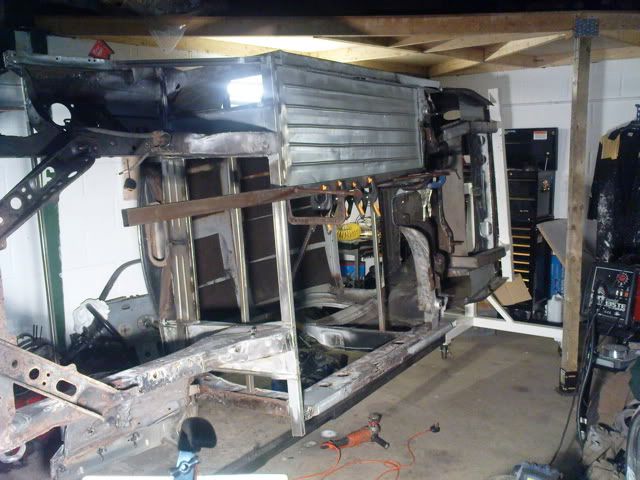
The landlord popped in and couldnt believe there was large sections of metal being added rather than more cut off. That inspired me to make the next big step:
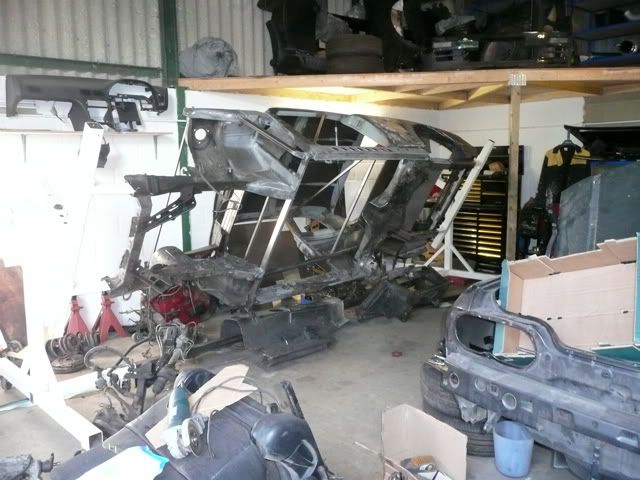
Cut the rest of the floor out!
I needed to get around to that once I had enough strength back in the rest of the shell, and it made it so much easier to finish the work on the sills. Looks crazy, but I will rope the misses into helping me bead roll so new large floor panels in the weekend. She enjoys the not so messy fabrication anyway. For now I still have a big hole to climb in:
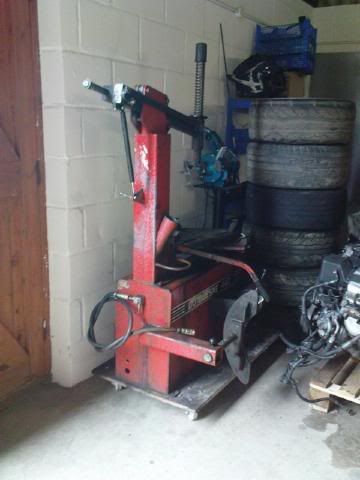
To finish - we got a new toy in the BigPower workshop, just need to wire it in and learn how to use it properly:
Rusty holes replaced with new metal and a bit of fab on the bulkhead frame:
top part (made ages ago) seam welded:
Bulk head LHS made and welded in:
Time to extend the chassis rails back to the bulkhead. To show the standard process used on all the other parts, first of all the surrounding area was cleaned up back to the metal and condition checked. Then a template was made from card:
Then a part is cut out, bent up, shapped, drilled, cleaned, sanded for a key and painted with Weld through zinc primer anywhere there will be an overlap or I wont be able to get paint to once welded in:
Then it is held with klecos, clamps, tack welds or what ever I can find to work, whilst it is welded in place:
Then the process is repeated for the next big lump of steel.
The landlord popped in and couldnt believe there was large sections of metal being added rather than more cut off. That inspired me to make the next big step:
Cut the rest of the floor out!
I needed to get around to that once I had enough strength back in the rest of the shell, and it made it so much easier to finish the work on the sills. Looks crazy, but I will rope the misses into helping me bead roll so new large floor panels in the weekend. She enjoys the not so messy fabrication anyway. For now I still have a big hole to climb in:
To finish - we got a new toy in the BigPower workshop, just need to wire it in and learn how to use it properly:


-
blackskygtr
- Posts: 632
- Joined: Fri Oct 13, 2006 9:55 pm
- Location: Norwich,Norfolk

Well, these things always seem to start with the excuses for why not a lot of progress has been made, and this project has been is no different with work the usual cause... until today at least. In the last 3 months I have barely been to the workshop (now much improved with a complete wiring upgrade), there have been a few days of fiddly bits, and finishing off, but nothing exciting enough to report. Luckily today to try and make some progress before the year finished a friend, Dave (Captain Muppet to anyone in the BDC), helped me out.
To round up, in September the misses helped me make one side of the floor pan and that was welded in.
The beginning of November saw a couple of days of cocking about finishing off the drivers side of the engine bay. Nothing exciting enough for photos. It is all just repeats from the other side earlier. Then i went away for ages, and came back to the workshop for the first time today.
With Daves help the other floor pan was made and welded in. (PICTURE TO FOLLOW - they must be on the other computer) :x
Then the main point of the day - Offer up the V8! It will have to come out again several times, but this was to work out any fitment issues, steering clearance and mount designs. Since it was going to be practically mid engine the subframe was useless for that. A bit of prep stripping the bits i needed on the front sub frame for reference, and zip tying them to the chassis for quick adjustments began. Once the engine was lifted there was lots of swearing, starting again and general confused looks until finally we got the engine in the general location; inside a lowered shell on the rotiserie. And the plasma cutter only got used twice to get it there.
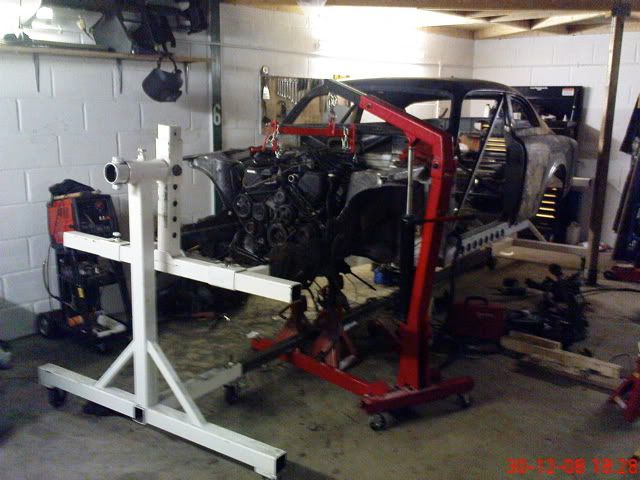
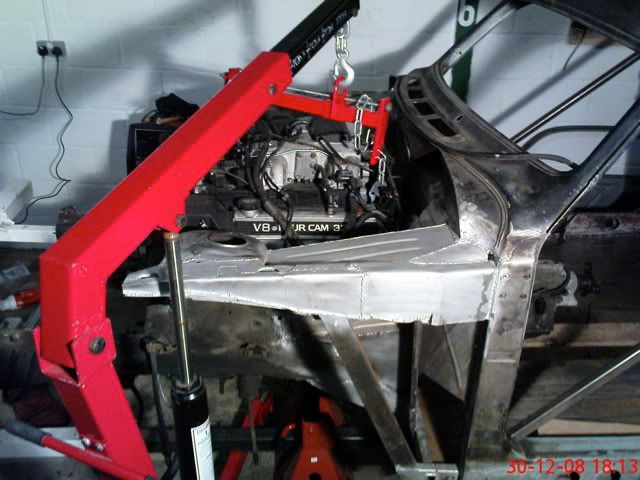
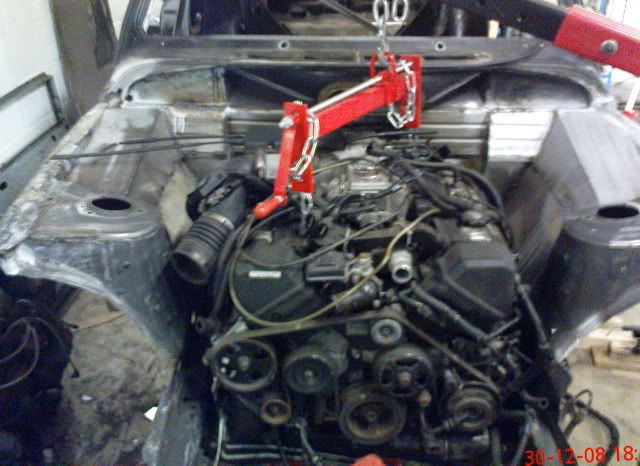
It can still go back a little more, but already the FEAD is inline with the suspension turrets. The measuring all worked out as the Nissan power steering rack just needs a simple extended link to work. Right now it is left in place sitting on a frame and 4 axle stands, ready for next time when I can start on the mounts.
Bits to buy for then - engine mount rubbers, nissan front subframe bolts, gearbox mount rubbers, tubing for the engine frame and some more steel for the gearbox tunnel.
To round up, in September the misses helped me make one side of the floor pan and that was welded in.
The beginning of November saw a couple of days of cocking about finishing off the drivers side of the engine bay. Nothing exciting enough for photos. It is all just repeats from the other side earlier. Then i went away for ages, and came back to the workshop for the first time today.
With Daves help the other floor pan was made and welded in. (PICTURE TO FOLLOW - they must be on the other computer) :x
Then the main point of the day - Offer up the V8! It will have to come out again several times, but this was to work out any fitment issues, steering clearance and mount designs. Since it was going to be practically mid engine the subframe was useless for that. A bit of prep stripping the bits i needed on the front sub frame for reference, and zip tying them to the chassis for quick adjustments began. Once the engine was lifted there was lots of swearing, starting again and general confused looks until finally we got the engine in the general location; inside a lowered shell on the rotiserie. And the plasma cutter only got used twice to get it there.
It can still go back a little more, but already the FEAD is inline with the suspension turrets. The measuring all worked out as the Nissan power steering rack just needs a simple extended link to work. Right now it is left in place sitting on a frame and 4 axle stands, ready for next time when I can start on the mounts.
Bits to buy for then - engine mount rubbers, nissan front subframe bolts, gearbox mount rubbers, tubing for the engine frame and some more steel for the gearbox tunnel.