Mazda RX7 FD3S (Rex)

Show us yours....
Post Reply
User avatar
RX7
Posts: 5727
Joined: Fri Jul 28, 2006 11:16 am
Location: Norwich

Post by RX7 »

murano3 wrote:But he still failed the gay test :)
Tell you what mate, why dont you post up what you have done on your car lately.......... :P

Also you are the one that watches Casualty remember !!!!

Anyway...:focus: (this seems to be a habit on my threads lol)

User avatar
jungle-jim
Posts: 2252
Joined: Tue Dec 05, 2006 9:43 pm
Location: naaaarwich

Post by jungle-jim »

RX7 wrote:
murano3 wrote:But he still failed the gay test :)
Tell you what mate, why dont you post up what you have done on your car lately.......... :P

Also you are the one that watches Casualty remember !!!!

Anyway...:focus: (this seems to be a habit on my threads lol)
get a room guys!! lol.

very good gareth.

it seems the trip to the 'ring has changed you in some spiritual kind of way? :?

rather like you reached puberty? :D

btw i believe their your hands mate. i can see the circle and triangle logo's imbedded into your fingers ;)
BIG POWER GO KART ENDURANCE CHAMPION 2007

ImageImageImageImage

User avatar
RX7
Posts: 5727
Joined: Fri Jul 28, 2006 11:16 am
Location: Norwich

Post by RX7 »

Righto....weather was good so it was time to tackle the rear suspension !!!

Something I am ashamed to say that I have been putting off for a long time due to poor weather and reading on the MRC forum and listening to Ollie tell me how much of a nightmare job it is because of nuts that have seized etc. But its time to do it because I need the geometry done.

Now the RX7 has double wishbone suspension front and rear (in case you didnt know) and the procedure for removing the front suspension is different than the rear. With the fronts you have to remove the top wishbone and swing the shock out. With the rears you remove the bolt that comes from the droplink from the antirollbar and goes through the rear suspension shock from the bottom wishbone and and it will drop the wishbones enough for you to slide the shock out.

So.....as per above you can see I read up as usual on how to do it, jacked up the car, removed the wheel, sprayed everywhere with WD40 and brushed a lot of the dirt away and saw about removing the first nightmare bolt fron the bolt through the suspension strut !!! This is shown in the below pic (the one where the blue is still on the strut !!
Image
To my suprise a bit of brute force (even mine!) and it came undone. Couldnt believe it. Now here is where my Mazda Workshop manual let me down, it said I should be able to slide this bolt out and then the strut will come out (obviously also by undoing the nuts at the top!). Sadly though this wasnt the case and I had to remove the drop link from the anti roll bar, this again wasnt too much trouble with a ratchet spanner on the nut and another spanner stopping the bolt moving.
Image
Once this nut was undone I had to use a trolley jack to lift the hub up level so I could take the bolt out....easy 2 secs job, then dropped it down to take out the drop link completely and releasing the strut at the bottom !! Then it was just a case of removing the top 3 bolts and the strut brace and then pulling the strut out, measuring the new one up and putting it back in..
Image
Tightened all the nuts and then put the wheel back and did the opposite side....piece of cake !!!!

However.....my car now looks like a drag car (I havent driven it yet since doing the suspension, it will drop down when I do!)......
Image
close up
Image

Also started rubbing my vented bonnet down, gonna crack on with that this week and replace a front left lower wishbone as I am getting knocking like crazy from that side. Hurrah.......roll on the good weather !!
--------------------------------------------------------------------------------
Gareth

User avatar
RobCallow
Posts: 1668
Joined: Sun Oct 01, 2006 8:11 pm
Location: Deepest Darkest Norfolk

Post by RobCallow »

At least your tyres won't be rubbing on your wheel arches with that much clearance :o :o
Rob

User avatar
Ben
Posts: 11608
Joined: Thu Jul 27, 2006 8:16 pm
Location: East Anglia

Post by Ben »

:) .. yeee hahhhh .. nice job now get it lowered again
Dum spiro, spero
____________________________________

User avatar
RX7
Posts: 5727
Joined: Fri Jul 28, 2006 11:16 am
Location: Norwich

Post by RX7 »

Well I went for a drive and it has settled about less than half an inch lol. So it will be tomorrows job !!!
--------------------------------------------------------------------------------
Gareth

User avatar
duncan
Posts: 10897
Joined: Thu Jul 27, 2006 3:12 pm
Location: On the podium
Contact:

Post by duncan »

Looks like a bugger of a job Gareth - well done for getting it done :thumb:

Just needs to be lower now :D

User avatar
RX7
Posts: 5727
Joined: Fri Jul 28, 2006 11:16 am
Location: Norwich

Post by RX7 »

Well it has been a while since I have updated this thread so here are the latest issues and sagas lol. Working on my FD is never easy, I swear it is cursed !!!!!! All the parts are being sprayed up by Chris at H-Tech after being impressed with the work he has done on the cars on here.

Anyway......here goes:

Finally primed up my bonnet nicely after filling all the deep scratches and endless rubbing down lol.
Image
Image

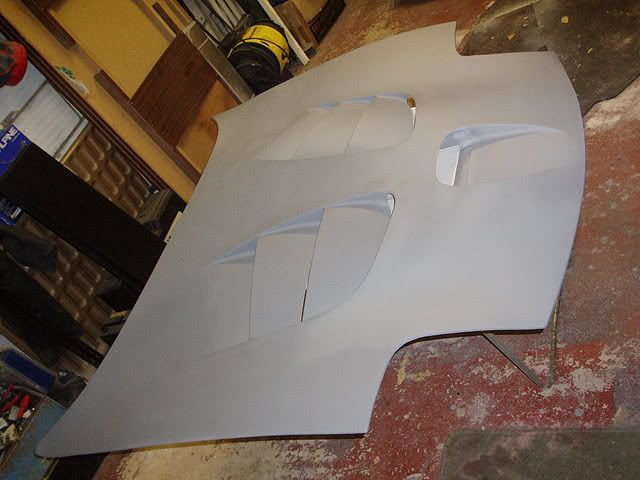
Now I was gonna keep this a bit secret until it was done but nahhhh.....
Image
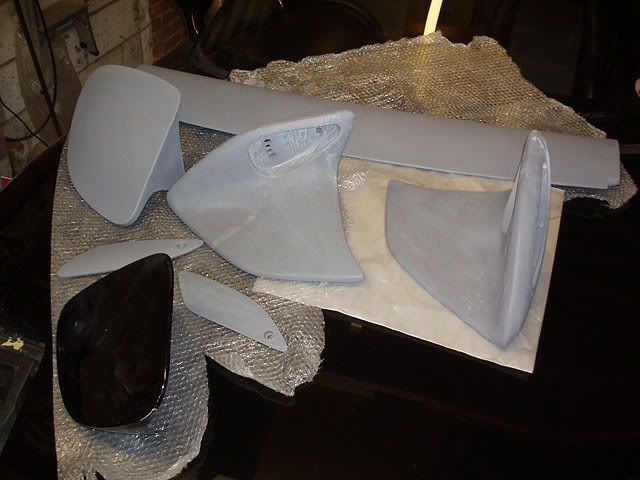
From the above picture you can see there are 2 headlight covers (1 of mine was chipped and just needed touching up but the other is a new one to replace my crappy vented one). In addition there is a spoiler from the later 99 spec RX7, I have always wanted one of these and managed to get a secondhand one on MRC.

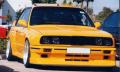
For those who are intrigued....it looks like this when it is on the car:
Image

It didnt need much work, just a few holes filling and then priming up.

Dropped the spoiler and headlights off to Chris but the bonnet would not fit in my dads car (an S-Type Jag which isnt a small car !!!), so Kev came to the rescue and we took it up to Chris in his van.....result !!!

Sunday morning I decided it was time to see about removing the old spoiler and see what the condition was like underneath. The new spoiler doesnt cover all the holes and leaves 2 holes (1 each side) nearest the window exposed. The only way to get at the spoiler mounting bolts is by taking all this plastic off.......
Image
So the first job is the bit nearest the top of the window, then the 2 sides:
Image
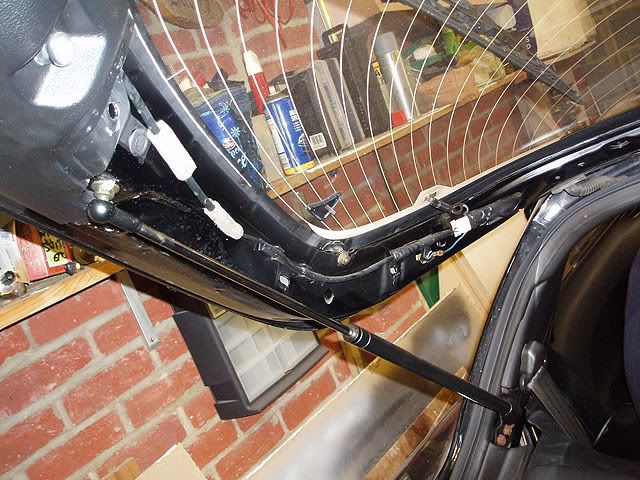
then the bottom bit...
Image

Next job was removing all the bolts, this was easy apart from the 2 in the centre ( the 2 that will be exposed !!). Basically there is a bolt coated in resin in the spoiler and there is a nut to undo on the underside of the boot. One of the nuts came off, but the other was so rusted up it ended up cracking the bolt off the spoiler so all it did was turn round and round. I tried all combinations using a variety of different tools but the blooming thing wouldnt come out. The only thing left to do....drastic I know was to cut the spoiler and see if I could hack out the bolt.....eek
Image
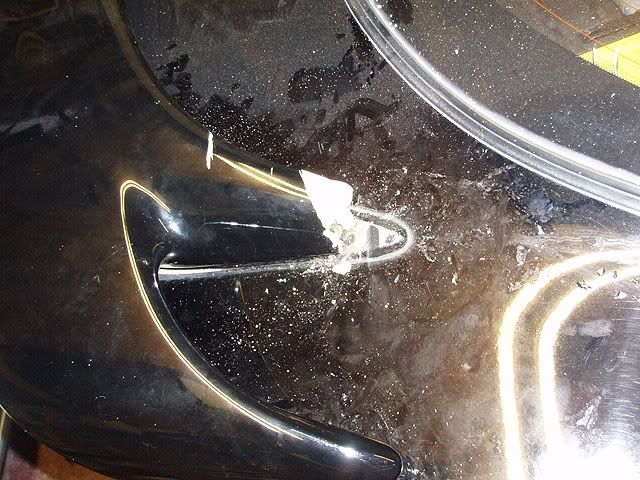
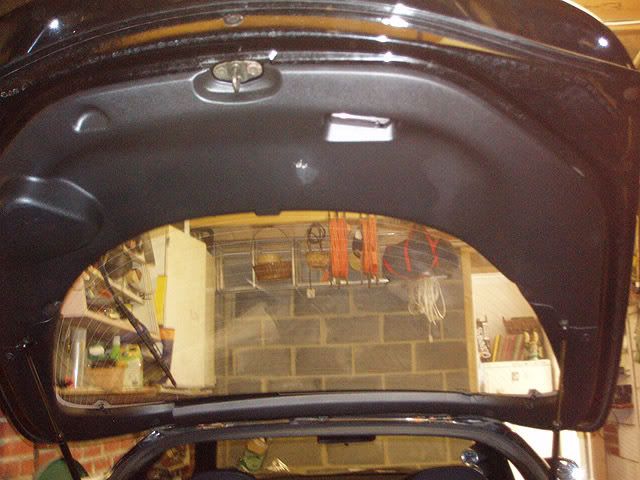
However after some effort it came out and the spoiler was off....leaving me with this....
Image
A close up of some of the bits under the spoiler...
Image
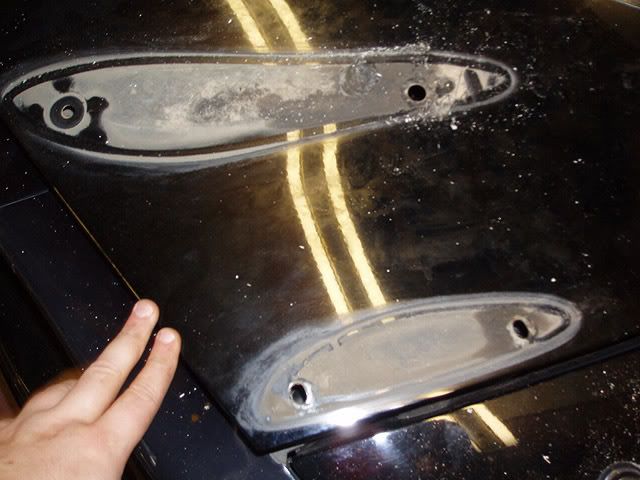
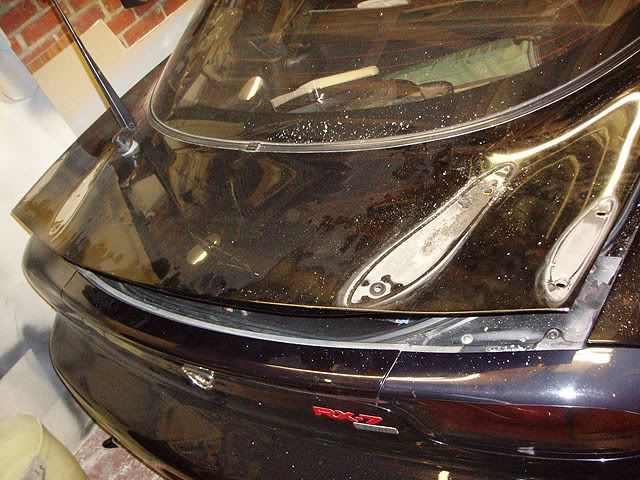
As you can see there is loads of dirt so out came the sponge and claybar to remove as much of the marks as I could. The finished result was a tad disappointing...
Image

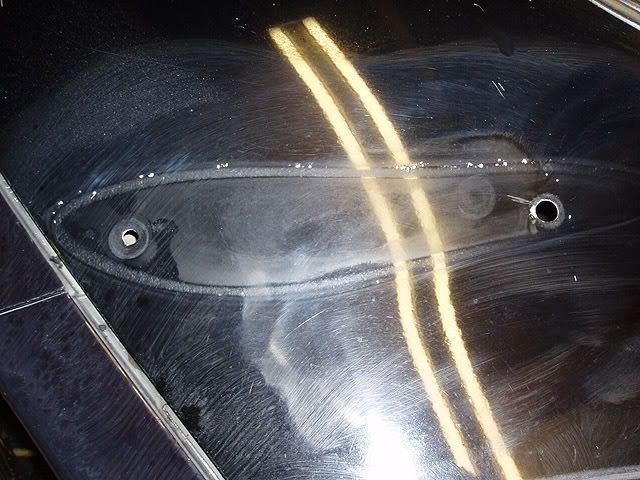
As you can see this will need proper respraying as the paint is marked where the spoiler has rubbed against the paint and also chipped where dirt has got in the edge of the spoiler and rubbed.....a big big blow !!!!!!!!!

So the options are
a) just touch up the bad bits, cover the hole and fit the spoiler
b) get Chris to fill the holes and then rub the boot down and respray.

Thinking b) will be the option but was hoping to use the money to buy some other car bits like fuel pump and mapping.....nevermind !!!

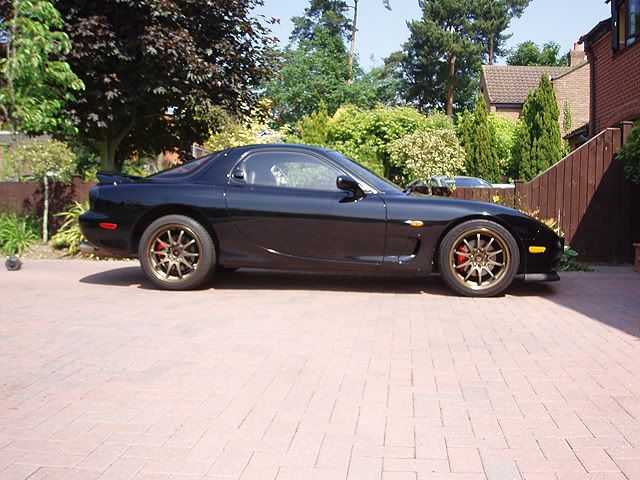
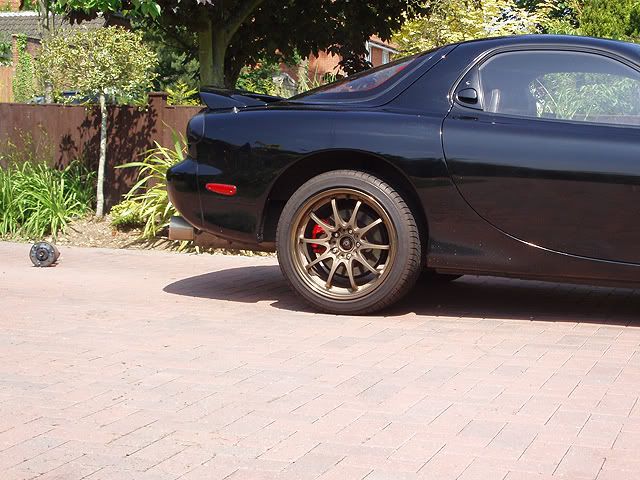
Anyway with the spoiler off the car looked very very odd (when you are used to there being a spoiler....no offence to you Alex !)
Image

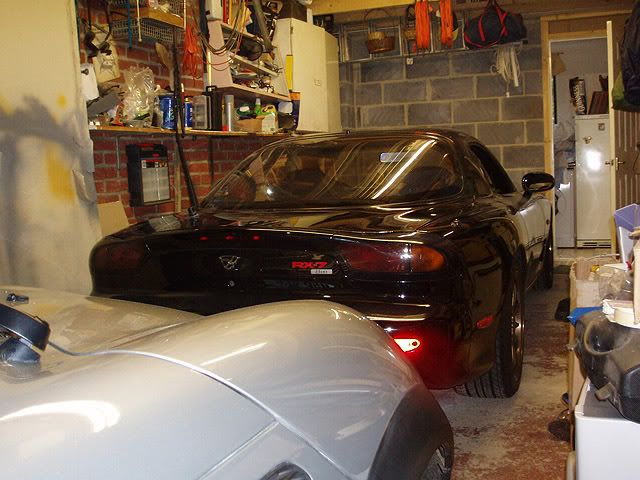
Decided to get the car out this morning and take some pics.....hate to say it but the more I look at the car the more I like it without the spoiler....
Image
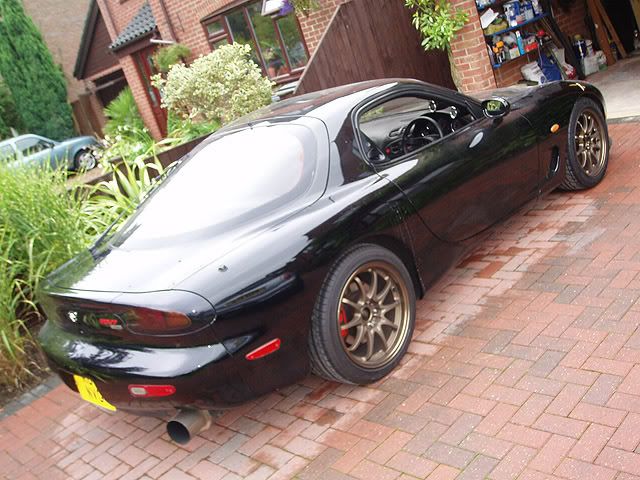
crap quality so apologies for the above....
Image
Image

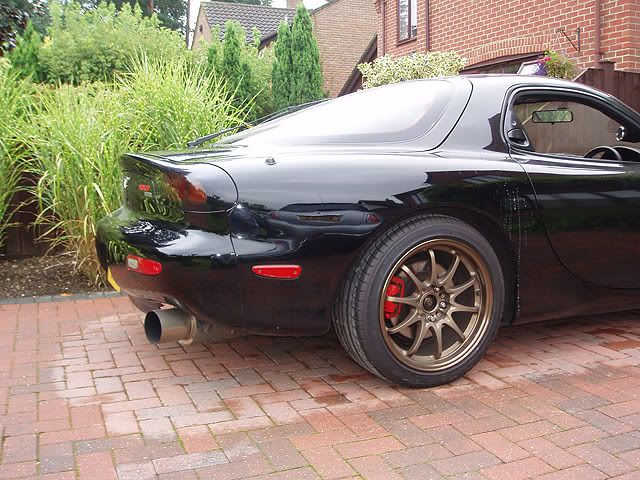
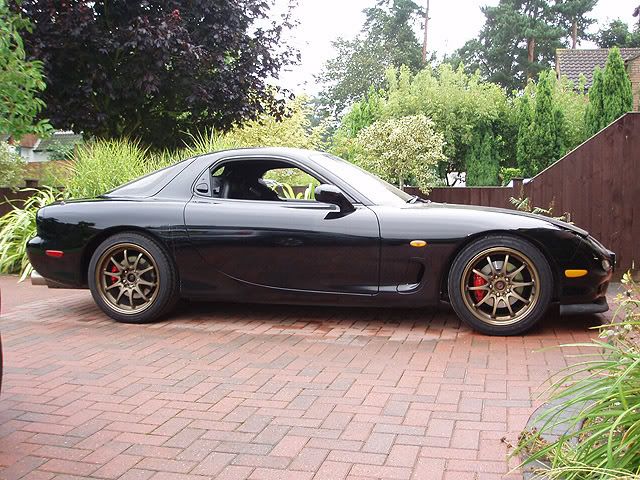
What do you guys think ?
Gonna test fit the spoiler tomorrow night and will post some pics up.

Next thing will be to rewire the fuel pump and fit a Supra or Apexi Skyline fuel pump before getting the car mapped at either Reworx or Carl Hayward.

Hope you enjoyed the update...... ?
--------------------------------------------------------------------------------
Gareth

kev@tga
Posts: 1158
Joined: Thu Oct 05, 2006 9:19 pm
Location: norwich

Post by kev@tga »

good work fella, i like it with out the spoiler :-D i shall be taking the spoiler of mine the s14a not the scooby :wink:
Matt Black Wrapped 2009 GTR with litchfield stage 4.25 :thumbs:

User avatar
duncan
Posts: 10897
Joined: Thu Jul 27, 2006 3:12 pm
Location: On the podium
Contact:

Post by duncan »

without the spoiler it is awesome :thumb:

Post Reply