By request I am putting my story of the first mods to my car for 2007, there are more but I will add them as and when I do them. Anyways...get yourself a nice cup of tea/coffee/beer/champagne/Babycham (Ben :P ).....here goes...
Well with an amazing day on saturday weather wise and the first chance I have had to get the car out and work on it without being so frickin cold I decided to see about fitting my Buddyclub Suspension to the RX7 on saturday afternoon.
Pic here to remind you what they look like:
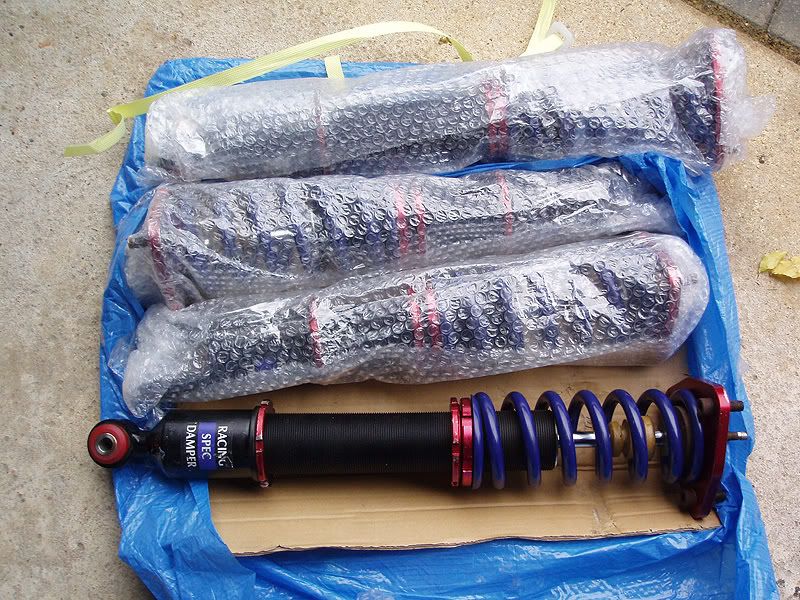
The plan was to fit only the fronts that day and then do the rears another day.
So I printed off the workshop manual bit about changing the suspension and got cracking. I must apologise as I dont really have any pictures as I brought the camera down and it had a flat battery so did one on the phone which I will post and then some before adjusting and after.
So got the car out, jacked it up and took the first wheel off (my CE28s......a thing of engineering beauty !!). The Rex is a double wishbone car so the first steps were disconnecting the brake hose from the strut and then undoing the two bolts and nuts that bolted the upper wishbone arm onto the car. The next step was to remove the locking nut and plastic protector from the top of the damper (not the main one holding the mounts on!!) and then undo the 3 nuts on top of the suspension tower. Then undoing the bottom bolt that goes through the suspension damper. All of these were really easy with the motor mechanics 2nd favourite tool (after the number 1 - Brute force!) a can of WD40. Luckily I (and my Dad) have changed the Rex suspension before so its a fairly easy job....or so I thought. Because the original suspension I took off was so low and the strut length was less than the standards they came off easily. Since I had swapped back to standard Type R suspension it is a longer length and therefore difficult to get out. Basically what you have to do is push down on the hub until the suspension strut drops out of its top mounting and then the top drops out the arch and you can pull it through the gap in the upper wishbone. However because the strut was longer with the standard suspension springs it just wouldnt budge despite my dads (extra) weight on it !!
So some scratching our heads was needed. Luckily I remembered I had some spring compressors which we could use to pull the springs tighter and lower the length of the strut. Sadly though I had a bit of a panic because I remembered lending them to Ben and couldnt remember getting them back (yes I know...Ben doing work on his own car !!). After a quick phonecall and Ben swearing on his life (not Jo's or the Skylines I might add!) that he returned it I had a better look round the garage and found them hanging in a bag on the wall. Therefore back to the story...putting the spring compressors on and tightening them up brought the strut low enough to come out easily. Hurrah !!
So we measured up the new Buddyclub strut ready to put in. Now came the fun part, despite my numerous mails to Buddyclub UK, USA and Japan, posts on the MRC and American RX7club forums I was unable to get a copy of the instructions. It must be said that Buddyclub UK (SRB POWER) were very good and told me that they dont keep copies and they only come with the struts new....as I bought these 2ndhand off an MRC member at a cheap price they werent there.
We were therefore putting them on blind. Both my Dad and I had different theories on how we could make the car lower. I said its making the spring shorter, Dad said making it longer. Therefore we put it on the car (a relatively easy job) and did all the bolts up but not tightly and put a wheel on to see what happened. Firstly we got the car down and it was the same height off the ground and between the arch and tyre. So Dad said my theory was crap and his was gonna be the one...so we adjusted the length of the spring and made it longer....everything back on....the result....exactly the same !!!!
Much thinking then went on and we looked at the opposite one and found that it could be the adjuster at the bottom that does it (well I know there are probably loads of you reading this and going......yeah it was obvious....not to us with no instructions!!). So we set the spring back to where we thought would be ok and adjusted the bottom. I thought we would have to take it out the car and adjust but luckily we found the beauty of Coilovers is that you adjust it by using the c-spanner on the larger nut at the bottom of the spring. Amazingly easily to setup these coilovers.
As luck would have it we had lowered the car and both our theories had gone out the window. The plan was therefore to get the other one on because by then it was 4.00pm and would be dark soon. Here is a quick shot of the suspension in the arch using the camera on my phone:
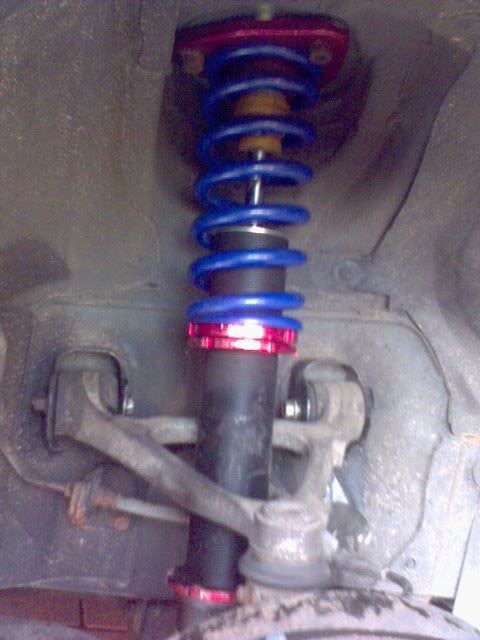
So we measured up the left one and because we knew exactly what to do with this one it was swapped in about 20 mins and then everything done up. I took the car for a quick spin to bed the suspension in before adjusting it on sunday morning.
Sunday morning we got stuck into it again, I thought that the car needed to come down about an inch to make it look nicer but not 'slammed on the floor' so I would have problems with speed bumps (the whole reason I took the original original stuff off). Not being able to go over speed bumps was the only thing that was mentioned by Emma, my family and her family whenever anyone asked about the car when I first got it !!
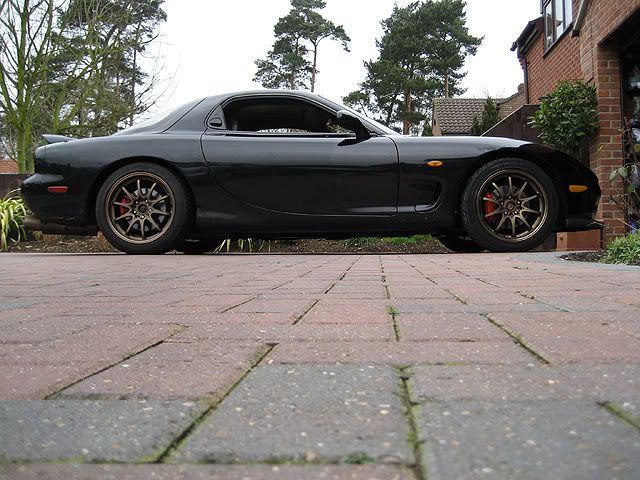
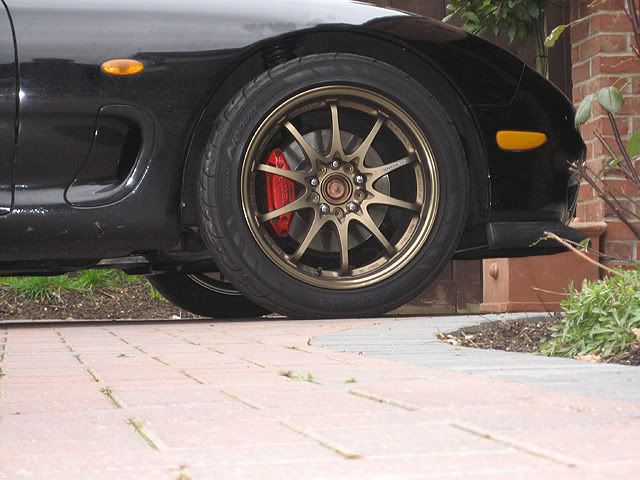
Anyway here are a couple of shots of the car as it was without adjustment:
So we set to work armed with the C-Spanner and adjusted both the springs and the bottom damper adjustment until we ended up with this (and after I had washed the car):
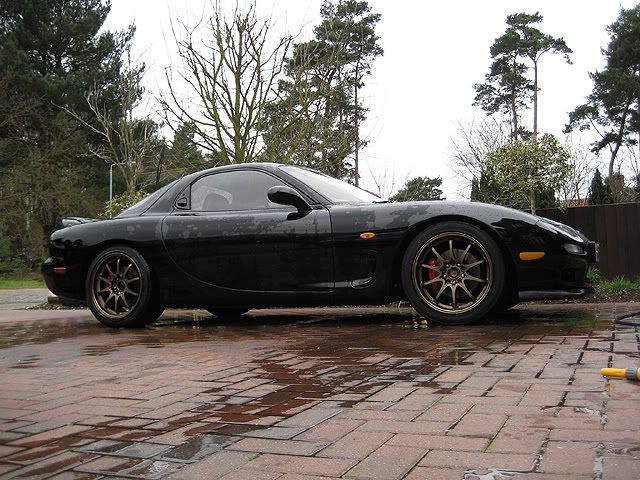

Altogether a more aggressive looking car and nicer with the wheels.
First drive seemed that everything was tight but not too tight. The right seemed nice and tight...but not too tight....the left seemed to resonate when going over deep bumps...so further adjustment will be needed but good fun to do. I am by no means an expert when it comes to setting up suspension so any tips would be much appreciated.
Overall I am very pleased so far and onto the rears maybe next weekend although the bolt through the bottom of the damper can be an absolute biatch to undo so I reckon plenty of wd40 and a heatgun will be used to loosen it !!
Hope you enjoyed the read.