
very impressive 8)
One question though... Why have 2 x nos bottles -I would have thought you wouldn't want any extra weight?
Mustang Update
This thread makes me moist...
Agree with Stu about the number banding, like 850bhp NA is normal for fucks sake lol,
Absolutely beautiful work mate, the fact it has carpet too makes it look properly finished. The fixtures and fittings look really good.
I hope my project comes out half as good as this is coming along
Well done
Frayz
Frayz-Engineering Prodrive edition V7 STi
Built 2.5L, custom heads, GT35R, T-Logic, Tial, Fuelab, Injector Dynamics, GT-Spec, Exedy Compe R, Innovate, APS, KW, AP Racing, Whiteline, Noltec, Sparco, Speedline & S.R.E.
Built 2.5L, custom heads, GT35R, T-Logic, Tial, Fuelab, Injector Dynamics, GT-Spec, Exedy Compe R, Innovate, APS, KW, AP Racing, Whiteline, Noltec, Sparco, Speedline & S.R.E.


Fitting two bottles gives me options depending on how much gas I get through, if I find I can get away using one bottle for NOS and it lasts then the second will be filled with CO2 for the spray bars. The idea at the moment is to fit a fire and ice kit and connect the two bottles through a T piece for more consistent pressure.tomcat wrote:very impressive 8)
One question though... Why have 2 x nos bottles -I would have thought you wouldn't want any extra weight?
Weight has never been at the forefront of this project, if it isn't fast enough then I will just add bigger jets and more gas

Driving a fast Jap import is like coming out of the closet, you might surprise some people, but in the end you are still gay.
www.ragingbullracing.co.uk
BigFil wrote: Weight has never been at the forefront of this project, if it isn't fast enough then I will just add bigger jets and more gas
Frayz-Engineering Prodrive edition V7 STi
Built 2.5L, custom heads, GT35R, T-Logic, Tial, Fuelab, Injector Dynamics, GT-Spec, Exedy Compe R, Innovate, APS, KW, AP Racing, Whiteline, Noltec, Sparco, Speedline & S.R.E.
Built 2.5L, custom heads, GT35R, T-Logic, Tial, Fuelab, Injector Dynamics, GT-Spec, Exedy Compe R, Innovate, APS, KW, AP Racing, Whiteline, Noltec, Sparco, Speedline & S.R.E.
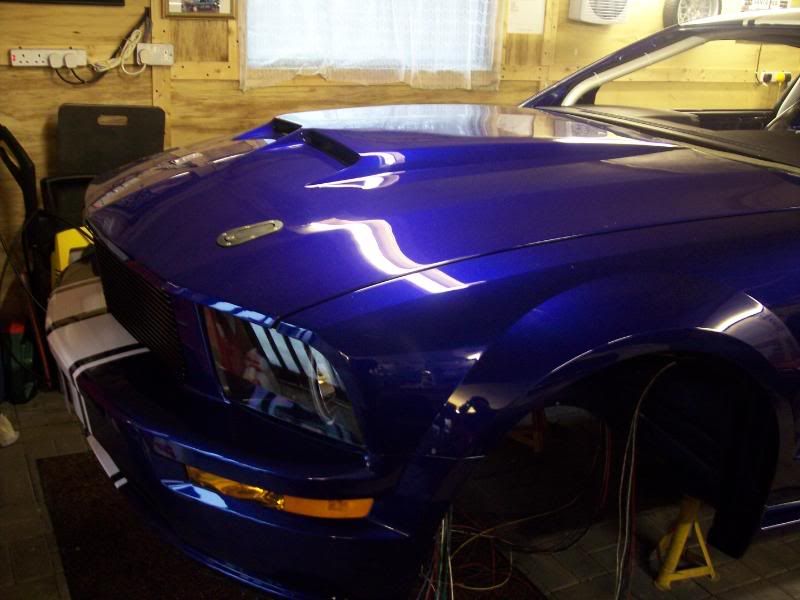
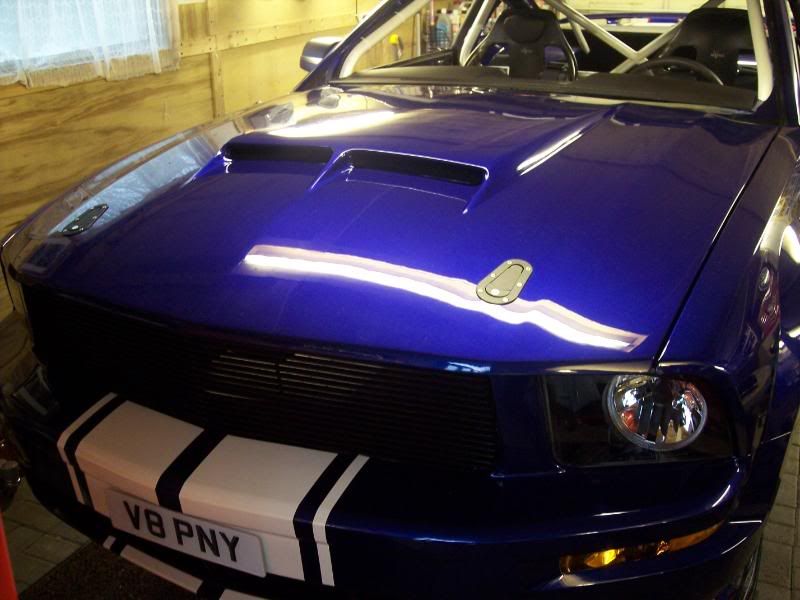
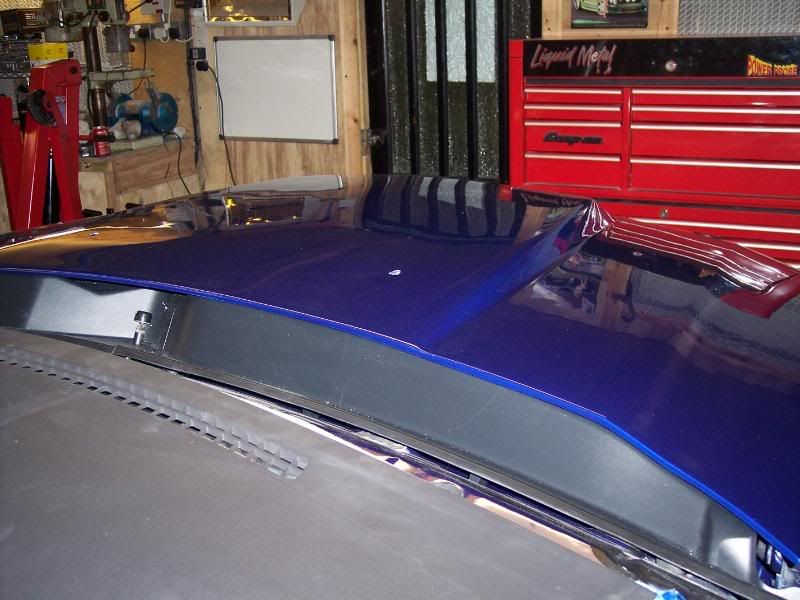
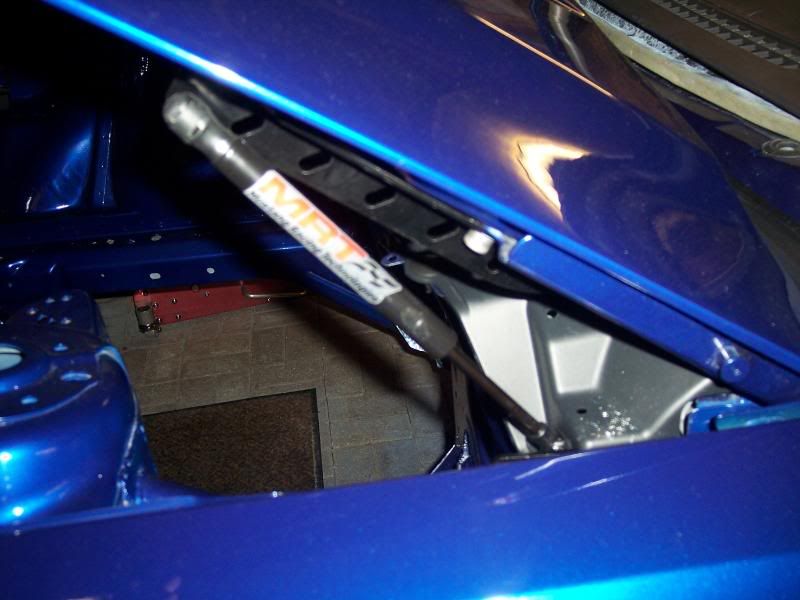
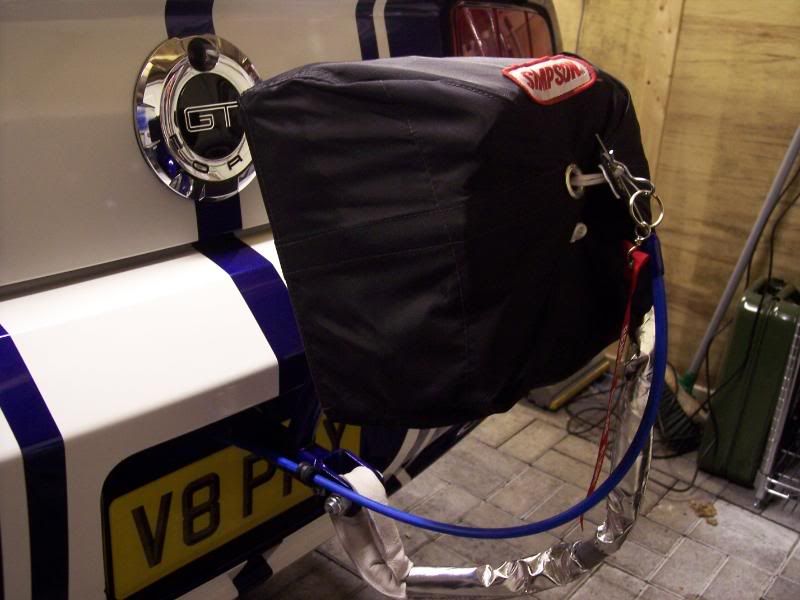
Got the hood back and fitted it to the car with aero catches and rams, big thanks to Stuart and the guys at Camul
Finished off the parachute release cable and lever

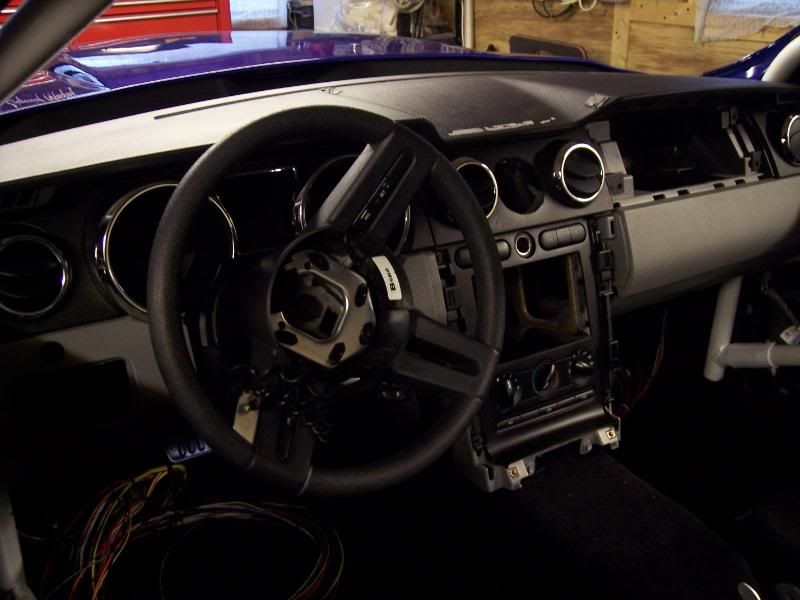
Started mocking up the dash so I can see where I need to feed wires and put gauges etc
Finished off the parachute release cable and lever
Started mocking up the dash so I can see where I need to feed wires and put gauges etc
Driving a fast Jap import is like coming out of the closet, you might surprise some people, but in the end you are still gay.
www.ragingbullracing.co.uk

Now, don't that look pretty :thumb:
I am sure that this is one of the most eagerly anticipated projects on the forum or any other that I use. A combination of the exacting specification and standard and the sheer potency of an 850bhp plus set up!
It's been great to see this build up and it will be even better to see it in the flesh. I'll have to pop over at some point. Talk shit, drink coffee etc
http://www.auto-genie.co.uk
07733 527430
stuart@auto-genie.co.uk
Valeting, detailing and undersealing
07733 527430
stuart@auto-genie.co.uk
Valeting, detailing and undersealing
-
Miniwilliams

- Posts: 1326
- Joined: Fri Jul 28, 2006 9:45 am
- Location: East England
- Contact:
really coming on now Phil, the project just seems to be getting better and better!
BPs Official Freelance Photographer
Would you like to see your car in a magazine?
PM or E-mail me some details
http://www.mattwoodsphotography.com
1/4mile best 13.2 sec & best speed 116 mph
Would you like to see your car in a magazine?
PM or E-mail me some details
http://www.mattwoodsphotography.com
1/4mile best 13.2 sec & best speed 116 mph
-
ScoobieWRX

- Posts: 2136
- Joined: Tue Jul 31, 2007 9:42 am
- Location: Northants
- Contact:

OK, thought I would bore you with details of the door panels only because it took a lot longer than I thought mainly because I didn't want to start hacking about the carbon without being sure I had the measurements right. That stuff is too expensive to keep buying a new sheet if you balls it up.
Anyway, started by cutting a template out of card
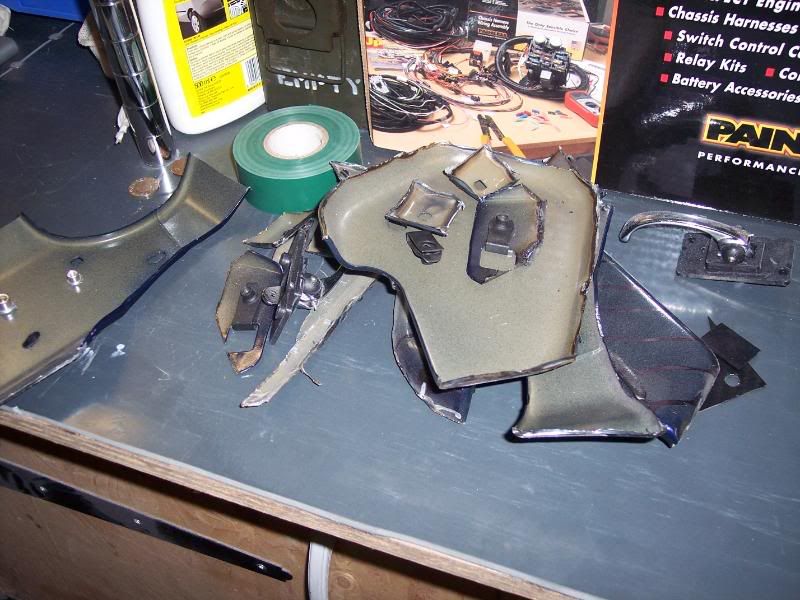
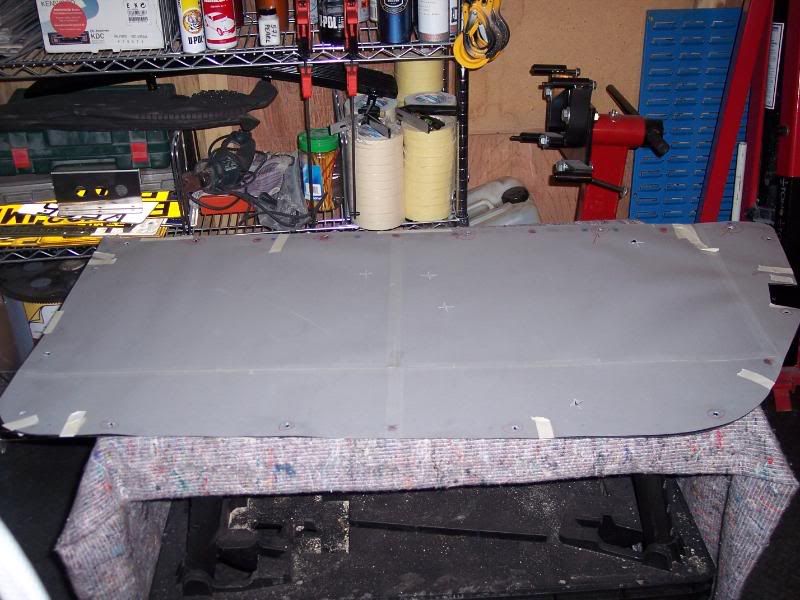
Once I was sure it was the right shape I took it off and started cutting out the inner door where it was sticking out for previous fixtures so I could get the panels as flat as possible
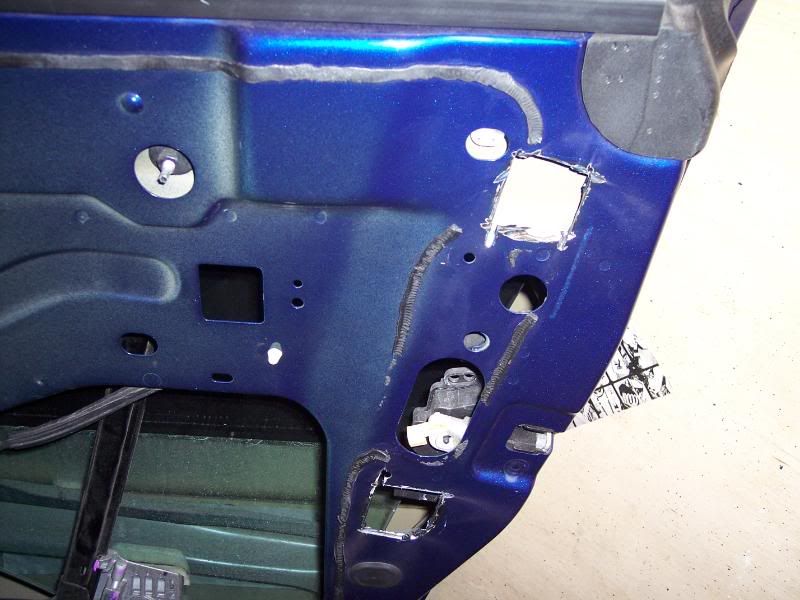
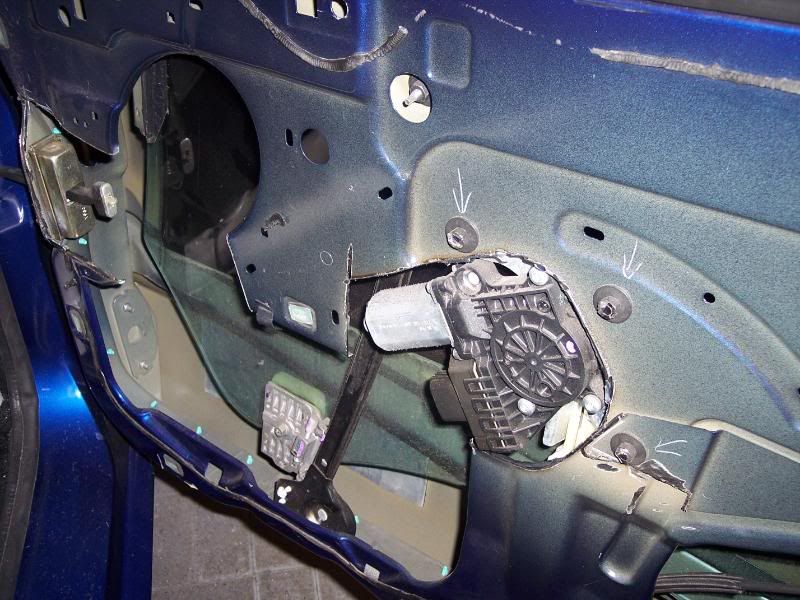
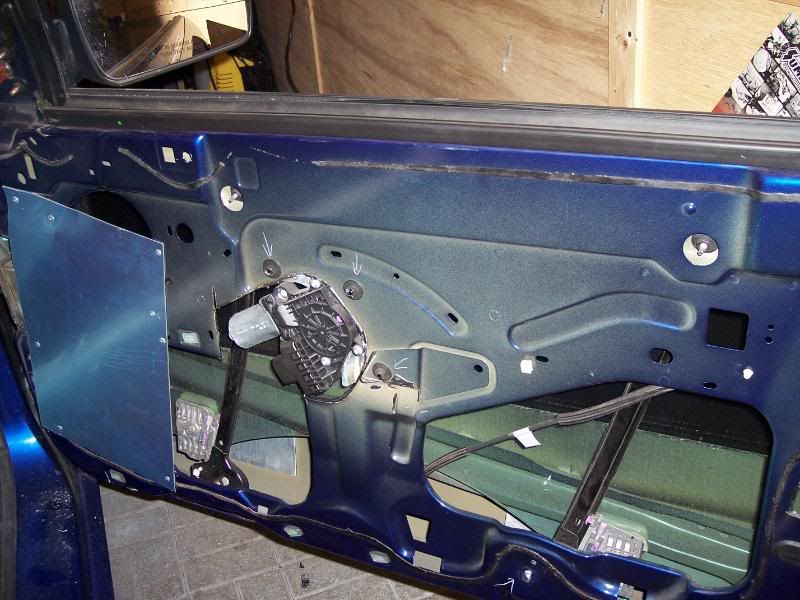
Where I had cut out the largest section I fixed an aluminium plate to add the strength back in
I then laid the card cutout on top of the carbon, marked it with a china-graph pencil and cut out the shape
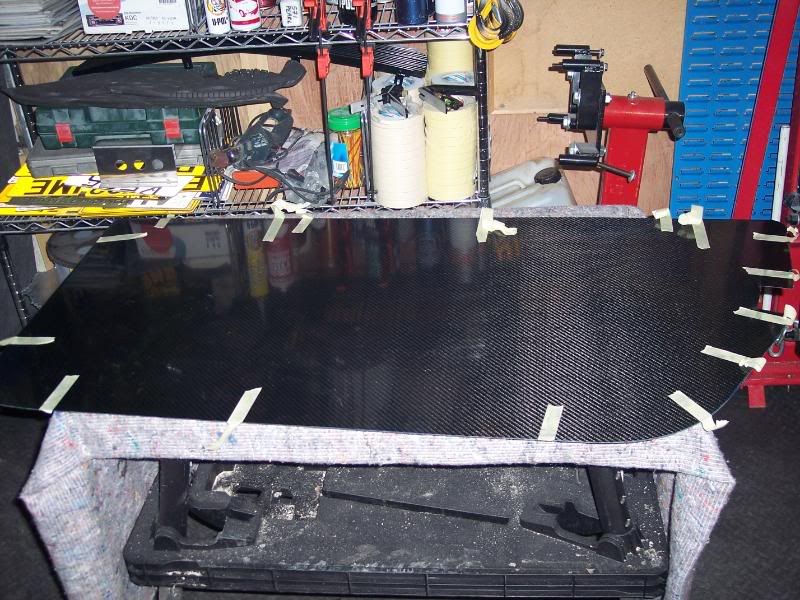
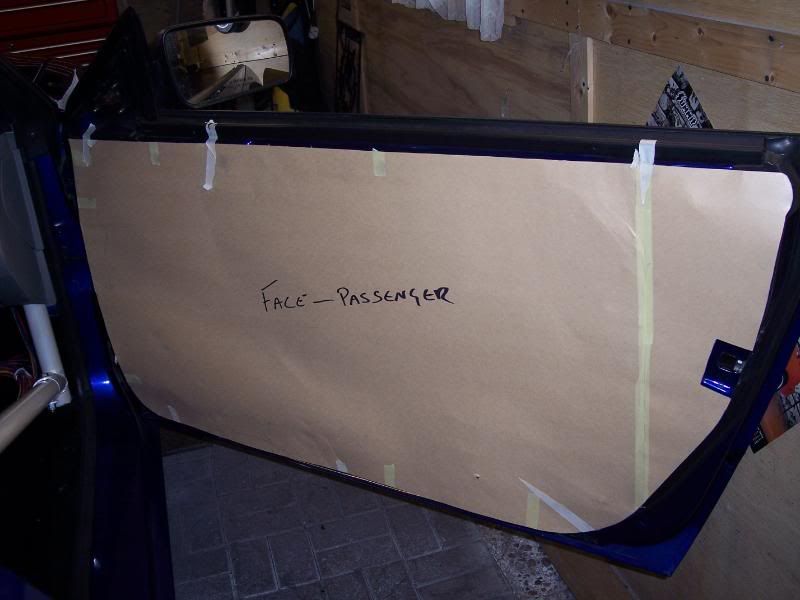
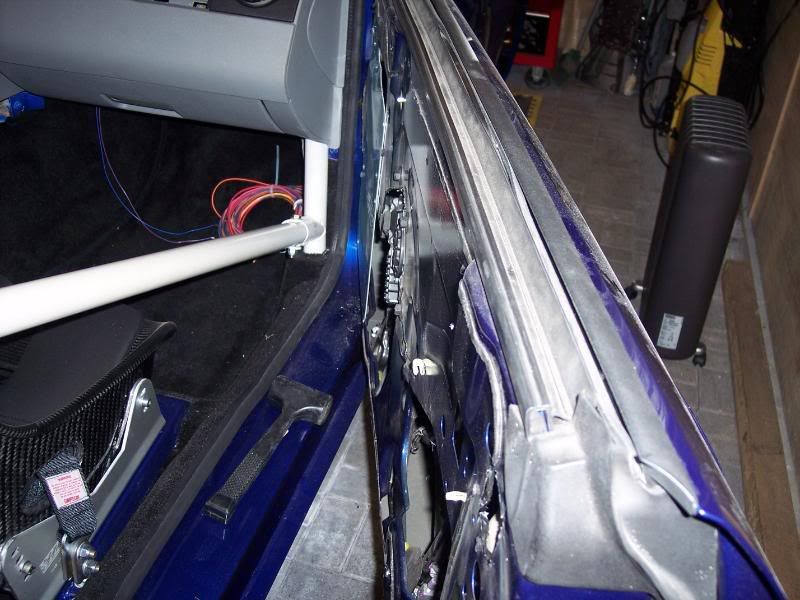
I taped the carbon to the door to make sure it was OK and wanted to mark out where the fixings would go but realised you can't see what is underneath and didn't want to drill where I wouldn't have a fixing underneath. I joined some tracing paper together and laid the card cut out on top and marked out the door panel on the tracing paper and hung it on the door
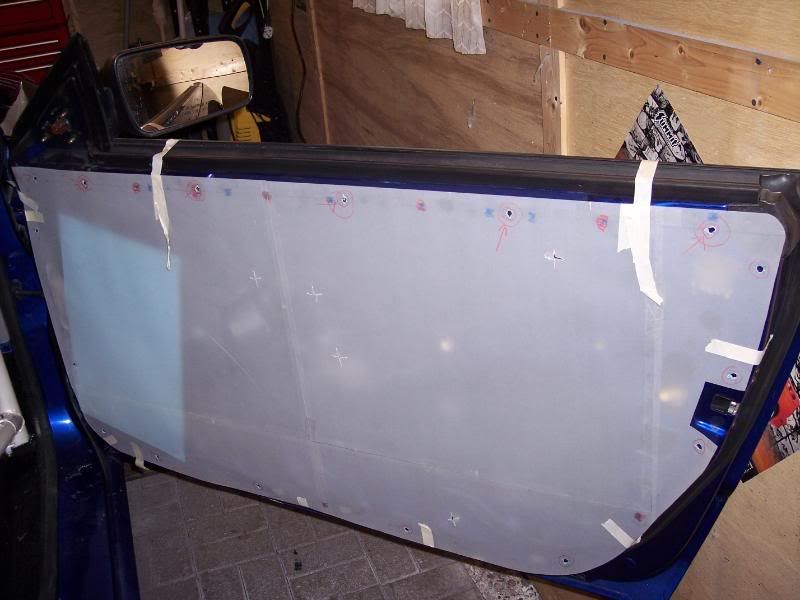
I could then see where to mark the drill holes, transferred the tracing paper onto the carbon and drilled through
I then hung the carbon back on the door so I could mark the door where I was going to drill

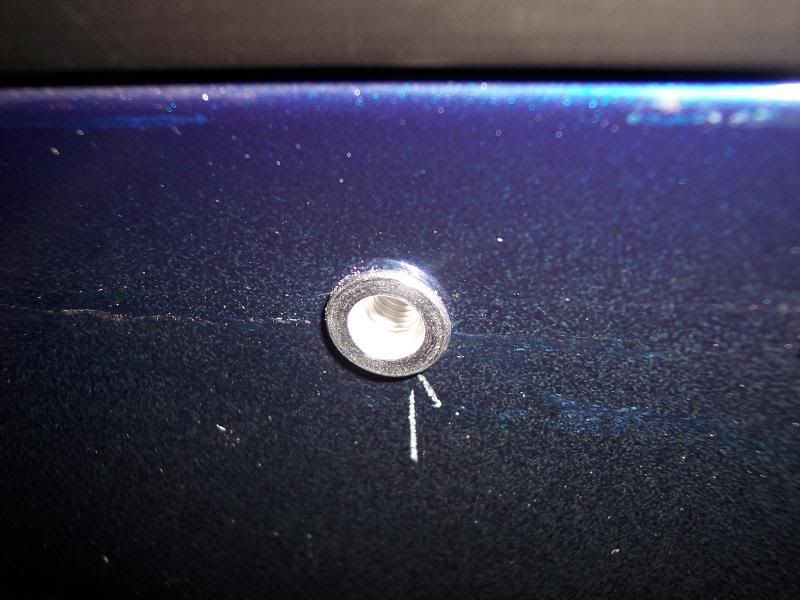
Once I had drilled the holes it was time to fix some threaded inserts so I could bolt the whole thing on
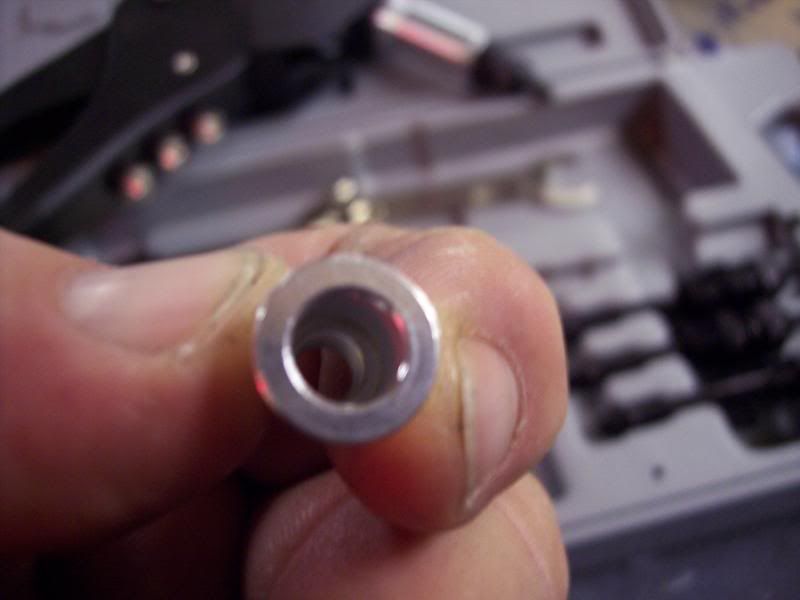
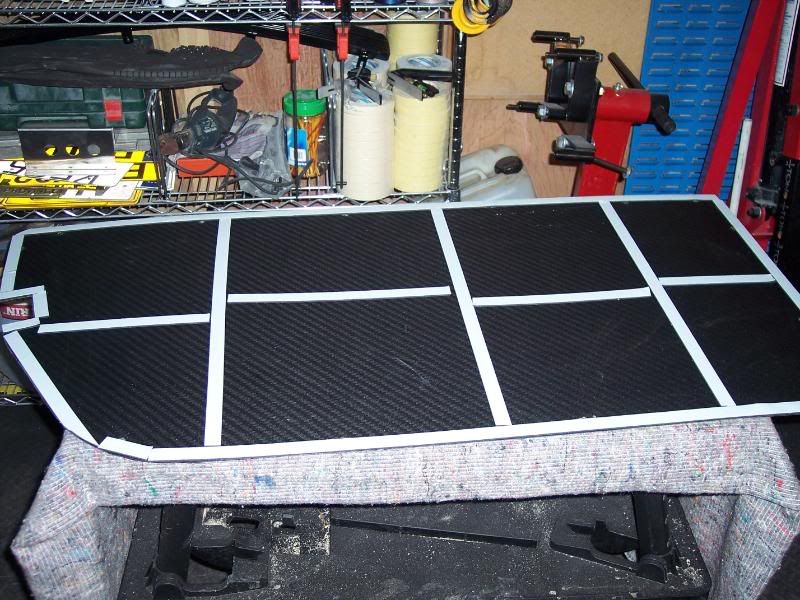
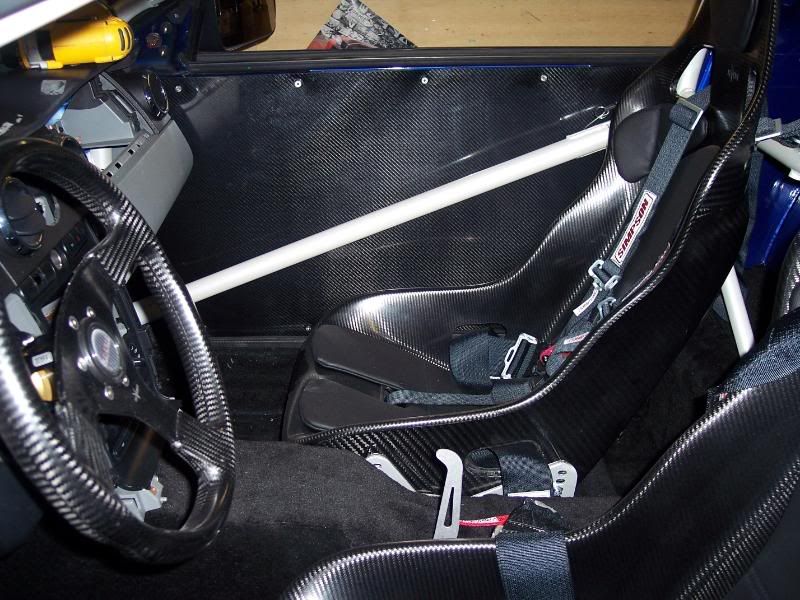
Once I had fitted the inserts I turned the carbon over and fixed some foam strips to the back of the panel, hopefully this will stop any vibration
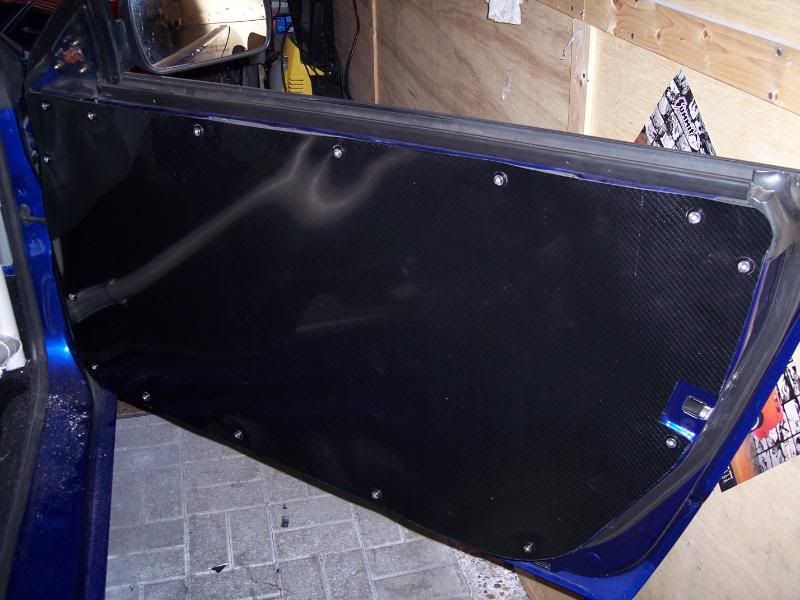
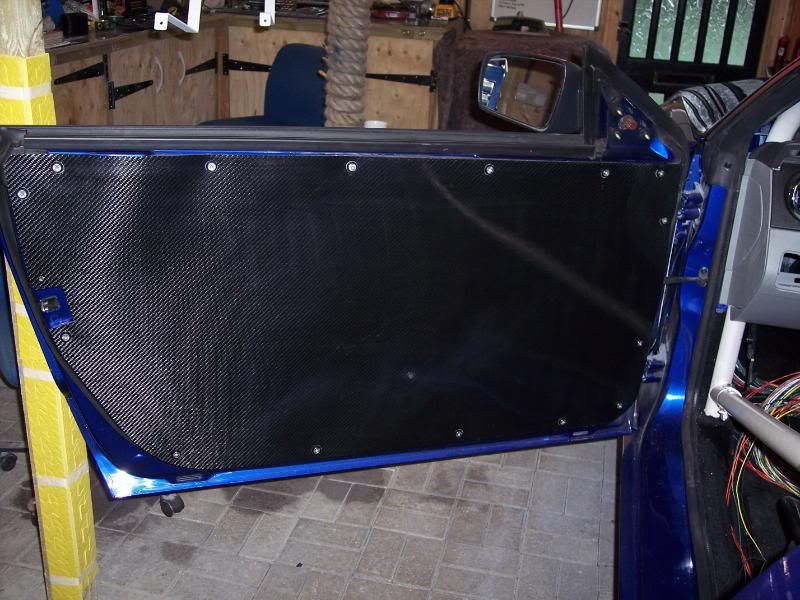
All that was left was to bolt on the panels
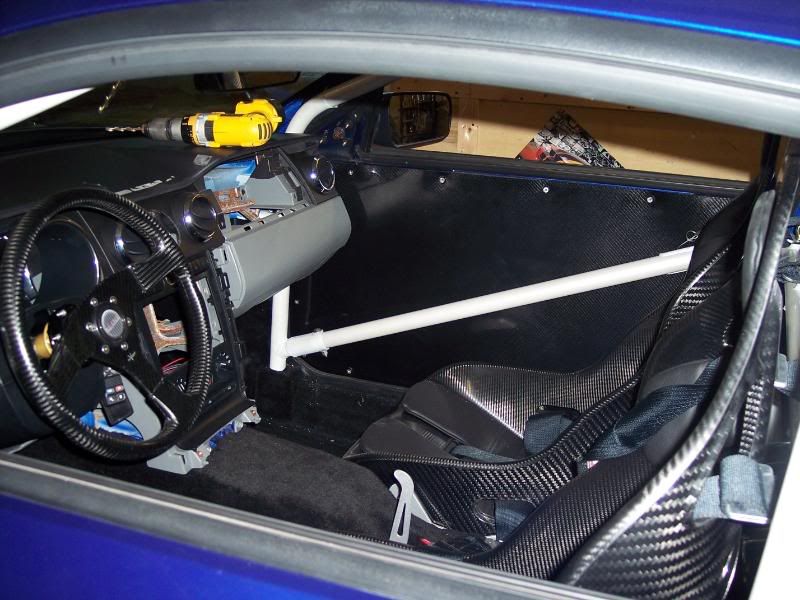
Anyway, started by cutting a template out of card
Once I was sure it was the right shape I took it off and started cutting out the inner door where it was sticking out for previous fixtures so I could get the panels as flat as possible
Where I had cut out the largest section I fixed an aluminium plate to add the strength back in
I then laid the card cutout on top of the carbon, marked it with a china-graph pencil and cut out the shape
I taped the carbon to the door to make sure it was OK and wanted to mark out where the fixings would go but realised you can't see what is underneath and didn't want to drill where I wouldn't have a fixing underneath. I joined some tracing paper together and laid the card cut out on top and marked out the door panel on the tracing paper and hung it on the door
I could then see where to mark the drill holes, transferred the tracing paper onto the carbon and drilled through
I then hung the carbon back on the door so I could mark the door where I was going to drill
Once I had drilled the holes it was time to fix some threaded inserts so I could bolt the whole thing on
Once I had fitted the inserts I turned the carbon over and fixed some foam strips to the back of the panel, hopefully this will stop any vibration
All that was left was to bolt on the panels
Driving a fast Jap import is like coming out of the closet, you might surprise some people, but in the end you are still gay.
www.ragingbullracing.co.uk