My RS Turbo - Plenum project (+ MORE!)

Show us yours....
User avatar
pablo
Posts: 4896
Joined: Thu Nov 09, 2006 10:37 pm

Post by pablo »

Excellant write up and great progress. Fantastic work :grin:

Might even see you next at Regional Day assuming our car is running :roll:
Tntracing
http://www.facebook.com/Tntracing.uk

2015 - MSA Classic & Retro UK Time Attack Champions

blackskygtr
Posts: 632
Joined: Fri Oct 13, 2006 9:55 pm
Location: Norwich,Norfolk

Post by blackskygtr »

Looking good my friend.

As everyone i am looking forward to hearing it again.

Jay
Well the skyline is gone for good But how cool is my little replacement!!!!! 7lbs 12oz of pure joy....

User avatar
Bealo
Posts: 942
Joined: Wed Apr 25, 2007 9:52 pm
Location: Everywhere!

Post by Bealo »

good show mate and keep up the good work. really looking forward to seeing it run.
Image

Christian and Beccy
Posts: 344
Joined: Thu Oct 05, 2006 10:52 pm
Location: Norwich

Post by Christian and Beccy »

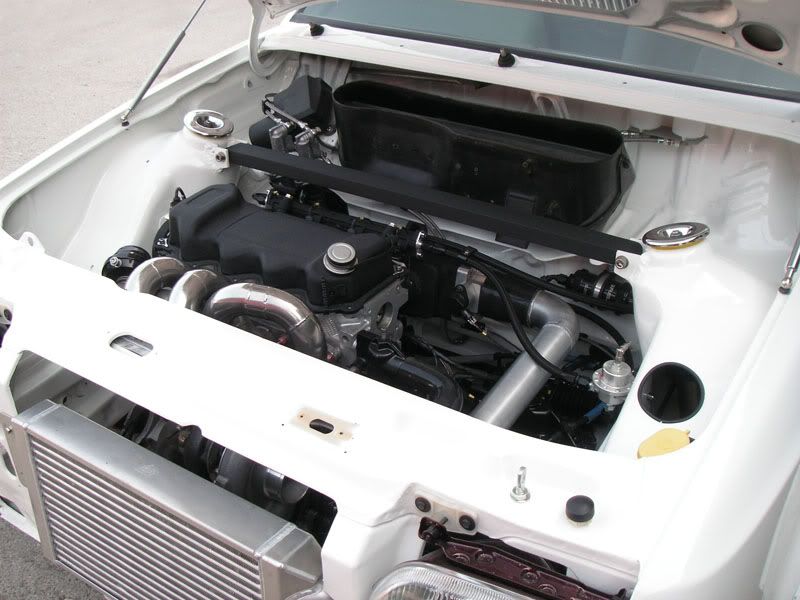
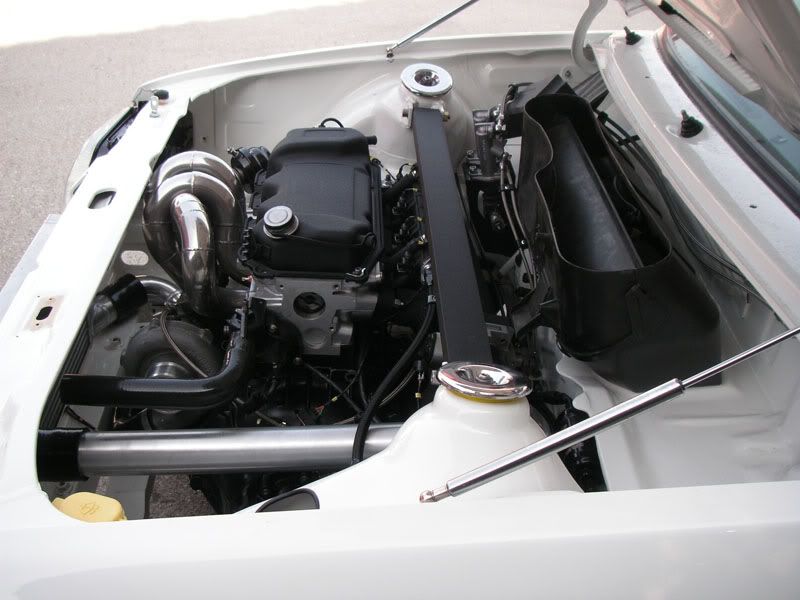
As part of the Plenum project, it emerged that to do a nice side-fed Plenum that has simple, straight pipework, I'd be best to do away with the standard Servo/Master Cylinder set-up. Having a Bias Pedal Box is something I've been interested in for a while. So, I got investigating. My enquiries eventually led me to Gartrac. Of course we've all heard of Gartrac and the Pedal Box they made for me is based (I am told) on the old design they used to use on the competition cars back in the day. It was intended to allow use of the Standard Inlet assembly and so on, so, even though I've got a different Plenum, it works nicely for me.


Image


It took a couple of attempts and revisions to the original design to get it to fit just so, but it's there and I'm pleased so far.


Image


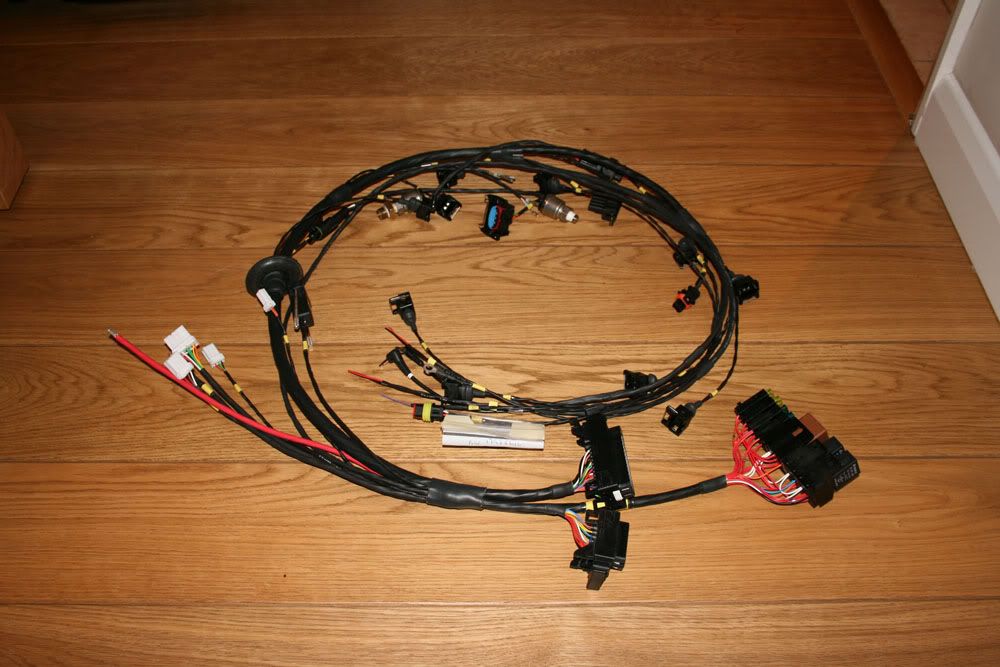
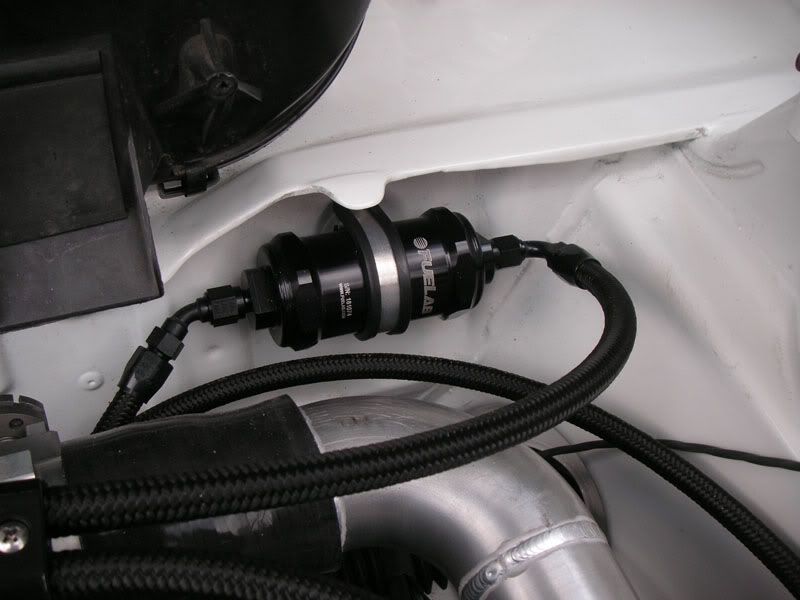
My brakes have been piped entirely in TFE for years now, but I wanted to re-do it all, to improve the system. Unfortunately I got drawn into it a little deeply and have used entirely Stainless fittings. :lol:

After much debate on Reservoir location, I really was stuck for where to put them. I'd imagine on a race-car, they'd be easier to place, but when you're concerned not only with how things work, but how they look etc, it's a little more difficult. I was initially concerned with the fact that I believed that the Reservoirs should be higher than the Inlets on the Cylinders and these are very high, which ruled out one obvious place in the engine bay, so I opted for the stealth approach and the Resevoirs and remotely mounted under the Scuttle. It's enormously inconvenient because you have to take the bracket off the bulkhead and lift the Reservoirs up to bleed the brakes, but with the Reservoirs in place, they are still slightly higher than the Cylinders, so all's good I hope.

As with my old system, I also have a Bias Valve in the car, so can adjust front to rear bias on that, meaning that I don't have to go to extremes on the Pedal Box itself.

More to follow
Image

Christian and Beccy
Posts: 344
Joined: Thu Oct 05, 2006 10:52 pm
Location: Norwich

Post by Christian and Beccy »

Anyway, I had bought myself a GT2871R to use on my new build, but had been apprehensive about it for ages. I actually bought it a good while ago, but its sat unused ever since. It was set up for External Wastegate, but due to size and fitment constraints, I needed the Turbine Housing altering. Once I looked at it, and realised that I could sell that GT28 and buy something else, with the Turbine Housing I actually wanted, it was a no-brainer. So, the GT28 went and in its place.........


Image


......a Roller Bearing T38. Bad boy!! I'm not divulging the exact spec, but it's been built more for response than anything. Additionally I could spec the housing to allow for V-Band directly onto the back. This has made for a fooking lovely downpipe and clearance for my Alternator back into the original position........


Image


You like? 8)
Image

Christian and Beccy
Posts: 344
Joined: Thu Oct 05, 2006 10:52 pm
Location: Norwich

Post by Christian and Beccy »

Here is a look at the overall Turbo installation. Unfortunately you can't see all the Downpipe, but its nice and tidy. I'm well pleased with it. It certainly took some juggling around.


Image


Next was the Thermostat Housing. After refacing it, as I usually do (using a flat sheet of Emery) to make sure that it seals nicely, I decided that I wanted to do away with the horrible Water connection that T's off the Radiator top hose. So, I added a -6 JIC fitting to the Thermostat Housing, enabling more of the Black Aeroquip. :cool:


Image


I'm only doing this to the Water inlet, not the outlet, as I'm using a Standard Rad, so can't Aeroquip that side. For now anyway. I have a proper bung to go in place of the factory Fan Switch as this is now all management controlled, from a proper sensor in the back of the Plenum.
Image

Christian and Beccy
Posts: 344
Joined: Thu Oct 05, 2006 10:52 pm
Location: Norwich

Post by Christian and Beccy »

The loom that I already had for the car was getting a bit worse for wear, it had been fucked around with, chopped, added to etc etc. I thought it was about time I did something about it. So, I set about using it as a template, chopping it around, taping it up so that I could have a new spangly new loom built from it.

It's hard to appreciate how tidy it is from the picture, but it really is proper. everything is catered for in there and it has all the proper fuses and relays for Fuel Pump, Fans and so on.


Image


It has a nice Interface connector for the wiring that comes from the car, such as Reverse Lights, Battery Light etc etc and includes a CAN connection for the Dash, meaning that what ever my ECU see's I can display on my AIM Strada dash. :cool:

That includes Oil Temp, Oil Pressure, Air Temp, Fuel Pressure, Boost, Water Temp and eventually Road Speed. I plan on adding a proper wheelspeed sensor to the rear of the car, but thats not for now.
Image

Christian and Beccy
Posts: 344
Joined: Thu Oct 05, 2006 10:52 pm
Location: Norwich

Post by Christian and Beccy »

Here's the Fuelab Fuel Filter. This was in the last incarnation of this build, but only for a short while. It certainly looks a whole lot nicer with Black 'Quip. :cool:


Image


Now for some images of the whole engine bay. I did want to keep these until it's done, but it's pretty damn close now so I'll give in. :cry:

First, here's look at the Turbo from another angle. It's a big fucker and certainly not something I could have ever fitted onto a Standard manifold without a whole lot of cocking around.......


Image


In this pic, you can see the Strut Brace I had made. It's a simple Rectangular section tubular Brace, made to my design. It's dead straight and hardcore. So, hopefully will make the front end feel nice and taught. I made the brackets too, sadly the guy that did the painting of my engine bay (fucking muppet) decided that my welding wasn't good enough, but what he did was an even bigger joke. Sadly by the time I got to see it, it had been painted. So I have to love with it. :(


This picture speaks for itself. You can see my nice tidy loom, along with the Fuel Rail setup. It's all worked out really nice and simple. Just what I wanted.

I've got so carried away with this, far too carried away. Given the fact that the car really isn't that tidy any more, the engine bay is kind of out of place really!! LOL. I have spent a reasonable amount of money on it, but believe me, this build really has been a labour of love. I can't even comprehend how many hours I've put into it.


Image


Image
Image

Christian and Beccy
Posts: 344
Joined: Thu Oct 05, 2006 10:52 pm
Location: Norwich

Post by Christian and Beccy »

Of course you'll see from these pics that the majority of the engine bay wiring has gone. The Fusebox is now in the car, under the dash and any wiring that was needed is in the inner wings.

I have also fitted a Quad-Ballast HID kit. I went for 4300k, because I didn't want them to be atall Blue. I've got new Headlight bodies too, so I should finally have good headlights. It's always been a let-down with the RST. The Quad Ballast aspect means that you can have a Xenon bulb for both Dipped and Main beam, although I suspect I won't need Main beam!!


Image


Image


Image


Image


So what do you think so far? For the first time in the last 18 months, I practically have a list of things left to do, there's been too much to do until now to list it.

The driveshafts are partially fitted and once I have the car up in the air again, I'll take some pics of my Equal length set-up.

Thats all for now. :grin:
Image

User avatar
JonnyR
Posts: 166
Joined: Mon May 26, 2008 3:51 pm
Location: Bury st Edmunds, Suffolk

Post by JonnyR »

Wow! :o

Thats a very impressive engine bay.

Hats off to you for all your hard work, its clearly been worth it. :thumb:
If it wasnt airbourne, you wernt going hard enough

Post Reply