
bmw e36 track project

Sorry I'll stop the hijack real soonstuart wrote:Use plumbers freeze spray Tommy :thumb:
-
Mr Fletcher

- Posts: 2649
- Joined: Sun Jun 10, 2007 1:34 pm
- Location: wherever i'm needed
- Contact:
tommy i had an electric heat gun but i does come off if its cold as i took a small amount off in the winter when it was bloody
cold in the workshop . definitely worth doing imo
cheers
jason
cold in the workshop . definitely worth doing imo

cheers
jason
[SIGPIC] [/SIGPIC]
http://www.cuttersmachinerysales.co.uk
http://www.cuttersmachinerysales.co.uk
-
Mr Fletcher
- Posts: 2649
- Joined: Sun Jun 10, 2007 1:34 pm
- Location: wherever i'm needed
- Contact:
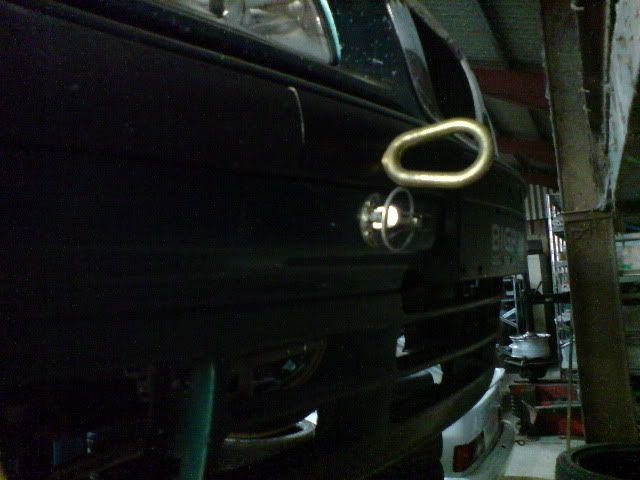
heres some pictures on how i made the bumpers quick release ;
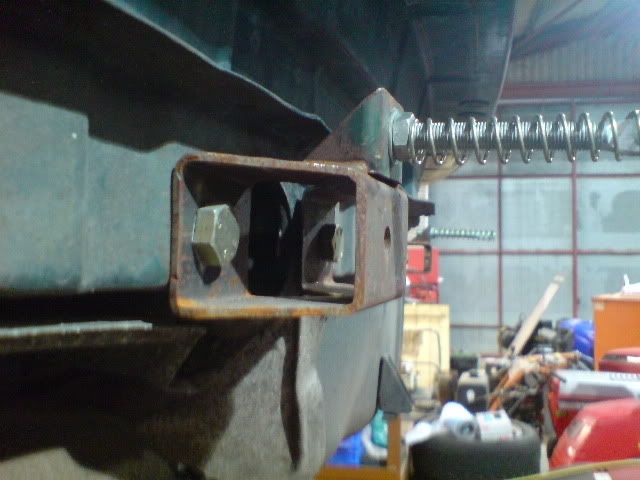
the rear bumper i made new brackets to hold the bonnet pins and placed a spring over the pin to keep it from
moving about.
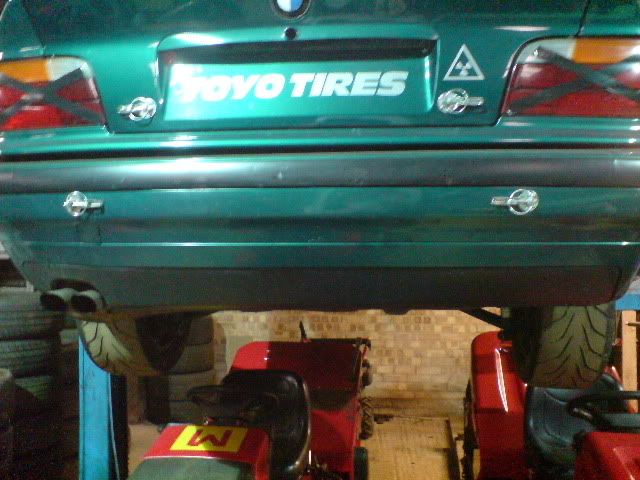
i retained the original side mounts for the bumper as this was easier than trying to pin it .
the front bumper i cut down the existing bracket , drilled and fitted a pin rotated it this enabled the pin to go through
a solid piece of plastic on the bumper so it was easy to fit the catch, i had to weld a plate on the back of the bracket to allow
the pin to go back far enough so the bumper fitted correctly . i put a spot weld on the tubes to stop them rotating accidently.
in order to get the holes in the bumper in the correct place (i also used the same procedure on my bonnet) i had a pair of pin off cuts which i ground a point onto ,bolted on the car and then offered the bumper in the correct place and applied some
pressure so as to mark the rear of the bumper with a couple of small dots . then just drill the bumper and slot the hole .
replace the dummy pin with the correct one and adjust and fit .

sorry if it a bit long winded but the simple jobs can be an arse to do sometimes .
cheers
jason
the rear bumper i made new brackets to hold the bonnet pins and placed a spring over the pin to keep it from
moving about.
i retained the original side mounts for the bumper as this was easier than trying to pin it .
the front bumper i cut down the existing bracket , drilled and fitted a pin rotated it this enabled the pin to go through
a solid piece of plastic on the bumper so it was easy to fit the catch, i had to weld a plate on the back of the bracket to allow
the pin to go back far enough so the bumper fitted correctly . i put a spot weld on the tubes to stop them rotating accidently.
in order to get the holes in the bumper in the correct place (i also used the same procedure on my bonnet) i had a pair of pin off cuts which i ground a point onto ,bolted on the car and then offered the bumper in the correct place and applied some
pressure so as to mark the rear of the bumper with a couple of small dots . then just drill the bumper and slot the hole .
replace the dummy pin with the correct one and adjust and fit .
sorry if it a bit long winded but the simple jobs can be an arse to do sometimes .
cheers
jason
[SIGPIC] [/SIGPIC]
http://www.cuttersmachinerysales.co.uk
http://www.cuttersmachinerysales.co.uk
-
Mr Fletcher
- Posts: 2649
- Joined: Sun Jun 10, 2007 1:34 pm
- Location: wherever i'm needed
- Contact:
i havn't touched the car since silverstone so upon moving it today to give it its pre snetterton check i was met with a pool of fluid under the car!
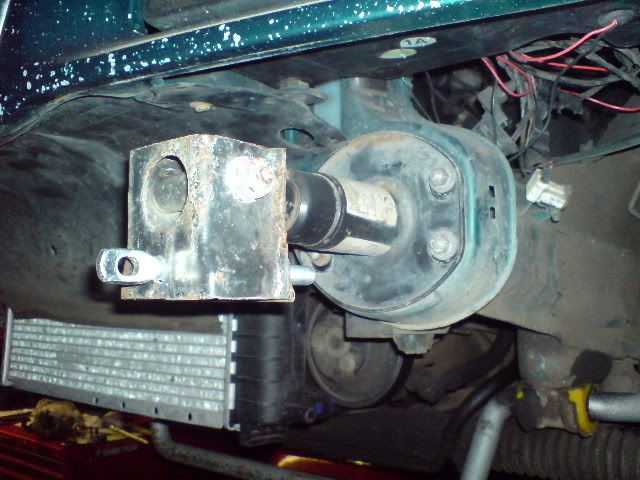
once i had it on the ramp it was clear that the power steering rack is not well ,( the earth quake during braking) as my passenger put it appears to have upset it somewhat, the oil is leaking from the steering input shaft so a replacement is in order i think.
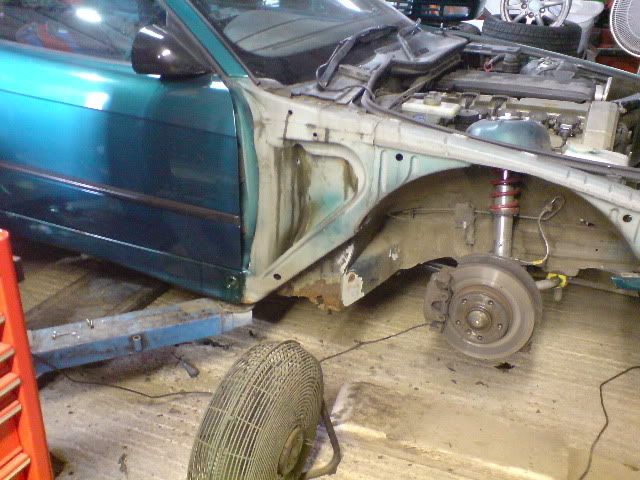
i have some small areas of corrosion to address which i will do as and when i am in the areas so to speak,i removed the front wing as the bottom was showing signs of tin worm , this will also give me better access to do the repair and undertake some seam welding aswell ,
one thing which i have never been happy with was the doors ,the untidyness and the weight they held pissed me off ,the fact that it is a coupe which means they have no frame to fit the perspex too .the hours of thought i have given this problem are crazy when you see what i ended up doing !
i decided upon a compromise i would retain the glass and fix it in place as the perspex was going to be fixed anyway and i prefere being able to smash a window if need be .
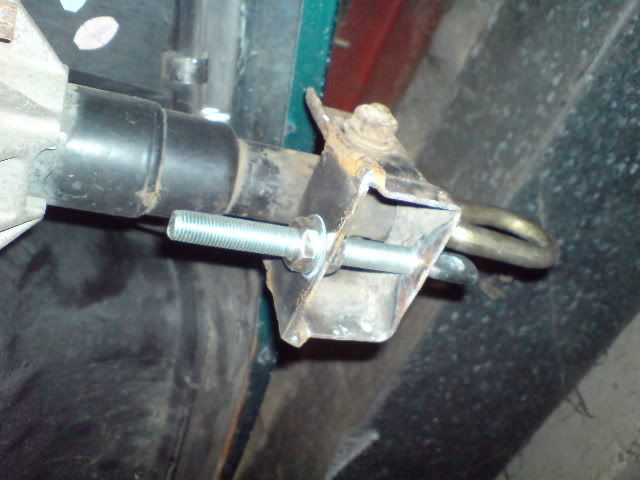
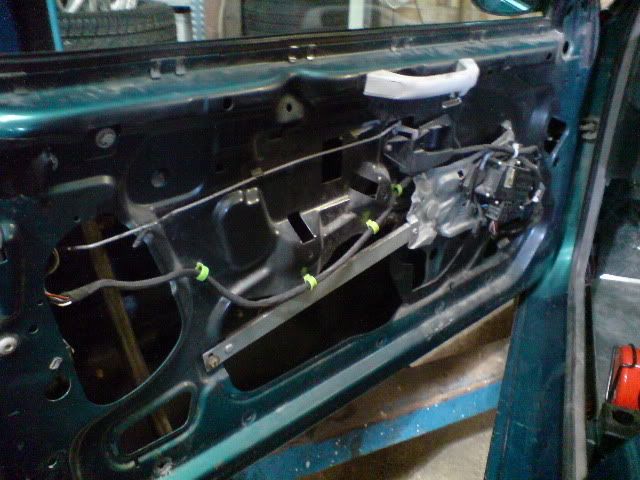
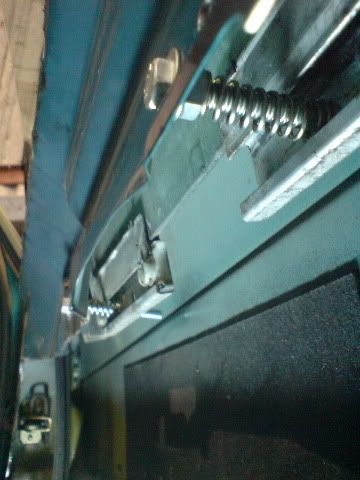
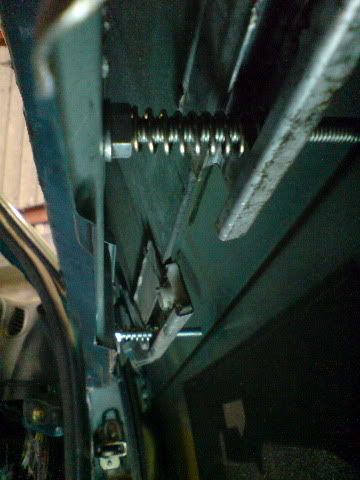
i wedged the window up with a piece of wood and removed the winder mechanism assembly along with some surplus material from the door ,then i drilled through the door and into the bottom of the window frame, now i didn't want to bolt the window solid as i was afraid of it breaking but i still had to hold it in position , placing a bolt through the drilled hole , a nut directly behind it and fitting a spring over the bolt enabled me to hold the window up and the spring kept it tensioned but still allowing it to flex if need be . most of you will probably think wtf is he jibbering on about but if you own an e36 coupe hopefully this is an option for you .
before
bolts with springs
after
just the door cards to fit and there finished
cheers
jason
once i had it on the ramp it was clear that the power steering rack is not well ,( the earth quake during braking) as my passenger put it appears to have upset it somewhat, the oil is leaking from the steering input shaft so a replacement is in order i think.
i have some small areas of corrosion to address which i will do as and when i am in the areas so to speak,i removed the front wing as the bottom was showing signs of tin worm , this will also give me better access to do the repair and undertake some seam welding aswell ,
one thing which i have never been happy with was the doors ,the untidyness and the weight they held pissed me off ,the fact that it is a coupe which means they have no frame to fit the perspex too .the hours of thought i have given this problem are crazy when you see what i ended up doing !
i decided upon a compromise i would retain the glass and fix it in place as the perspex was going to be fixed anyway and i prefere being able to smash a window if need be .
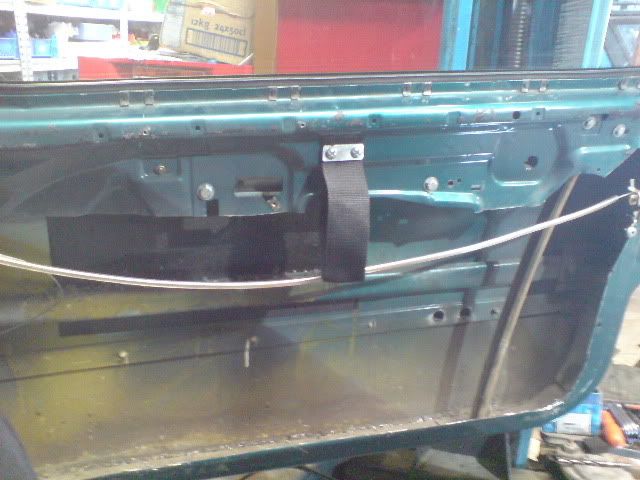
i wedged the window up with a piece of wood and removed the winder mechanism assembly along with some surplus material from the door ,then i drilled through the door and into the bottom of the window frame, now i didn't want to bolt the window solid as i was afraid of it breaking but i still had to hold it in position , placing a bolt through the drilled hole , a nut directly behind it and fitting a spring over the bolt enabled me to hold the window up and the spring kept it tensioned but still allowing it to flex if need be . most of you will probably think wtf is he jibbering on about but if you own an e36 coupe hopefully this is an option for you .
before
bolts with springs
after
just the door cards to fit and there finished
cheers
jason
[SIGPIC] [/SIGPIC]
http://www.cuttersmachinerysales.co.uk
http://www.cuttersmachinerysales.co.uk
-
andrea@occ
- Posts: 156
- Joined: Sat Apr 19, 2008 8:27 pm
- Location: ely cambs
Pains me too, will it be ready for the Track eve Jason!!! there is always a last minute jobs too be completed before going on track usually about 9pm the night before!!!
Although we live in the same house, Jason spends most of his time in front of the computer screen so thought i'd ask
the question on here might get a quicker reply
Only joking doing a cracking job dear. !!!!
Andrea. x
Although we live in the same house, Jason spends most of his time in front of the computer screen so thought i'd ask
the question on here might get a quicker reply
Only joking doing a cracking job dear. !!!!
Andrea. x