1966 Volvo Amazon - Crazy hot rod and track car

Show us yours....
RPS13
Posts: 249
Joined: Tue Aug 07, 2007 7:38 pm
Location: Norfolk

This weeked

Post by RPS13 »

Continuing to the last week...

The BMW 535i engine donor has been lost for the project. I was made an offer for the car last week that it was too hard to refuse. I am sure something else will turn up to donate its engine, and I know the new Bimmer owner is going to enjoy himself in it. I also made a bit of cash on it, that paid for the new bead roller so I can now made my own floor and wheel tubs for the project. I also have someone machining me a tool I designed to cut Louvres on panels of any length I need. Expect to see it put to good use later in the project.

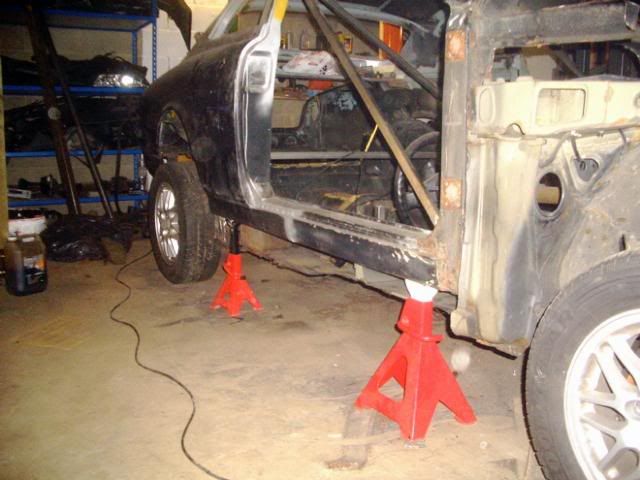
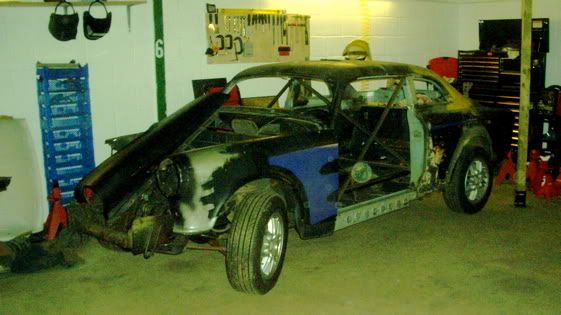
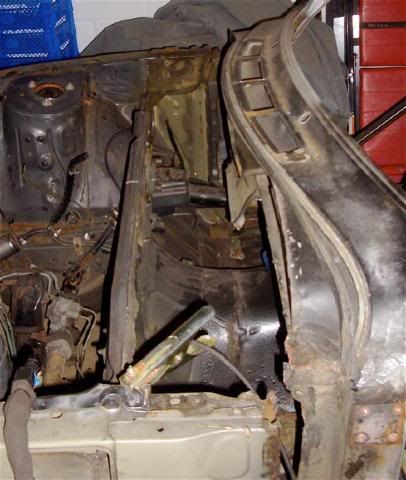
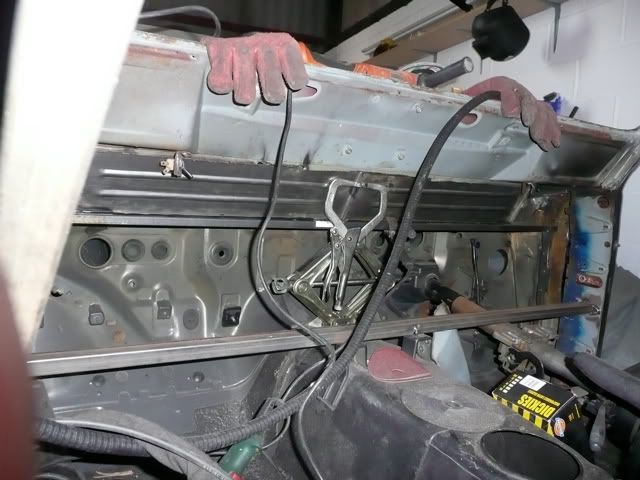
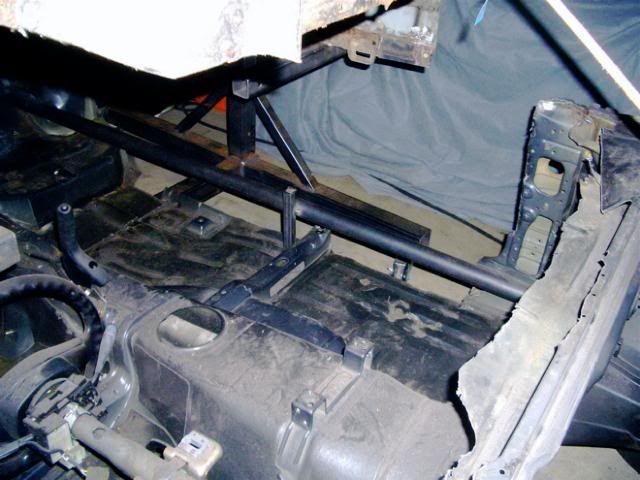
Back to the car itself, the next job was to make something to do the job of the sills before I cut them out. So on friday a few bits of tubing quickly did the job:

Image

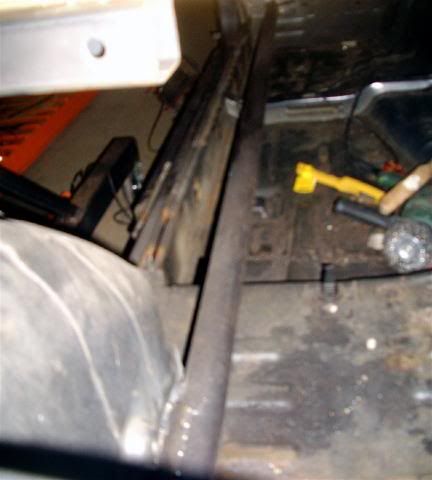
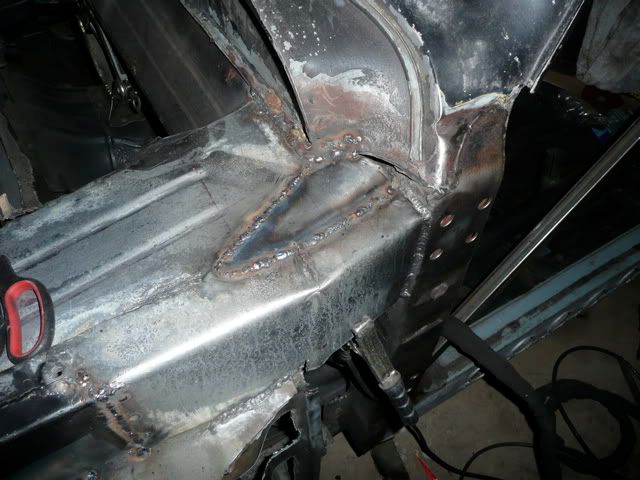
These were braced to the floor to, and the Sills could then be removed.

Image
Image

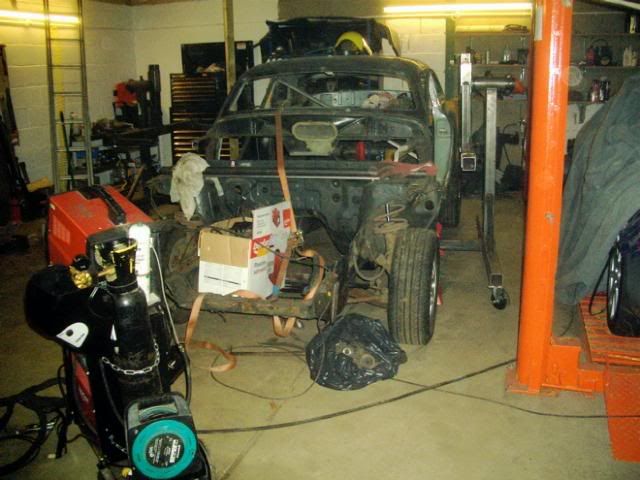
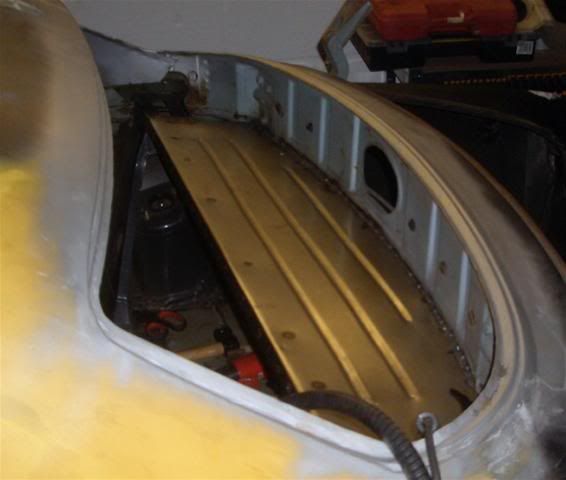
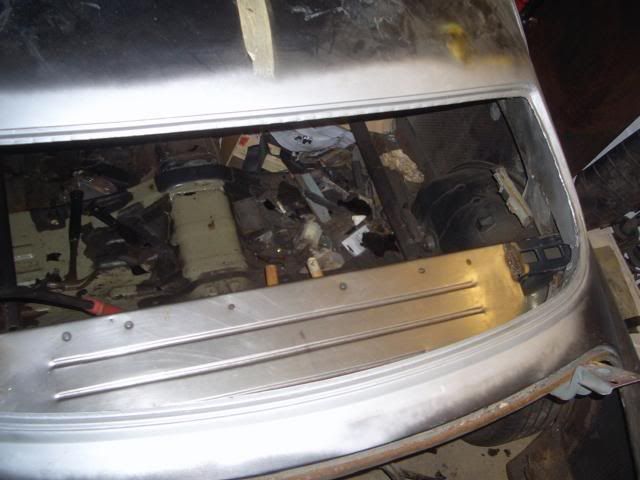
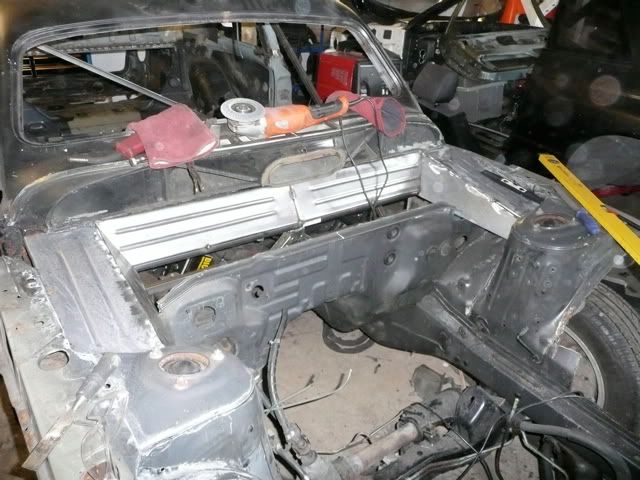
The inner sills of the volvo also needed cleaning up of any remaining metal. This was a really hard and messy job, and still not finished completely yet.

Image

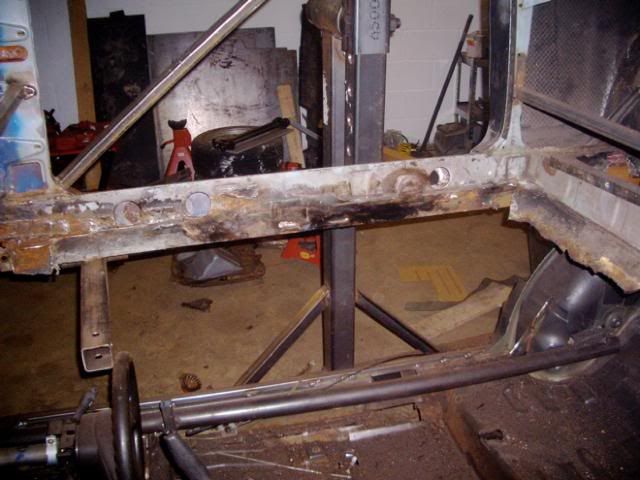
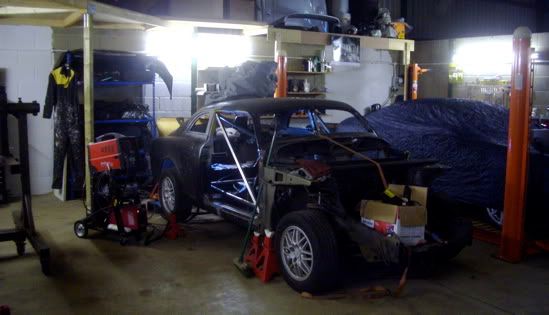
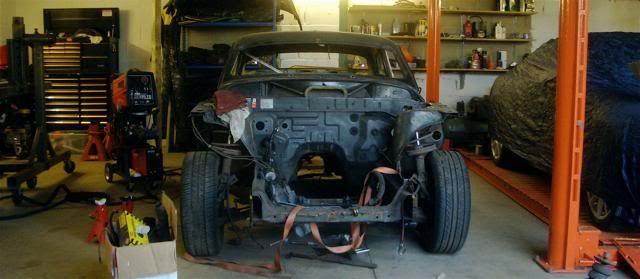
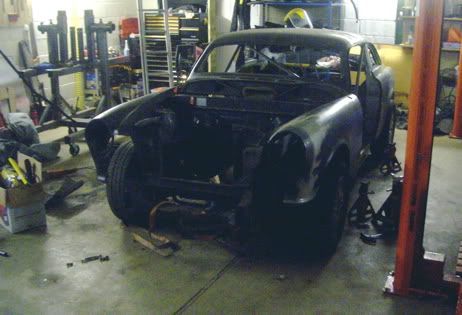
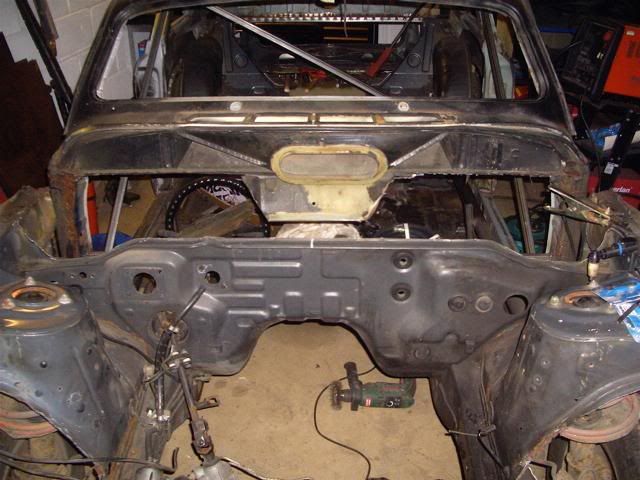
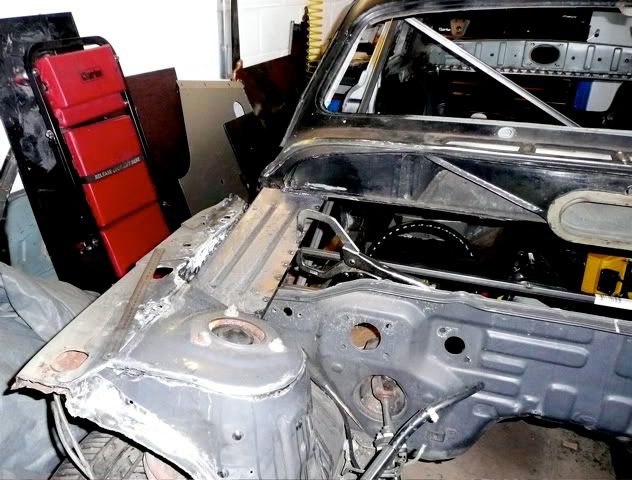
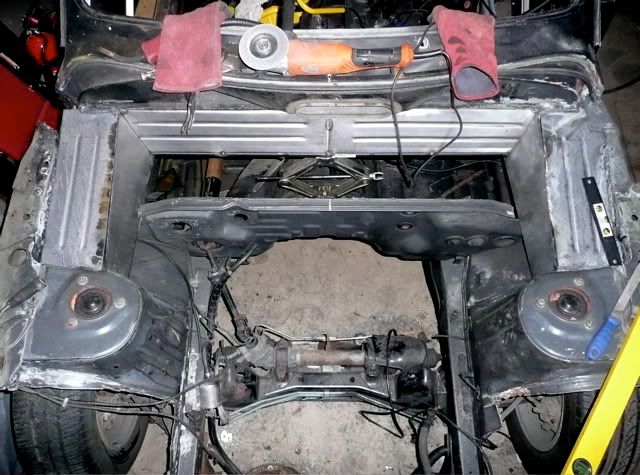
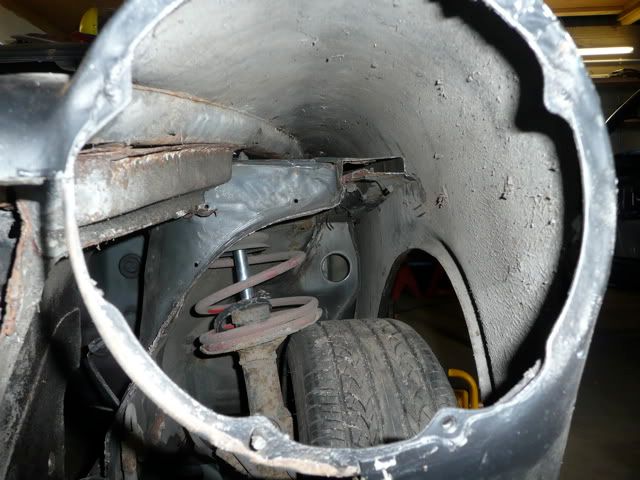
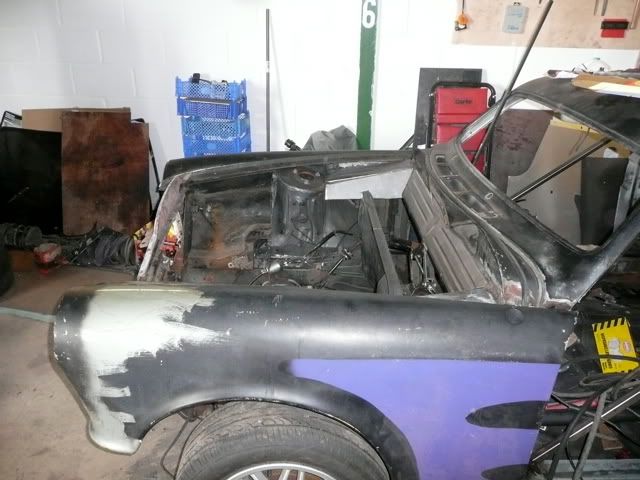
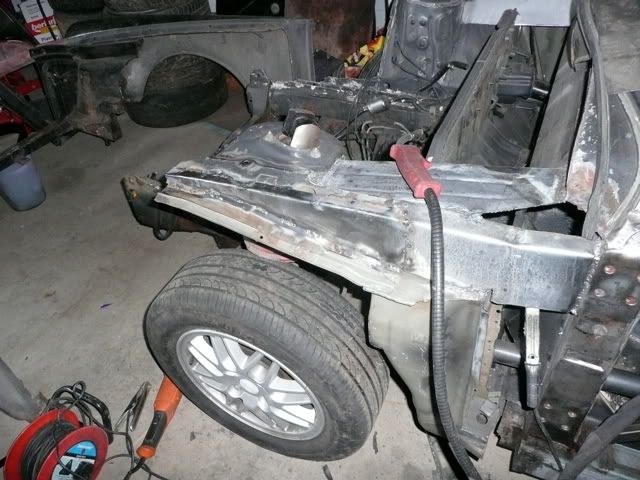
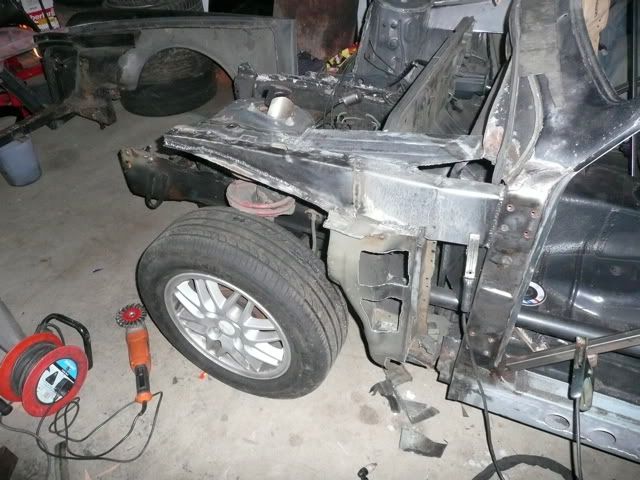
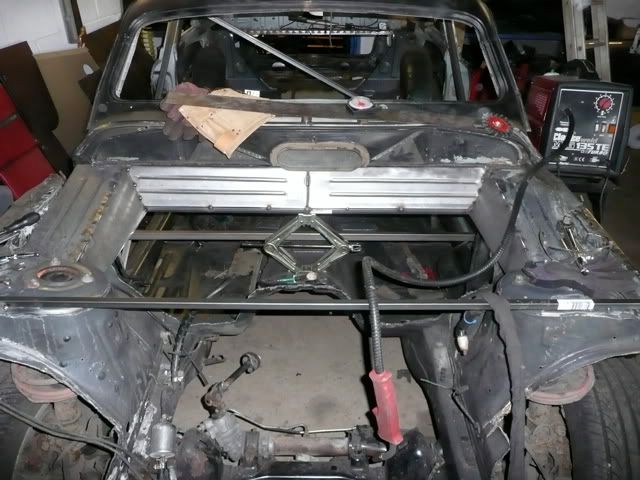
So, after cutting out the bulkhead and main floor crossbeam, it was now time for the shell to come off of the rotisserie and start lining up with its new suspension.

Image

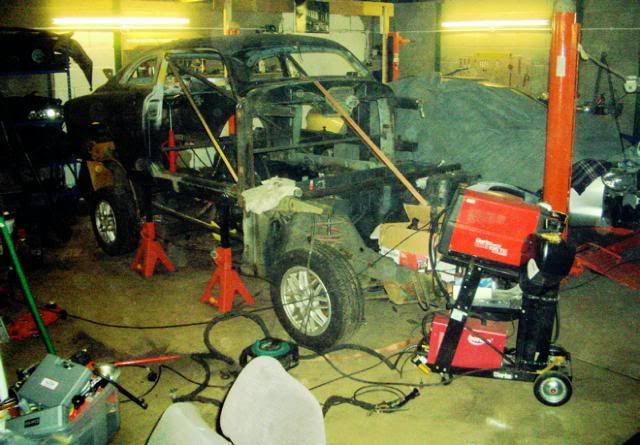
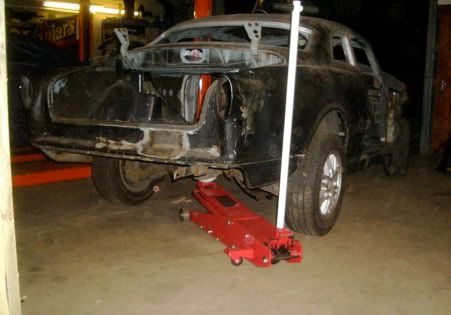
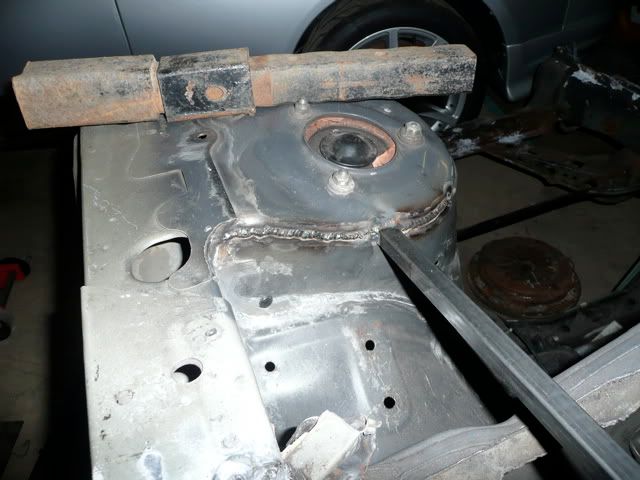
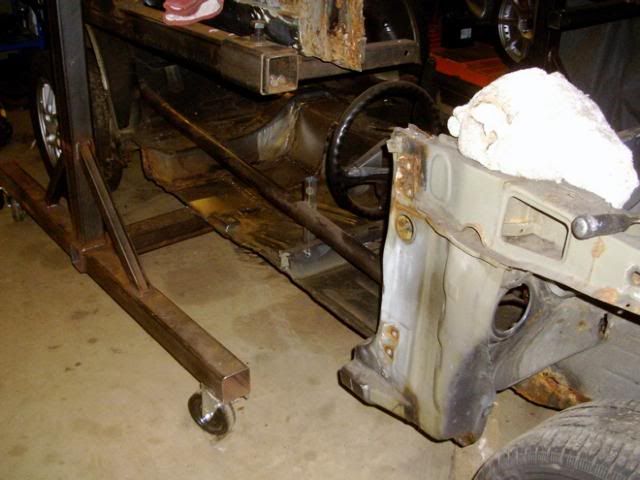
A bit of fiddling and trimming, and an hour later it is even closer:

Image

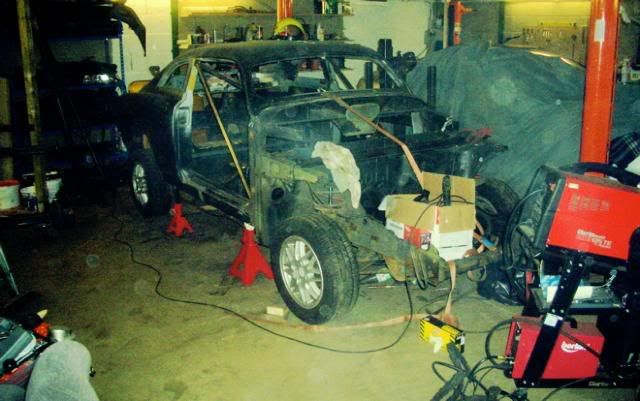
You can see in the image below, that there is still a little way to go until the shell and the Nissan suspension are joined, but it is getting closer, and I hope by next weekend to start on the fabrication to join them together permanently.

Image

Image

User avatar
duncan
Posts: 10897
Joined: Thu Jul 27, 2006 3:12 pm
Location: On the podium
Contact:

Post by duncan »

I can see it now....


Image

Superb progress :D

User avatar
Ben
Posts: 11608
Joined: Thu Jul 27, 2006 8:16 pm
Location: East Anglia

Post by Ben »

incredible ..
Dum spiro, spero
____________________________________

RPS13
Posts: 249
Joined: Tue Aug 07, 2007 7:38 pm
Location: Norfolk

mini update

Post by RPS13 »

Had a few hours today to tidy up and make a little progress. Took the plasma cutter out, and spent a couple of hours trimming, lifting, trimming, panel beating, measuring, lifting, measuring again etc... until I got the body down onto the floorpan, and lined up:

Image

Image

great to see it looking like a car so I quickly put some weld tacks in. I couldn't resist offering up some of the front panels to remind me how it should look. Doing so, I came up with an idea for the front clam support so got cracking on that too.

Image

Finally I gave up on the car for the evening, and got around to the clearing up to make space for the return of another car to the garage tomorrow. So the huge jack came out and the car moved back to its old space now that it was once again safe to move it.

Image

It was strange to see an Amazon with an IRS though.

Image

The next stages of joining the parts together are not going to be as exciting to see, but there are plenty of other interesting bits to make still, like the flip front clamshell :grin:

RPS13
Posts: 249
Joined: Tue Aug 07, 2007 7:38 pm
Location: Norfolk

Overdue Update

Post by RPS13 »

It has been a while, but progress has been going on very slowly despite a few distractions (work and more work on the drift car) plus my inability to update the thread on time.

Today I made a new structural parcel shelf, further joining up what was once panels of 2 different cars.

Image

Image

Unfortunately I have some issues with the digital camera so there are no progress shots, but it was fairly simple.

1 - Cut out old metal not being used including volvo parcel shelf
2 - Clean up any paint or seam sealer for welds with wire wheel
3 - Seam weld nissan turrets
4 - Cut and weld in a 1" square tube between them
5 - Make cardboard template for new parcel shelf panel including bent over edges
6 - Transfer to steel and cut out
7 - Mark up lines for beads
8 - With a helpful assistant and the new bead roller form the beads
9 - punch holes for plug welds and put in 85 degree bend
10 - Tack, then weld it in for good.

I am really pleased with it, and the use of the beads and ground down plug welds where appropriate really makes it look OEM, as well as being a very stiff panel. The bead roller was overpriced, but it has made a difference to the fabrication I can do now.

Next job was to start a similar process on the front and to move the bulkhead back for a Front-mid engine layout. I made a start, cutting out material in the way, and starting the edge prep, but before long it was time to get home and do more real work.

Image

Image

The last shot shows the gap from the weak flimsy Nissan A pillars and bulkhead, to the substantial but rusty Volvo ones. The final resting place will be somewhere in the middle.

SupSuzuk
Posts: 32
Joined: Wed Oct 10, 2007 9:25 pm
Location: Norfolk

Post by SupSuzuk »

Rob. You're mad. Can't wait to see it finished!! :-D

RPS13
Posts: 249
Joined: Tue Aug 07, 2007 7:38 pm
Location: Norfolk

Long overdue update

Post by RPS13 »

Well it has been quite a while since the last update but progress didn't stop completely. At the end of march a few things came up that delayed both this car and this years BDC aspirations, but in the odd evening and weekend the work on this project car has continued.

Getting on with it... There was a load more work done on the suspension turret area near the rear bulkhead and parcel shelf, but nothing easy to photograph. It did really tie the shell together there much better though.

Then the front needed some joining up/ replacing. So a frame of thinwall tube was made, the front suspension seam welded, and some bead rolled panels took up a good chunk of stolen hours and produced the start of a tasty looking under bonnet.

Image

Image

Image

Image

Image

This was all planned around some new engine aspirations from random doodles. There are a load of them, but this is the basic concept:
Image

That is an Omega V6, with twin turbos and the exhausts in the A pillars! With that I can then run a flat floor under the car.

Offering up the front wings to see how this was going to look identified an issue with clearance on the front rails. More work.
Image

Image

Easily fixed, but it takes time. The rail was cut out and replaced. Narrower but stronger than the original. ( I still have the other side to do)
Image

Image

Image

Image

There was also some more work done to tie the bulkhead into the new A-pillar location, but difficult to get the camera too until I cut out the original bulkhead:

Image

RPS13
Posts: 249
Joined: Tue Aug 07, 2007 7:38 pm
Location: Norfolk

and more

Post by RPS13 »

Next step

Nick
Posts: 22
Joined: Tue Aug 08, 2006 6:44 pm
Location: Cambs

Post by Nick »

What an incredible project, I will watch this from here on in wih great interest :cool:

tomcat
Posts: 292
Joined: Wed Apr 16, 2008 2:23 pm

Post by tomcat »

wow what a project certainly got some balls to take on that project and a understanding missus!

recon it will look really cool when done and should handle/brake properly as well

what about about a t5 volvo lump or is it too heavy?

or a compact all alloy ls1 chevy lump?

Post Reply