My AE86

Show us yours....
Sweeps
Posts: 49
Joined: Tue Jul 31, 2007 12:00 pm

My AE86

Post by Sweeps »

Here goes, as i stated on another thread i am in the process of rebuilding my second AE86.

I am building it with the intention of drifting it, but i don't want it to be a trailor queen, i want to drive it not tow it
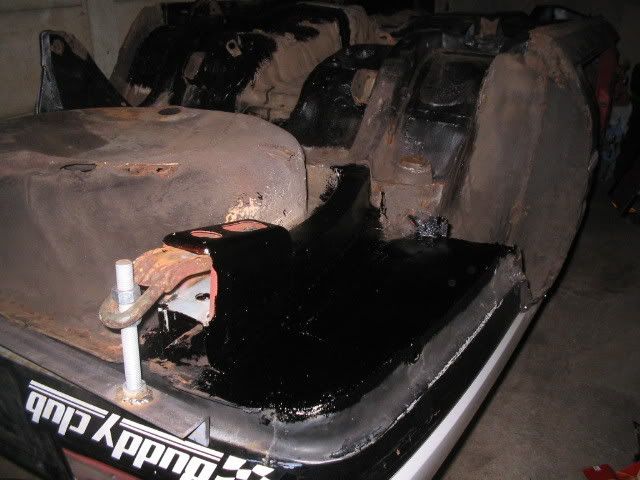
 :D

I bought this one

Image

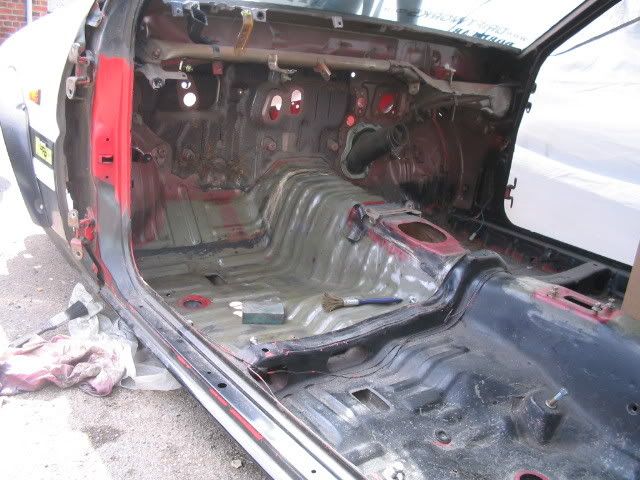
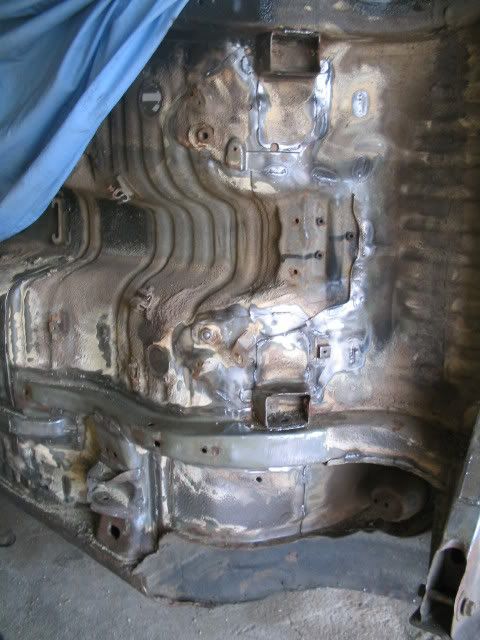
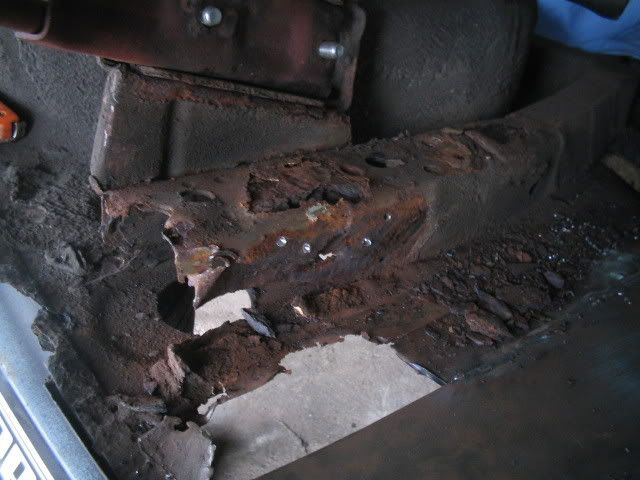
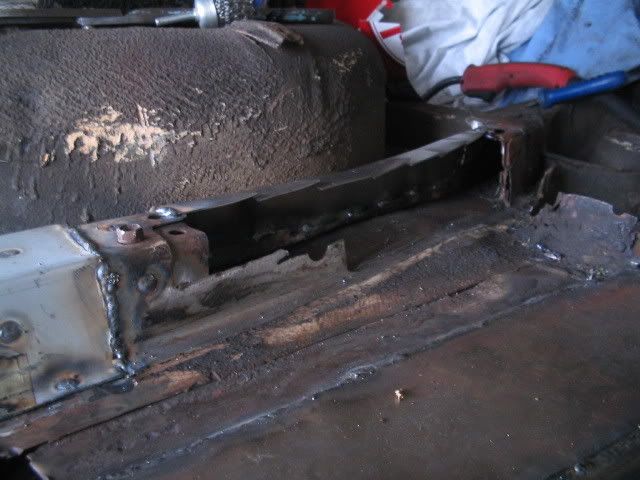
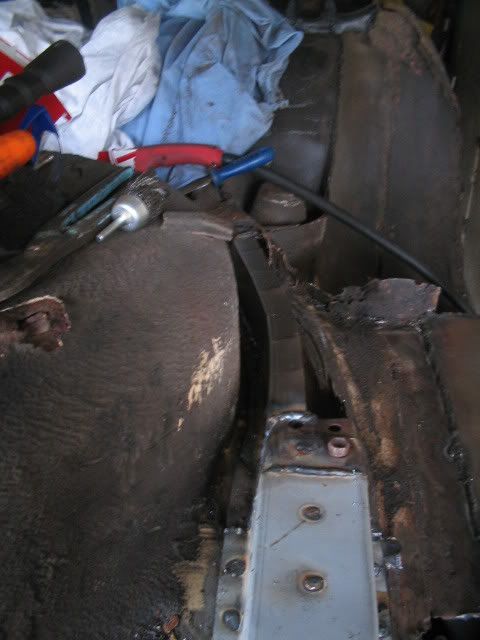
It came from a guy in York who had used it for rallying, on first inspection it didn't appear too rusty as I intended to strip it to its bones anyway. On closer inspection in turned out worse than expected.

Image

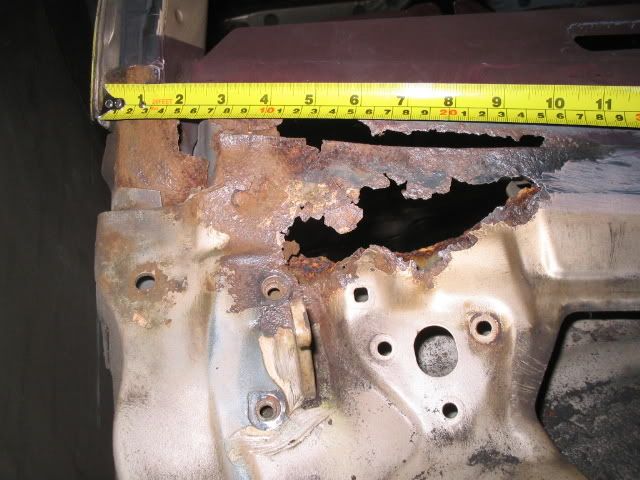
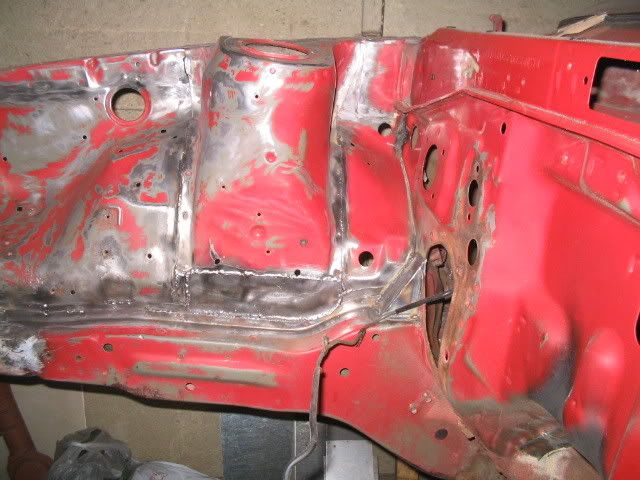
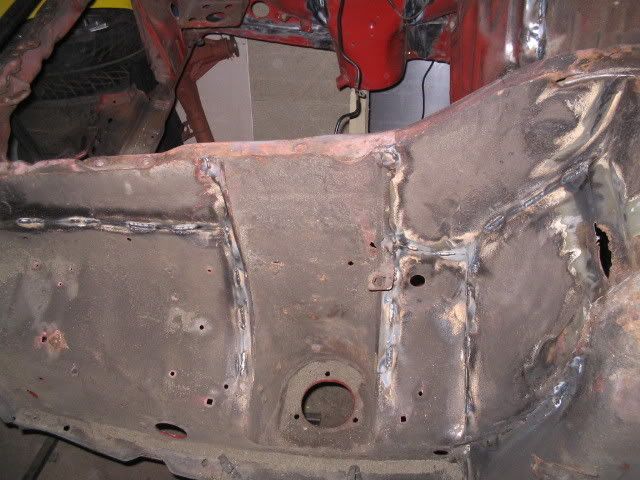
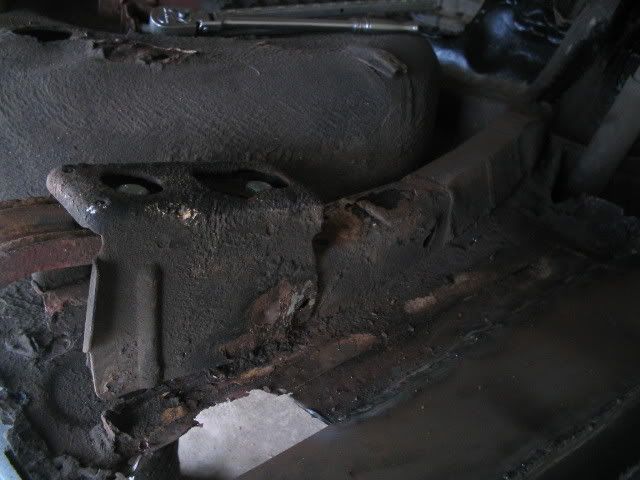
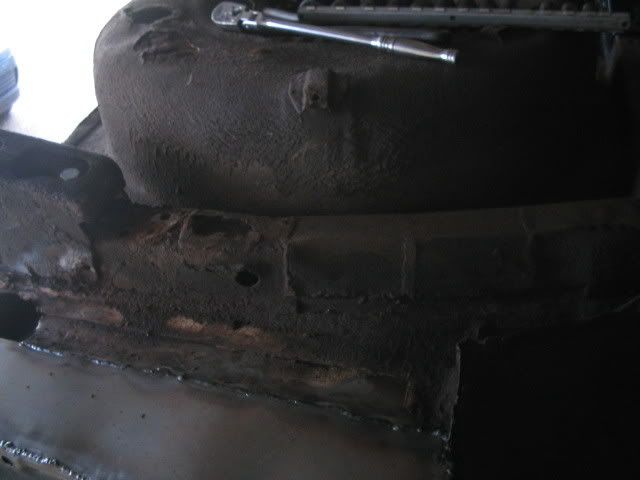
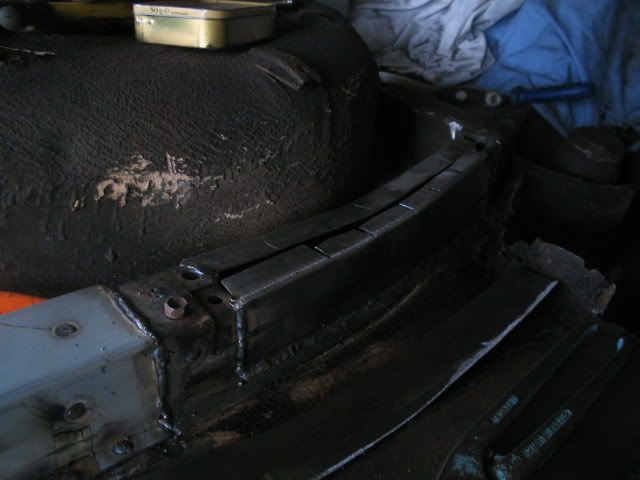
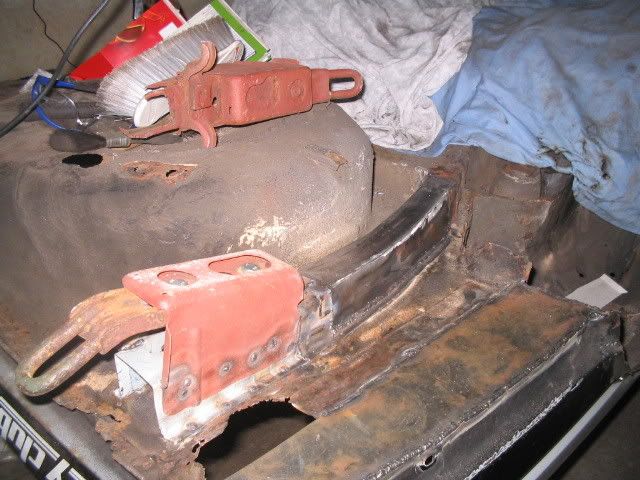
This shows some of the rust but it was deeper than that.

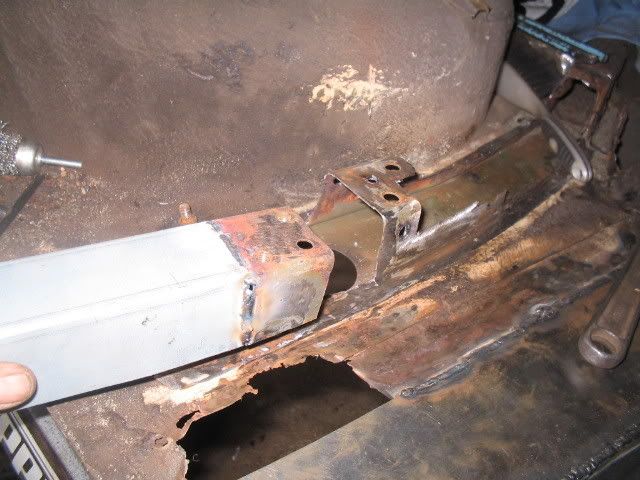
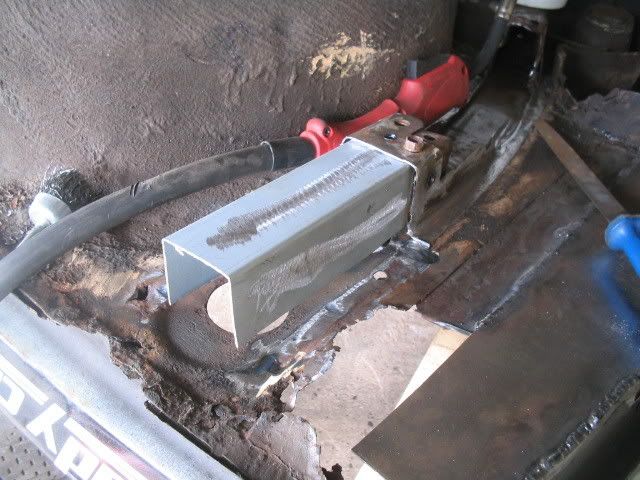
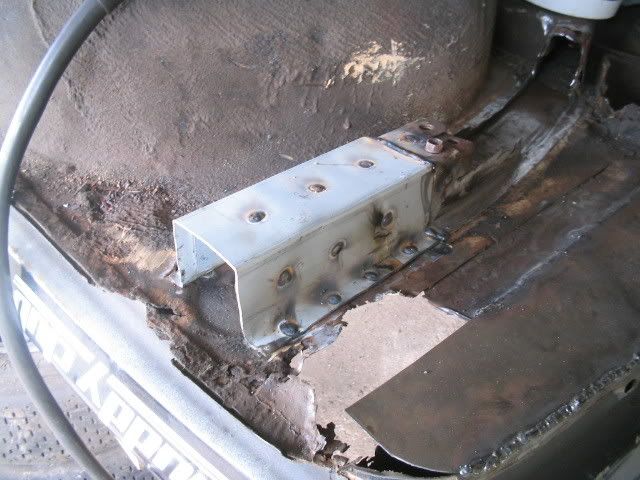
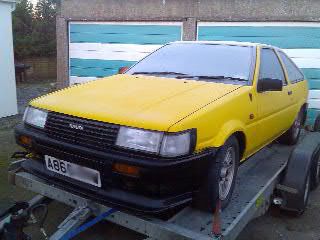
I did put a lot of work into the shell but when another one came up I took the decision to cut my losses and buy it with the help of ESS (Electrical Switchgear Services) :thumbsup:

In the meantime I invested in various parts for the car to make it dance once she's done.

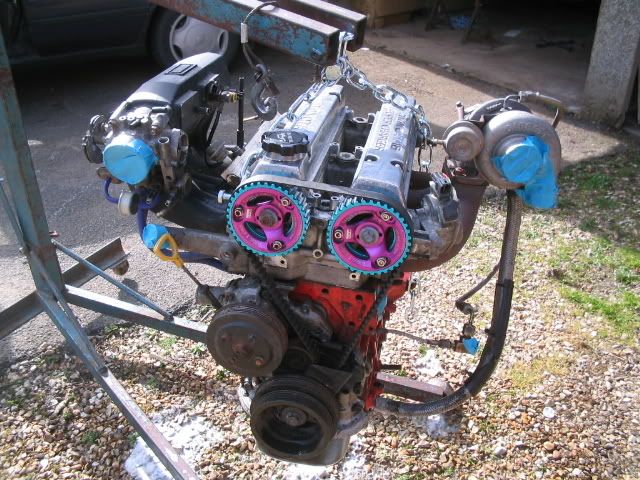
This includes a 4AGZE engine (forged bottom end as standard). On top of that it has a T28 turbo fitted. HKS cams with vernier pulleys. This should enable the engine to produce around 250bhp at the flywheel (200ish at the wheels). A standard 4AGE produces 125.

Image

I bought a bellhousing for the gearbox from Malasia. This enables me to use a gearbox out of a MK 3 Supra. The gears are slightly longer but the main reason is the strength as they are good for 300bhp +

Image

Image

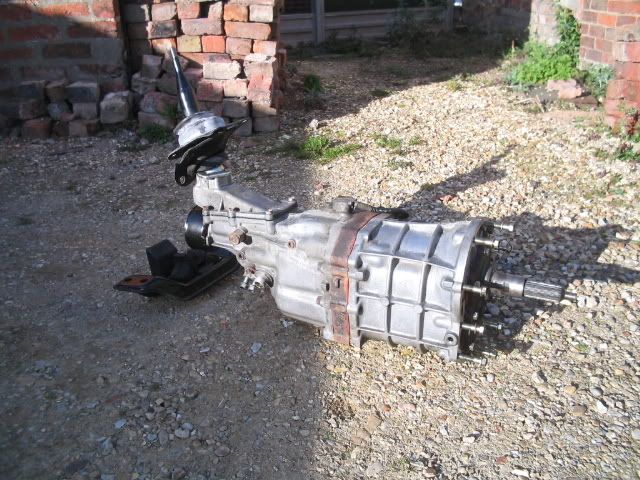
This required me to purchase a flywheel which is slightly larger diameter. The reason for this being I have also had to buy a clutch to suit the gearbox and engine. Helix don't make one to fit, so I had to have one made. They don't make one small enough for the standard flywheel.
Not a problem though as this will give me a larger surface area on the clutch :thumbsup:

The car came with Bilstein front struts so after having them sand blasted they have had a lick of paint ready to go bcak on.

Image

I also bought these parts from America, the rod is an adjustable panard rod (keeps the back axle in line (side to side), the other items are NCRCA's, basically, when you lower a Corolla to the floor it knocks out the geometry of the suspension, these help restore some of this by lowering the roll center of the car, they also come with adjustment to allow the track of the car to be widened by 20mm or 35mm. They do, however, create their own problem of bump steer. When the suspension moves up and down the wheels turn in or out making the car unstable during caornering. I have some parts made York to compensate for this but haven't had chance to collect them yet.

Image

A poly bush kit is sat here waiting to go on, as are braiding brake lines. I've replaced the fuel line which were rusted away.

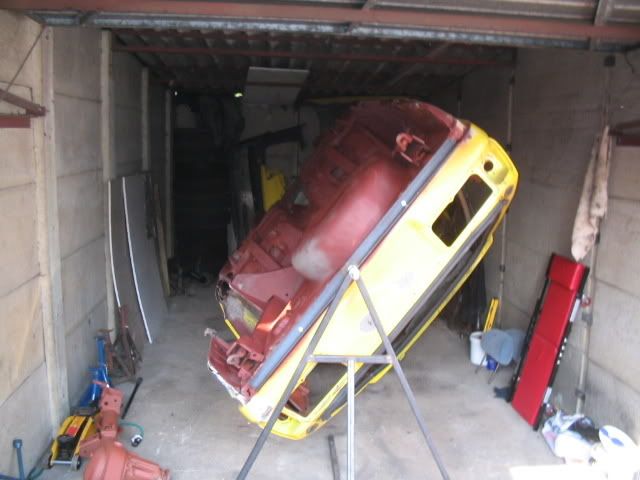
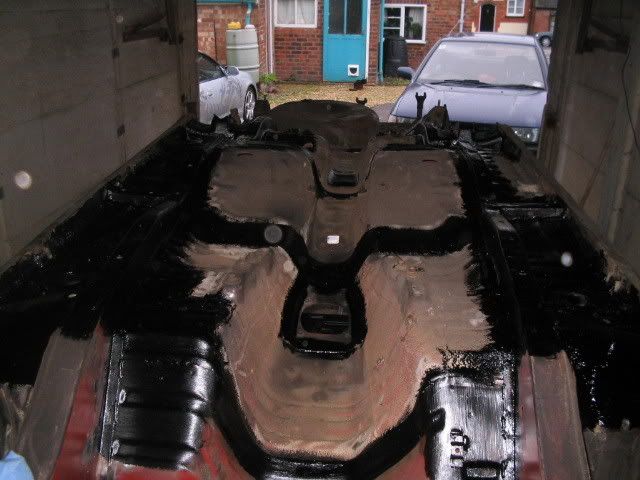
I also made this spit while the original shell was away for sand blasting.

Image

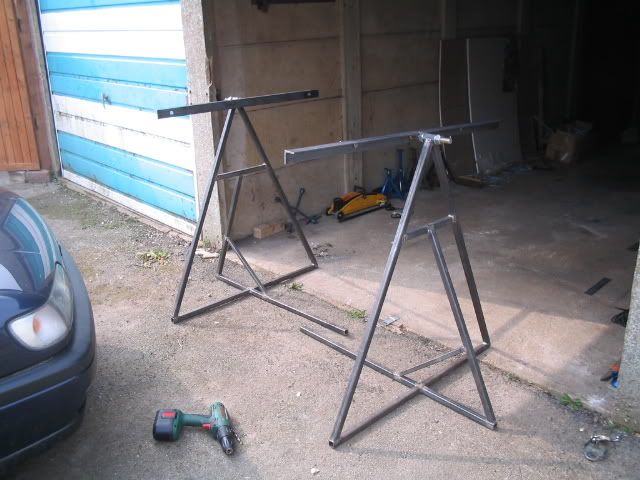
This makes life SO easy!

Image
BDC for the win !

Sweeps
Posts: 49
Joined: Tue Jul 31, 2007 12:00 pm

Post by Sweeps »

So, on to the next shell, this time a red one which had been painted white (on the outside)

I picked up the new shell from birmingham and had it sat outside until the yellow shell was sold. It had been painted in something resembling paint...

Image

So i started removing it, it came off with thinners on a rag, just wiped off! Bit messy but its done the trick :thumbsup:

Image

Then the seam welding started, basically stitching the seams of the car together. Make the car more rigid so the suspension will work to the max !

Image

You can see in this picture a small gusset in the corner, again, another way of making the shell stronger.

Image

Same on the underside of the car.

Image

Nothing escaped my seam welding!

Image

I slapped a bit of underseal on to protect the bear maetal from our lovely summer :laugh2: :sun:

Image

Even though this car is in better condition than the previous i still had some work to do repairing the rusty bits.

Heres a few photo's of how i repaired the rear chassis leg.

Image

Image

:gay:
:o
Image

Out came the grinder to remove all the crusty bits, leaving the point for the exhaust hanger.

The section in my hand included the captive nuts for the hanger extended with a new piece of chassis leg.

Image

Welded in place.

Image

Another section of chassis leg over the top, this makes it bigger and able to take the towing bracket.

Image

Due to not being able to buy bent/curved sections i cut and shaped some angle.

Image

Image

Same again on the other side and cut a another piece of steel to go on top.

Image

Then welded it on and put the bracket for the towing eyeback in place.

Image

A coat of underseal and she's all done.

Image
BDC for the win !

Sweeps
Posts: 49
Joined: Tue Jul 31, 2007 12:00 pm

Post by Sweeps »

So bringing things up to date, i made a pair of these braces to stiffen the inner wing, obviously "every little helps" (now where have i heard that before ? Anyway..)

Image

I offered to make a few pairs of these for the boys on driftworks... mmm guess what i've been doing instead of my car today..

Image

They are just the drivers side... My grinder gave up at 1630 this afternoon, it started making a funny noise, then smoke appeared, i put it down when the flames reached my wrist :laugh2:

Heres a bit more work i've had to do, the arches have been cut back to allow wheel clearance, small fibre glass arches will be fitted when she goes for painting 8-)

Image

Image

These are the latest pictures, i took these this morning before making a start.

From the rear looking in at the primered bulkhead.

Image

Primered inner wings (notice the hint of the yellow she'll be getting)

Image

Image

An underneath the back end of the car, including new fuel lines, they'll be coming off so i can paint the remainder of the underside with underseal.

Image

Thats about as far as i've got, i keep doing small jobs all the time like cleaning, painting, general preparation work. Hope to get this batch of braces finished tomorrow so i can crack on with the car a bit more before the early nights draw in.

Hope thats of some interest you you guys and galls :thumb:
BDC for the win !

M1KeyC
Posts: 11
Joined: Fri Aug 03, 2007 10:30 pm
Contact:

Post by M1KeyC »

wow, its coming along great, cant wait to see the finished product.
Image

User avatar
RX7
Posts: 5727
Joined: Fri Jul 28, 2006 11:16 am
Location: Norwich

Post by RX7 »

Blimey what a write up !!!

Excellent work there.
--------------------------------------------------------------------------------
Gareth

User avatar
blacky
Posts: 4241
Joined: Thu Jul 27, 2006 10:13 pm
Location: Lost......
Contact:

Post by blacky »

Top project, no messing :D

User avatar
Ben
Posts: 11608
Joined: Thu Jul 27, 2006 8:16 pm
Location: East Anglia

Post by Ben »

Top project ... can't wait to see it progress.
Dum spiro, spero
____________________________________

rayman gtir
Posts: 427
Joined: Sun Dec 17, 2006 5:28 pm
Location: ipswich, suffolk

Post by rayman gtir »

excellent project, well done mate.

User avatar
Stuart
Posts: 18080
Joined: Thu Jul 27, 2006 3:26 pm
Location: Auto-Genie HQ
Contact:

Post by Stuart »

Well Mr Buckle, that is what I'm talking about :thumb:

A lovely thorough, detailed thread and that engine should be pretty damn fine in that little Hachi. I think the extra work that you are doing in preperation is admirable, I only wish more classics like yours had been cared for in the same way.

I take it your pretty bloody handy with the bodywork then? (I know you're linked with DCY, is that your background with them?)

Do you have an ETA of the running project Mark?
http://www.auto-genie.co.uk
07733 527430
stuart@auto-genie.co.uk
Valeting, detailing and undersealing

Sweeps
Posts: 49
Joined: Tue Jul 31, 2007 12:00 pm

Post by Sweeps »

stuartstaples wrote:Well Mr Buckle, that is what I'm talking about :thumb:

A lovely thorough, detailed thread and that engine should be pretty damn fine in that little Hachi. I think the extra work that you are doing in preperation is admirable, I only wish more classics like yours had been cared for in the same way.

I take it your pretty bloody handy with the bodywork then? (I know you're linked with DCY, is that your background with them?)

Do you have an ETA of the running project Mark?
Thank you all for your kind words.

My back ground, i raced grass track cars for a few years when i lived up in York, my Dad used to race a Starlet with a 200bhp x-flow, i had a mini pickup, front wheel drive until i blew it up and couldn't afford the rebuild cost. So i made it rear wheel drive by installing a Suzuki Z1000 bike engine in the rear, made a subframe for the front with canterlever suspension. Bike engines were banned from that class so i converted a front wheel drive Corolla to rear wheel drive and stuck my old mans x-flow in it. The last car i had was a metro with a Rover V8 sat in the back, renault 30 gearbox, all spaced framed, fantstic off the line but you needed balls to make it turn any corner due to the locked diff :-D :-D

For a living i drive HGV's, everything i've learnt its what i've picked up along the way.

The DCY link is purely through one of the owners being a mate, i told him i cold get him more coverage with a drift car than they were getting with their drag car... I think i proved i was right :-D

ETA.... Now thats the 64000 question. I get married next Sept and i will be driving it to the church! But i'd like it ready for the start of next season at the lastest.
BDC for the win !

Post Reply